Related topic – Canon PIXMA MX395 User Manual
Page 160
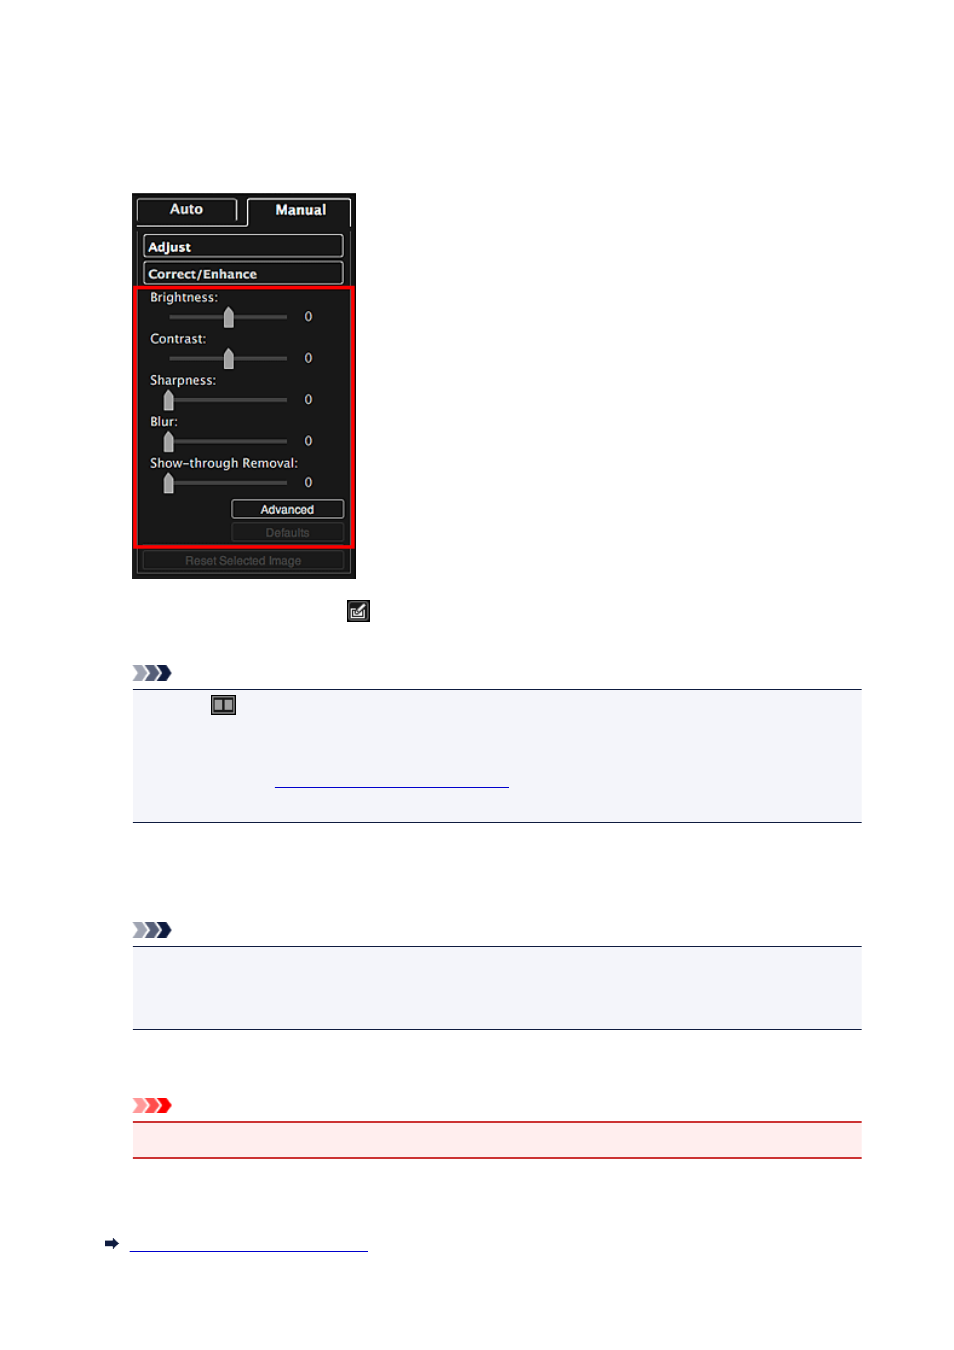
Contrast
Sharpness
Blur
Show-through Removal
The image is adjusted and the
(Correction/Enhancement) mark appears on the upper left of the
image.
Note
• Click
(Display Comparison Screen) to display the images before and after the adjustment side
by side in a separate window so that you can compare and check the result.
• Click Advanced to make fine adjustments to the image brightness and color tone. Refer to
Advanced in "
• Click Defaults to undo all adjustments.
6. Click Save Selected Image or Save All Corrected Images.
Adjusted image(s) is (are) saved as a new file(s).
Note
• To save only the image(s) you like, select it (them) and click Save Selected Image. Click Save
All Corrected Images to save all the adjusted images at one time.
• The adjusted image(s) can be saved in JPEG/Exif format only.
7. Click Exit.
Important
• If the adjusted image(s) is (are) not saved, the adjustment(s) will be deleted.
Related Topic
160
- PIXMA PRO-1 PIXMA MG7150 CanoScan 9000F Mk II PIXMA MX725 PIXMA iP2850 PIXMA iP8750 PIXMA MX525 PIXMA MG4250 PIXMA MG2550 PIXMA MX455 PIXMA MG6450 PIXMA iP100 PIXMA iX6550 PIXMA MG5550 PIXMA MX925 PIXMA iP7250 PIXMA IP2700 PIXMA MX535 PIXMA iX6850 PIXMA MG3550 PIXMA PRO-100 PIXMA MG2450 PIXMA PRO-10 PIXMA iP100 with battery PIXMA Pro9000 Mark II PIXMA iX6520 PIXMA Pro9500 Mark II PIXMA iP2702