Inserting images, Refer to, Insert images – Canon PIXMA MX395 User Manual
Page 128
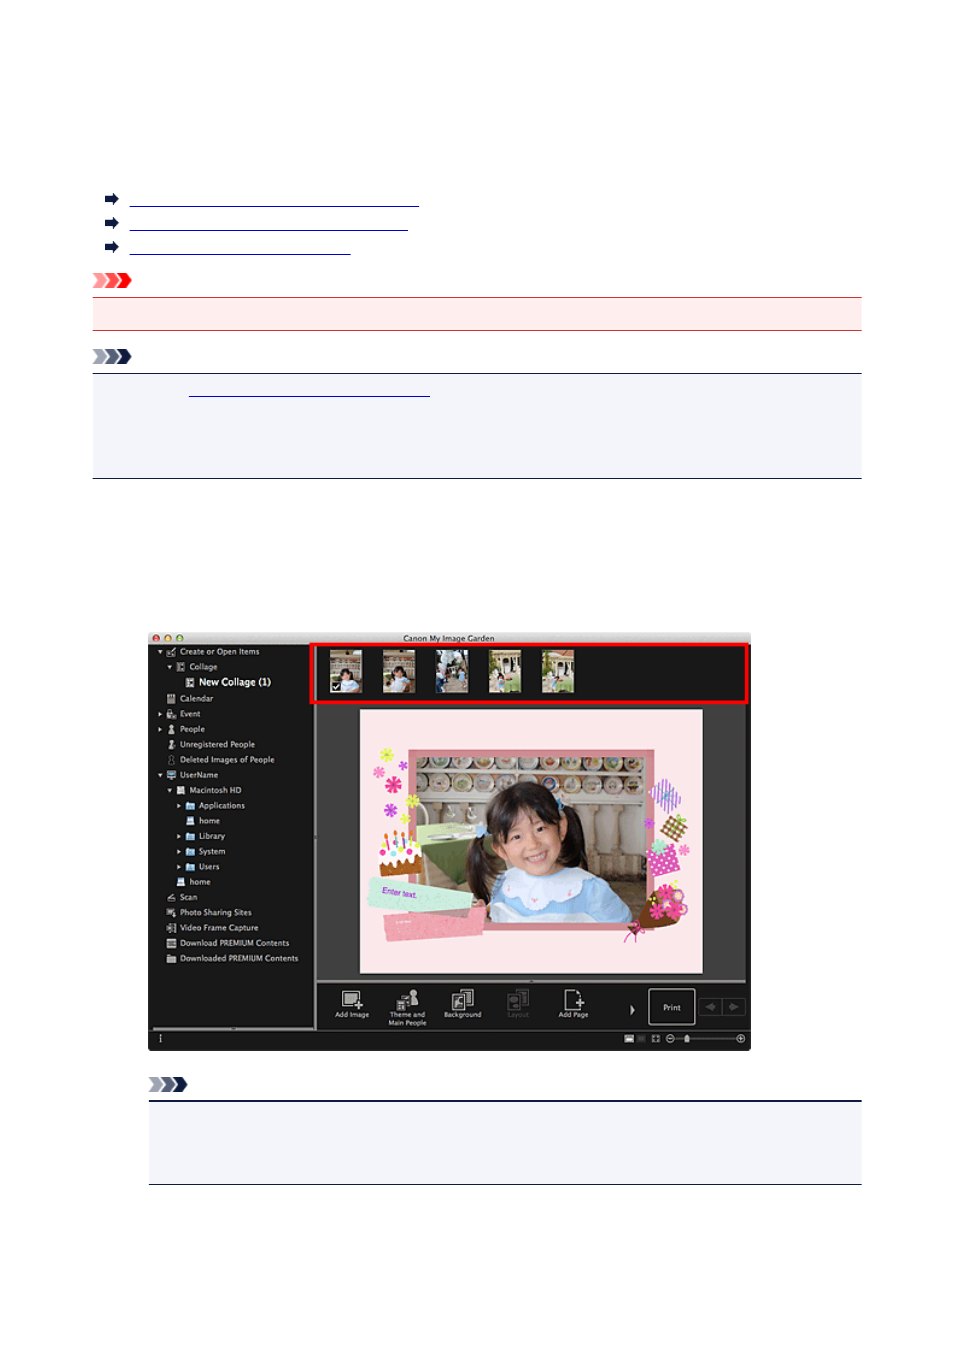
Inserting Images
In the Create or Open Items edit screen, you can insert images in the Materials area, images saved on a
computer, or scanned images into your items.
Inserting Images from the Materials Area
Inserting Images Saved on a Computer
Scanning and Inserting Images
Important
• This function may not be available when PREMIUM Contents are used.
Note
• Refer to "
Create or Open Items Edit Screen
" for how to switch to the Create or Open Items edit
screen.
• Collage editing is used as an example in the following descriptions. The screen(s) may vary depending
on what you create.
Inserting Images from the Materials Area
You can insert images in the Materials area into the layout frames of your item or replace images.
1. In the Create or Open Items edit screen, select an image in the Materials area.
Note
• To add an image to the Materials area, select it in the Open dialog displayed by clicking Add
Image at the bottom of the screen. You can also add an image by selecting the thumbnail in
any view, then dragging and dropping it to the title in Global Menu.
2. Drag and drop it to a layout frame of your item.
When you move an image to a layout frame, a cross icon appears on the image.
128
- PIXMA PRO-1 PIXMA MG7150 CanoScan 9000F Mk II PIXMA MX725 PIXMA iP2850 PIXMA iP8750 PIXMA MX525 PIXMA MG4250 PIXMA MG2550 PIXMA MX455 PIXMA MG6450 PIXMA iP100 PIXMA iX6550 PIXMA MG5550 PIXMA MX925 PIXMA iP7250 PIXMA IP2700 PIXMA MX535 PIXMA iX6850 PIXMA MG3550 PIXMA PRO-100 PIXMA MG2450 PIXMA PRO-10 PIXMA iP100 with battery PIXMA Pro9000 Mark II PIXMA iX6520 PIXMA Pro9500 Mark II PIXMA iP2702