Manual correction – Canon PIXMA MX395 User Manual
Page 151
5. Click Face Sharpener.
Note
• The correction level can be changed by moving the slider displayed below Face Sharpener.
6. Click OK.
The face is sharpened and the
(Correction/Enhancement) mark appears on the upper left of the
image.
Note
• Click
(Display Comparison Screen) to display the images before and after the correction
side by side in a separate window so that you can compare and check the result.
• Click Reset Selected Image to undo all corrections.
• Select the Apply to all images checkbox to correct the images displayed in the Selected
Images area at one time.
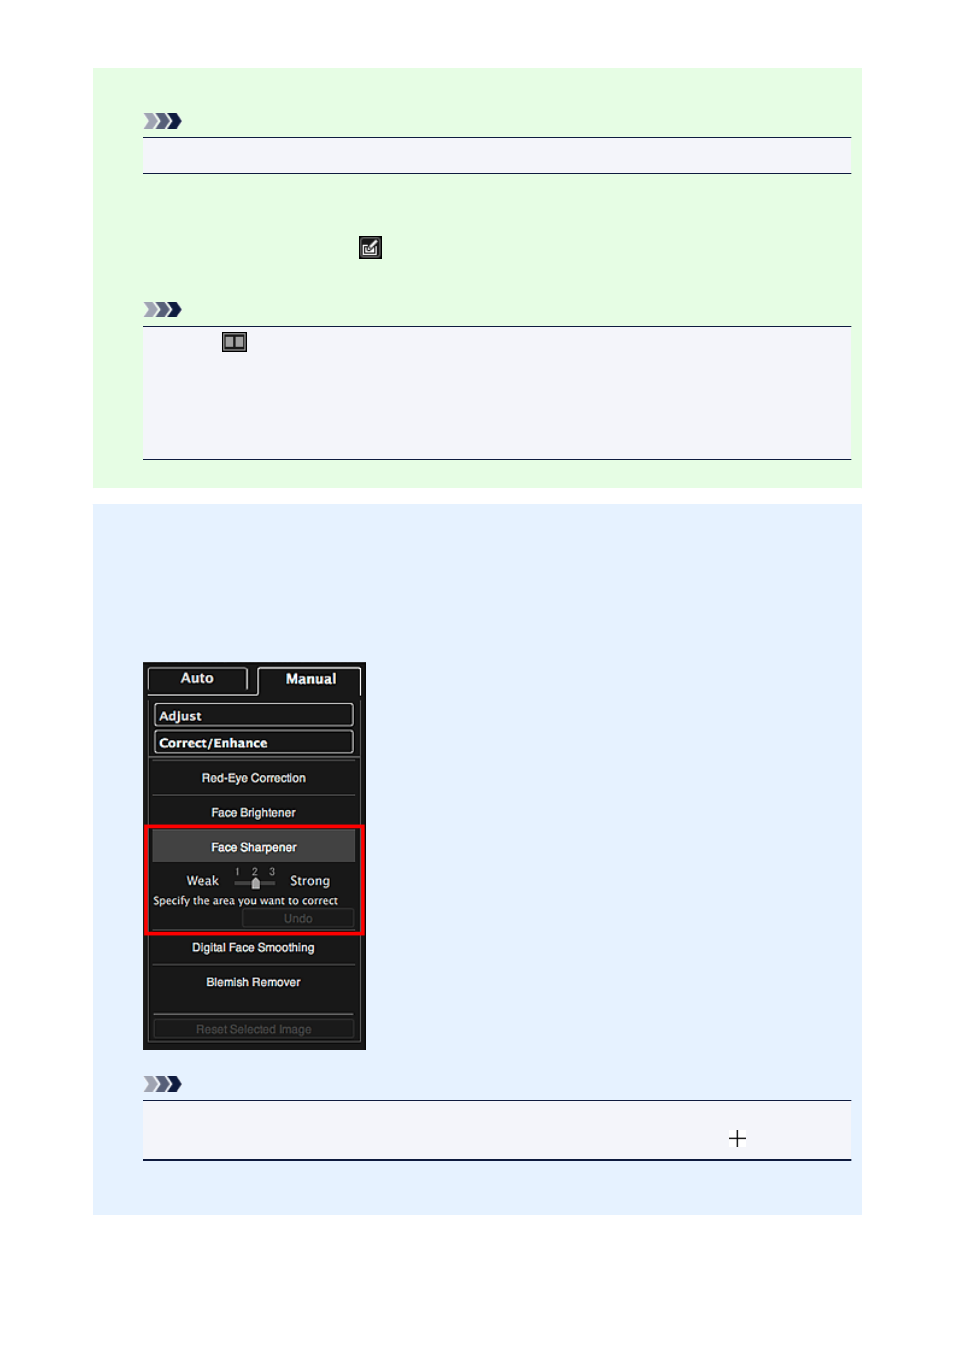
Manual Correction:
4. Click Manual, then click Correct/Enhance.
5. Click Face Sharpener.
Note
• The correction level can be changed by moving the slider displayed below Face Sharpener.
• When the cursor is moved over the image, the shape of the cursor changes to (Cross).
6. Drag to specify the area you want to correct, then click OK that appears over the image.
151
- PIXMA PRO-1 PIXMA MG7150 CanoScan 9000F Mk II PIXMA MX725 PIXMA iP2850 PIXMA iP8750 PIXMA MX525 PIXMA MG4250 PIXMA MG2550 PIXMA MX455 PIXMA MG6450 PIXMA iP100 PIXMA iX6550 PIXMA MG5550 PIXMA MX925 PIXMA iP7250 PIXMA IP2700 PIXMA MX535 PIXMA iX6850 PIXMA MG3550 PIXMA PRO-100 PIXMA MG2450 PIXMA PRO-10 PIXMA iP100 with battery PIXMA Pro9000 Mark II PIXMA iX6520 PIXMA Pro9500 Mark II PIXMA iP2702