Related topic – Canon PIXMA MX395 User Manual
Page 120
The view switches according to the setting in the Background Type Selection area.
Refer to "
" for details.
5. Click OK.
The selected background is set for the selected page.
When Photo is selected in the Select Background dialog, you can insert an image in the Materials area,
an image saved on a computer, or a scanned image into the background.
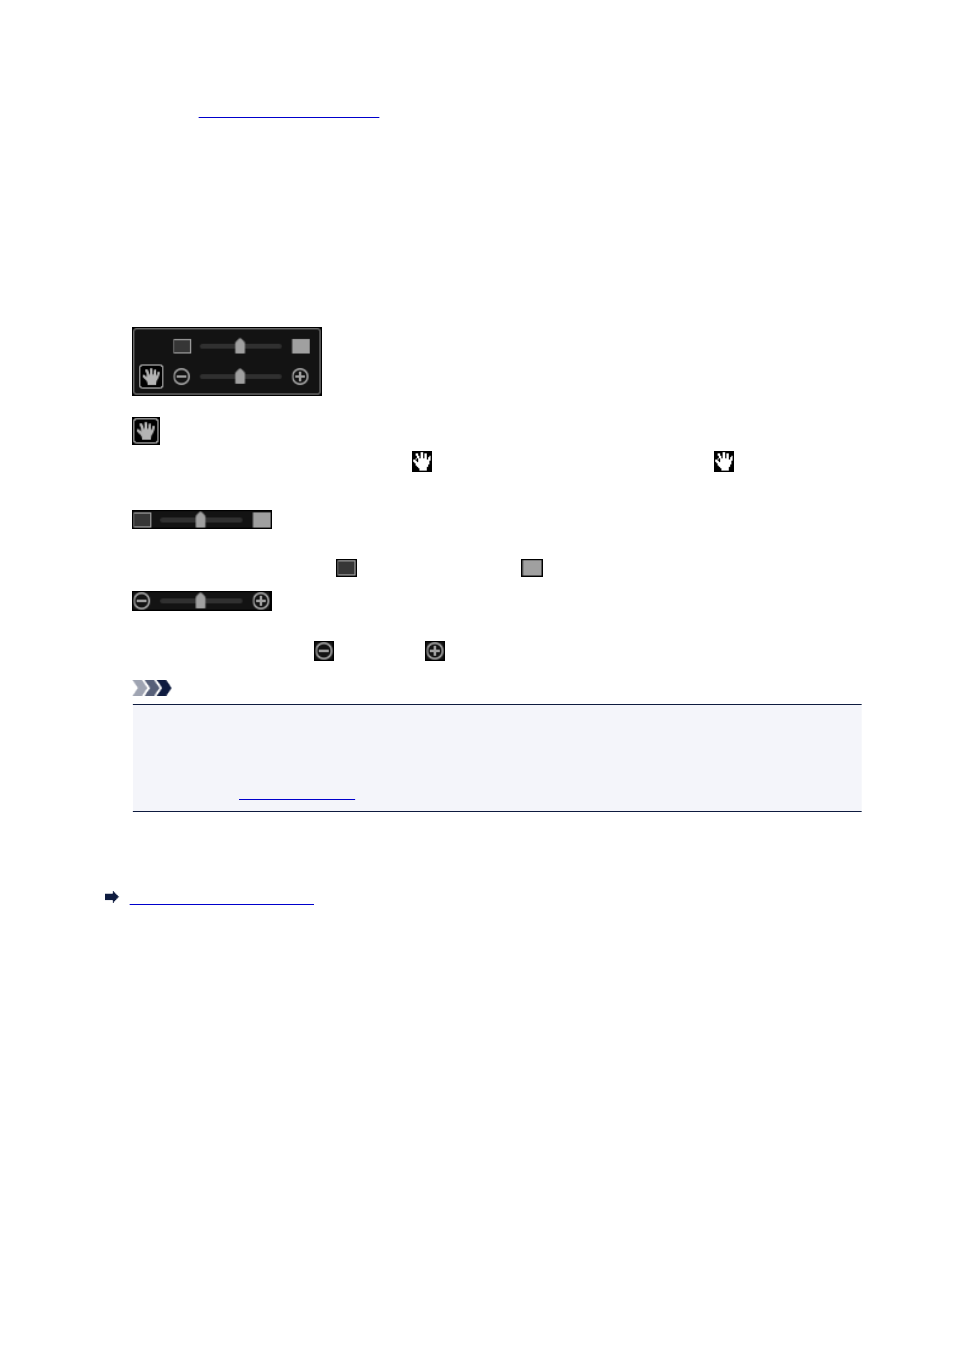
When you insert a background, the background editing toolbar with which you can adjust the position,
transparency, and size of the background image appears at the bottom right of the image.
(Adjust Position)
You can switch the cursor between
(Move) and the standard one. Switch to
(Move) and drag
the image to change its position. Switch to the standard cursor to lock the image position.
(Adjust Transparency)
You can freely adjust the transparency of the image by dragging the slider. You can also change the
transparency by clicking
(Transparency: 0%) or
(Transparency: 100%).
(Reduce/Enlarge)
You can freely change the display size by dragging the slider. You can also minimize or maximize
the image by clicking
(Reduce) or
(Enlarge).
Note
• Depending on the display size of preview, the background editing toolbar may be hidden behind
the Page Thumbnails area and cannot be operated. In that case, click the bar at the top of the
Page Thumbnails area to hide it.
" for how to insert an image into the background.
Related Topic
120
- PIXMA PRO-1 PIXMA MG7150 CanoScan 9000F Mk II PIXMA MX725 PIXMA iP2850 PIXMA iP8750 PIXMA MX525 PIXMA MG4250 PIXMA MG2550 PIXMA MX455 PIXMA MG6450 PIXMA iP100 PIXMA iX6550 PIXMA MG5550 PIXMA MX925 PIXMA iP7250 PIXMA IP2700 PIXMA MX535 PIXMA iX6850 PIXMA MG3550 PIXMA PRO-100 PIXMA MG2450 PIXMA PRO-10 PIXMA iP100 with battery PIXMA Pro9000 Mark II PIXMA iX6520 PIXMA Pro9500 Mark II PIXMA iP2702