B.5 defaulting the database, B.6 analog input/output calibration values, B.7 watchdog led – Micromod Micro-DCI: 53SL6000 Single Loop Controller User Manual
Page 123
B.5 Defaulting the Database
The database can be restored to the factory set
default values by entering a 098 into the ProG-cS-
FiX parameter using the following procedure:
NOTE: Pass-keys will not be preserved if the
database is defaulted.
1.
Enter engineer mode by pressing and holding
the mode pb. OPEr appears in the green dro.
2.
Press the scroll forward pb until ProG appears
in the green dro.
3.
Press the enter pb to accept the ProG menu.
4.
If cS does not appear in the yellow dro, press
the scroll forward pb until it does.
5.
Press the enter pb to accept the cS prompt;
SchM (scheme, the first parameter) appears in
the green dro and the control scheme prompt
that was active (e.g., SnGL for single loop)
appears in the red dro.
6.
Press the scroll forward pb until the end of the
cS prompt list is reached, which is indicated by
the FiX prompt. Each time the scroll forward
pb is pressed, a new parameter name appears
in the green dro and its default setting appears
in the red dro.
7.
Press the enter pb to accept the FiX prompt;
the first digit in the red dro starts blinking.
8.
Use the scroll forward pb to make the first digit
a 0.
9.
Press the shift right pb so that the second digit
starts blinking.
10.
Use the scroll forward pb to make the second
digit a 9.
11.
Press the shift right pb so that the third digit
starts blinking.
12.
Use the scroll forward pb to make the third digit
an 8. 098 now appears in the red dro, but the
8 is still blinking.
13.
Press the enter pb to accept the 098. Three
zeros appear in the red dro. The green dro still
contains FiX and the yellow dro still contains
cS. The setpoint vertical bar indicates a
stopped condition with four separately lit areas
(no continuous bar).
14.
Press the mode pb; oFF starts blinking in the
red dro. Press the scroll forward pb to change
oFF to run and press the enter pb to exit engi-
neer mode.
B.6 Analog Input/Output
Calibration Values
The calibration values can be validated and altered
using 53HC2600 SL6 Configurator software appli-
cation package running on a personal computer.
Reference the software documentation and/or help
screens to display the Ai1, Ai2, and Ao1 biAS and
GAin prompts. Using the SL6 configurator, enter
the values from the calibration sheet into these
prompts.
The calibration values for the universal analog in-
put module can be validated and altered from the
controller display panel. See Table 5-8 for a list of
the calibration prompts and see Section 3 for dis-
play panel procedures in engineer mode.
NOTE: The factory set calibration constants for
the analog inputs and analog outputs were
recorded on the instrument calibration sheet
provided with the controller. As stated in the note
on the Trademarks page in the front of the book,
this sheet should have been retained in the event
one or more of the constants was inadvertently
changed to the wrong value, necessitating field
recalibration.
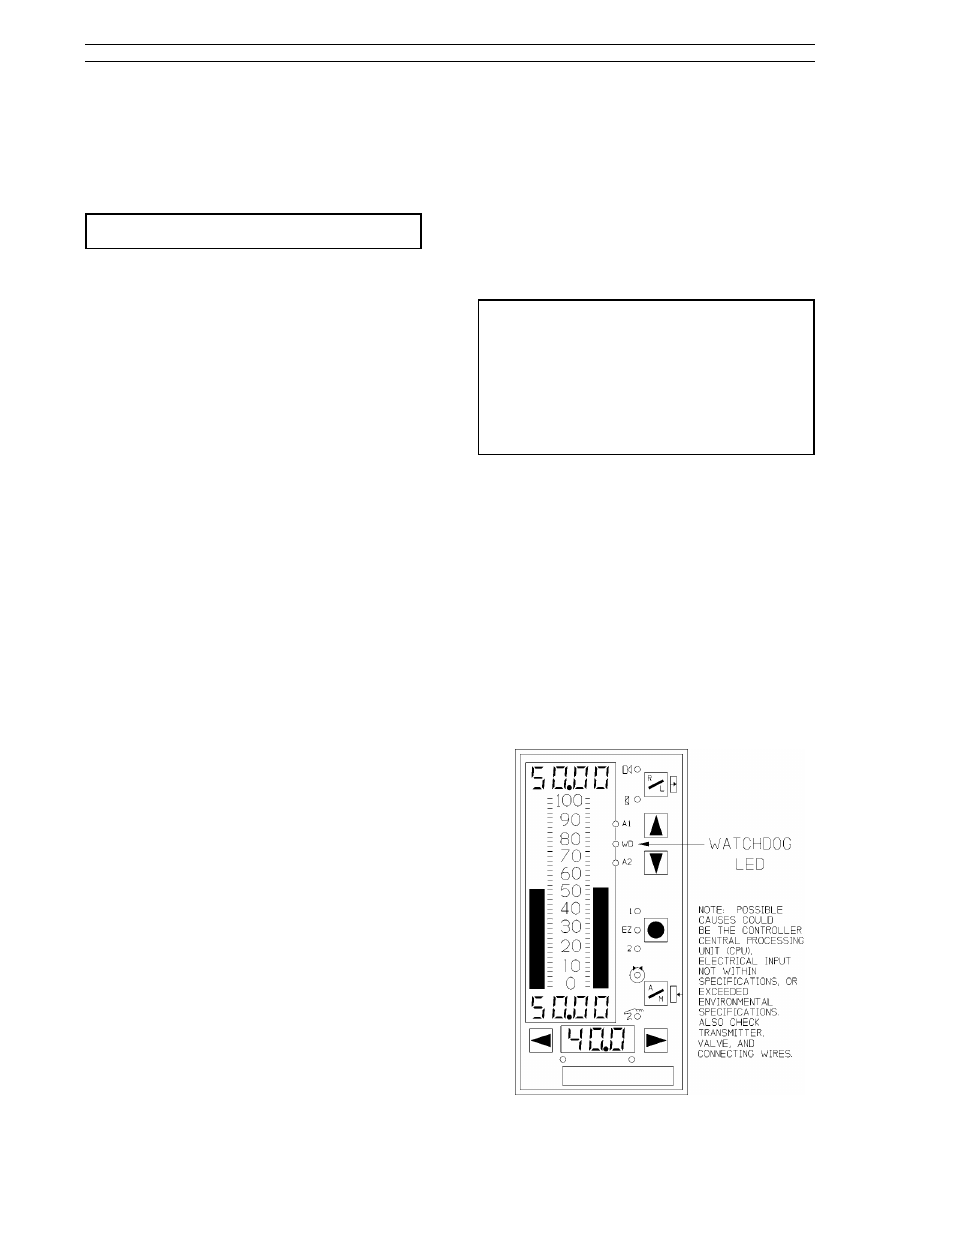
B.7 Watchdog LED
The location of the watchdog LED on the controller
faceplate is illustrated in Figure B-4. When active,
all outputs are forced to their power-off state. The
watchdog LED will activate for any one of three
conditions:
1.
Central Processing Unit (CPU) failure on the
display board or any other controller failure
that manifests itself as a CPU failure by caus-
ing the CPU to malfunction.
2.
Electrical input is not within the stated specifi-
cations provided in Section 1.3.
3.
Environmental specifications stated in Section
1.3 are exceeded.
Figure B-4. Watchdog LED
53SL6000 Instruction Manual
Appendix B. Maintenance and Parts List
B-6
PARTS