Recording and taking screenshots, Recording – Magewell USB Fusion HDMI & USB Video Capture Device User Manual
Page 70
Recording
Recording and Taking Screenshots
When the USB Fusion is streaming your presentation, you can also record the presentation and take screenshots for later usage. The recordings and screenshots will
be saved to the USB Fusion album, which you can view and manage in the App.
You need to use the App to record and take screenshots.
The recording is taken at 1080p, 60fps, 8Mbps by default. Before the
recording, you can
on the web UI. You cannot
change the recording format during the recording.
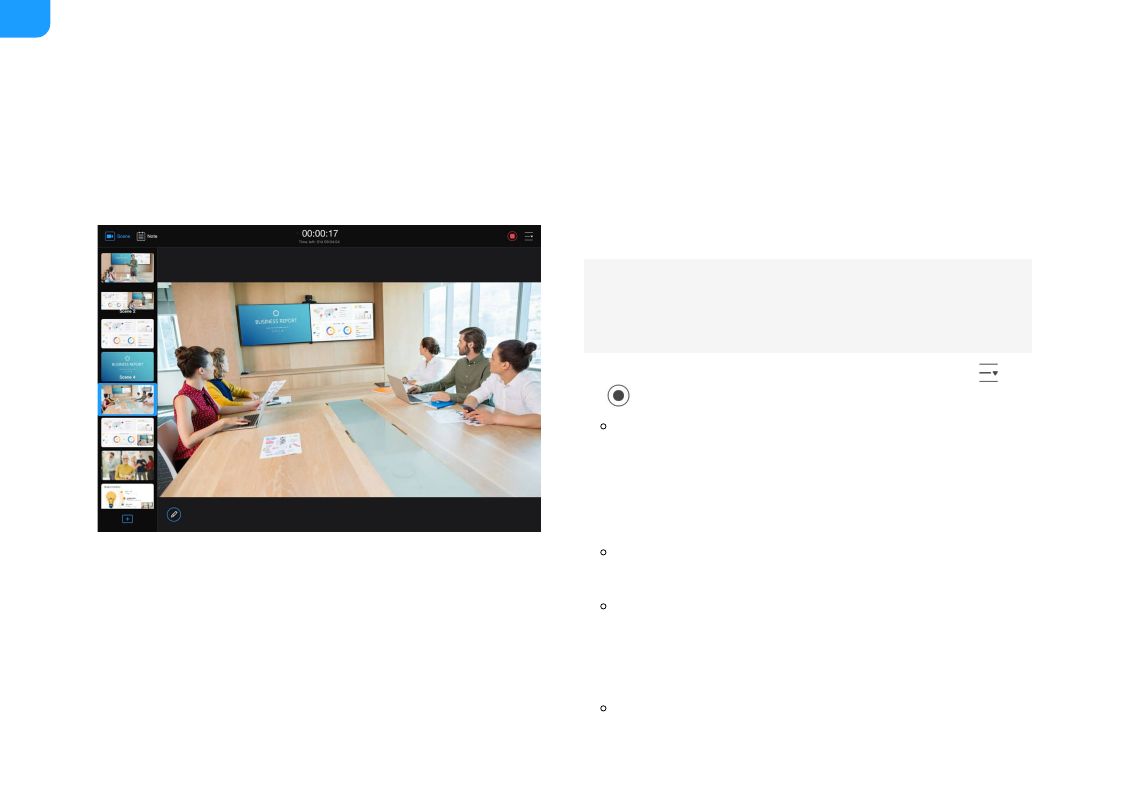
Start recording: At the upper right corner of the App Main UI, tap
>
Record
.
■
When the recording starts, the upper part of the main UI will show a
pulsing red light indicating that recording is ongoing, and the recording
duration. Underneath is displayed
Time left: xxd xx:xx:xx
, indicating the
available recording time allowed by the storage of the connected USB
Fusion device.
When the recording duration lasts less than 1 second, the recording will
fail.
When the available disk space of USB Fusion can support only less than
10 minutes of recording, the time left text will become orange; when it
reaches less than 5 minutes, the time left text will become red; when it
reaches 10 seconds, the recording will stop automatically.
The recording will be an H.264-encoded mp4 file saved to the storage of
the connected USB Fusion device. The file is named with the recording
70