Setting up event days – Baseline Systems BaseStation 3200 V12 User Manual
Page 68
BaseStation 3200 Advanced Irrigation Controller Manual
9. Press the Next button to move to the Enable column of the Stop field. Press the + button to
toggle the setting between Off, Below, Above, and Equals.
10. Press the Next button to move to the Value column of the Stop field. Press the + button to
change the value in the field.
11. Press the Next button to move to the Enable column of the Pause field. Press the + button to
toggle the setting between Off, Below, Above, and Equals.
12. Press the Next button to move to the Value column of the Pause field. Press the + button to
change the value in the field.
13. Press the Next button to move to the Pause Time field. Press the + or – button to change the
value in the field.
14. When you have finished making changes, turn the dial to the RUN position.
When the air temperature sensor detects a start, stop, or pause condition, it causes the
controller to respond according to the settings and displays a message on the Run Status
screen.
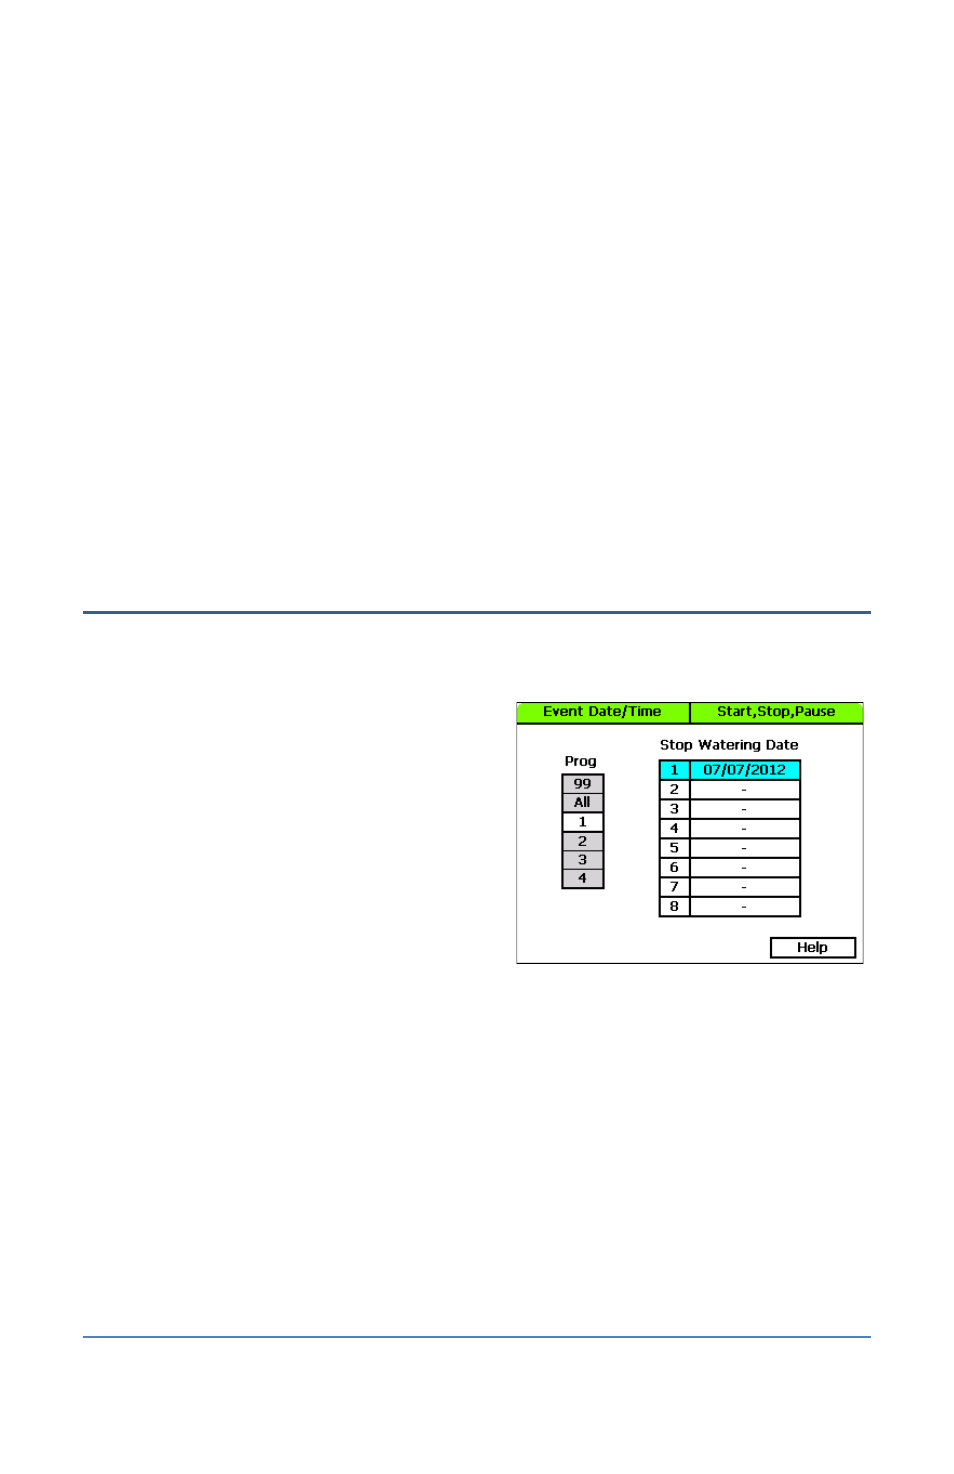
Setting Up Event Days
The BaseStation 3200 supports eight event days. An event day stops all watering and keeps all
programs from starting on that date. You can schedule an event day up to a year in advance.
An event day is from 12:00am – 11:59pm.
1. Turn the dial to the Start, Stop, Pause
position.
2. Press the Next button to highlight the Event
Dates option.
3. Press the Enter button. The Event Date/Time
screen displays.
4. In the Program column, press the + button to
highlight the program that you want to set up
event dates for.
5. Press the Next button to move to the Stop Watering Date column.
6. Press the + button to set the desired date.
7. If you want to set up another event day, press the Enter button to move to the next line, and
then repeat step 6.
8. If you want to set up an event day for another program, press the Previous button to return
to the Program column, and then press the + button to highlight the program that you want
to set up event dates for.
9. Repeat steps 5 and 6 to set up the date.
10. When you have finished making changes, turn the dial to the RUN position.
Page 62