Replacing cartridge(s) – HP 700 User Manual
Page 104
700
750C Plus
Full menu mode
Default: On
Device setup
Cartridge check
3-26
Company confidential. Murillo/Ravillo User’s Guide. Final Freeze Status: Frozen
This is the cyan on page 3-26 (seq: 102)
This is the black on page 3-26 (seq: 102)
Replacing Cartridge(s)
When to Replace Cartridge(s)
Note that your HP DesignJet 700 contains only one black cartridge.
Note that your HP DesignJet 750C Plus has three color and one black cartridge(s).
Replace the cartridge(s) in the following three circumstances.
1
When the plotter prompts you to replace one or more cartridge(s)
(by displaying
Service cartridge(s)
on the front panel).
The plotter automatically checks before and after every plot that the cartridge(s)
are seated correctly and that the nozzles are working, this is called automatic
checking. You can switch off the automatic checking using the front panel
menus.
Note that automatic checking does not check the ink levels.
2
When either poor print quality or the ink-level indicator on the cartridge indicates
that the cartridge is out of ink.
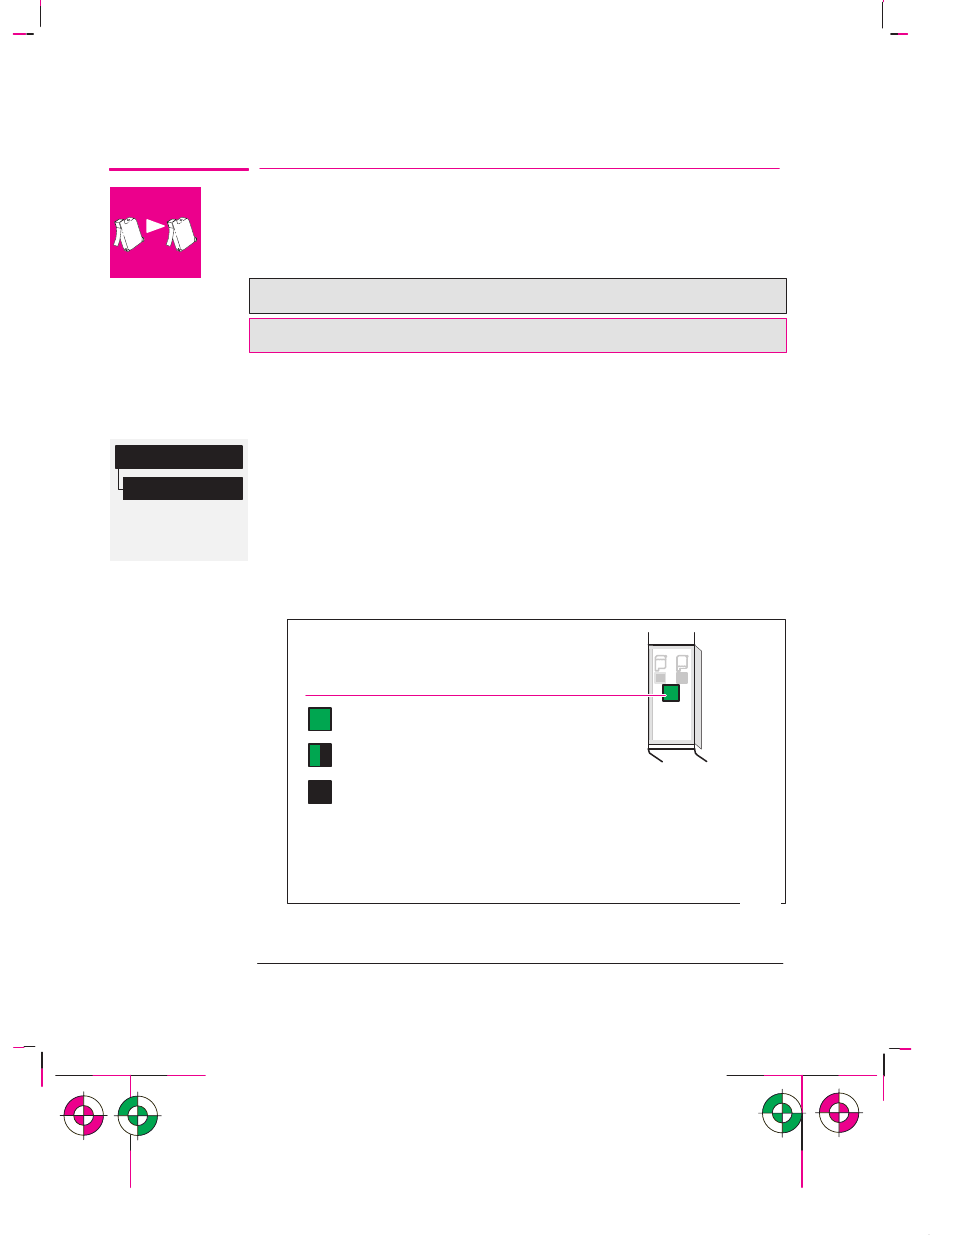
To check a cartridge’s ink level:
Green = full
Black = empty
A considerable portion of ink has been used.
0002
* It is recommended to have a replacement cartridge ready by this time.
Note: The ink-level indicator is not an exact gauge of the specific quantity
of ink available over the life of the cartridge.
Cartridge is close to empty.*
3
When you are troubleshooting print quality problems. See chapter 9, page 9-16.
Working With Media and Cartridge(s)
Replacing Cartridge(s)
This is the green on page 3-26 (seq: 102)