Casio ClassPad II fx-CP400 User Manual
Page 252
Chapter 15: Performing Data Communication
252
Transferring Data between the ClassPad and a Personal Computer
Establishing a connection between ClassPad and a
computer in USB Flash mode displays folder and files
stored in the ClassPad storage area as folders and files in
the computer’s ClassPad drive.
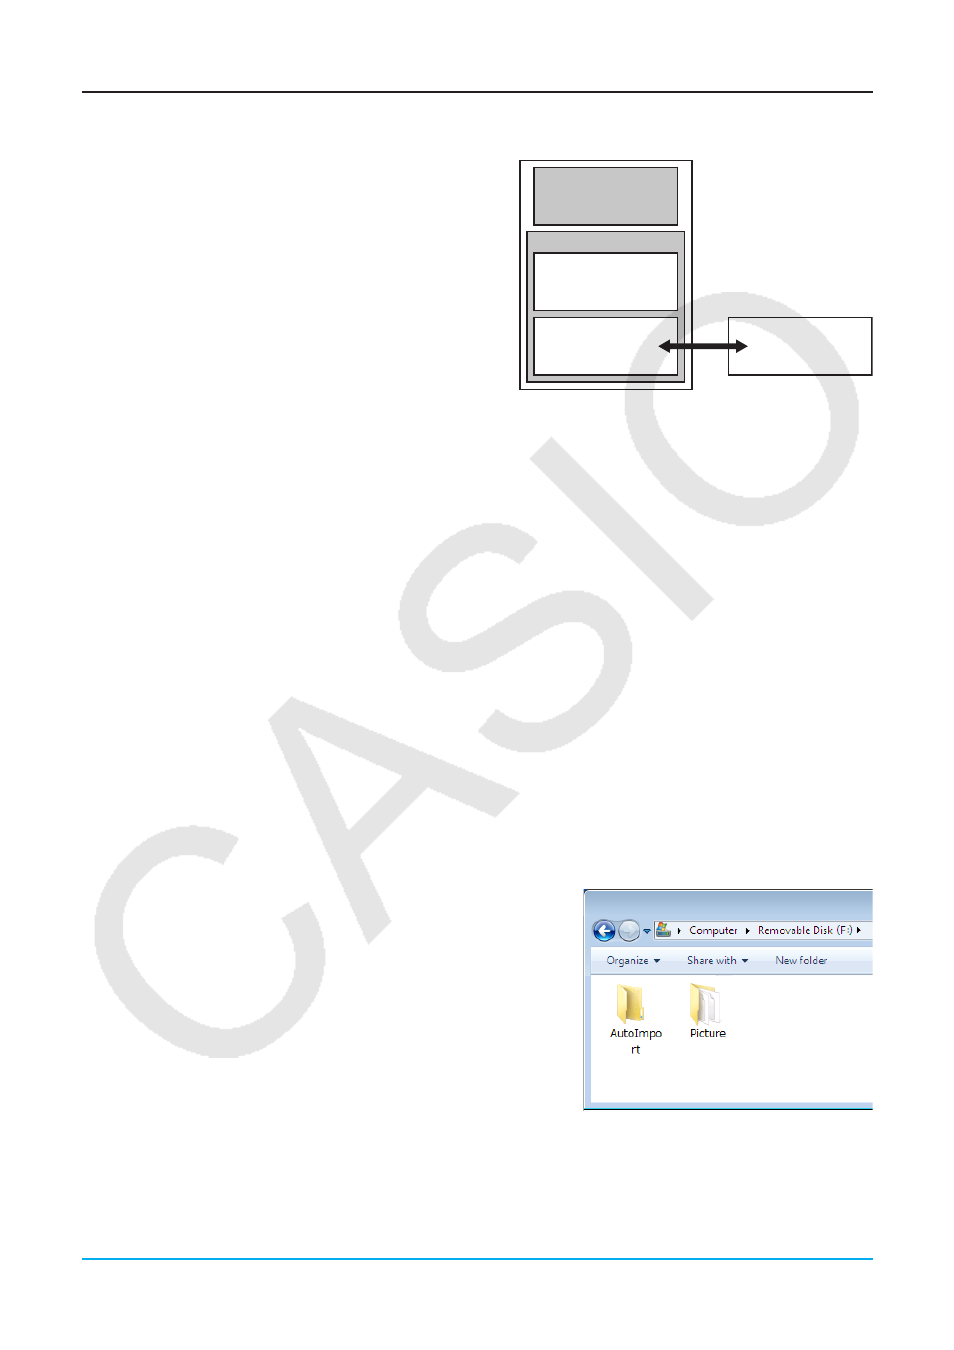
ClassPad has the following three independent memory
areas for storing data: main memory area, eActivity area,
and storage area. For details about these areas, see
Chapter 14.
ClassPad
Computer
Flash ROM
eActivity Area
Storage Area
(USB Flash Drive)
ClassPad Drive
Main Memory
Important!
Do not use a computer operation to format the ClassPad drive. Doing so will cause a “File System ERROR”
message to appear on the ClassPad screen after you terminate the USB connection between the ClassPad
and computer. When this happens, you will not be able to start up the ClassPad unless you perform an initialize
operation, which deletes all data currently in ClassPad memory.
Note
• When copying files to the ClassPad drive, it may take several minutes before copying starts. This is because
copying automatically performs optimization of the ClassPad’s Flash ROM. It does not indicate malfunction.
• Copying files to the ClassPad drive can cause the connection between the ClassPad and computer to be
dropped. If this happens, enter the System application and execute a Flash ROM optimize operation (page 248),
and then re-establish a connection between the ClassPad and computer.
• A USB connection between the ClassPad and a computer may be terminated automatically if the computer
enters a power save mode, sleep mode, or any other standby state.
u To transfer data between ClassPad and a computer
1. When transferring data from your ClassPad to a computer, first perform the operations below.
• Export the data from the main memory or eActivity area to the storage area. Exported data is stored as an
XCP file, which is a ClassPad proprietary file format. See “To export variable data to XCP files” (page 254)
and “To export eActivity data to XCP files” (page 255).
• If you want to copy all ClassPad data to a computer, save all of the file data as a VCP file, which is also a
ClassPad Proprietary file format. See “To save a VCP file” (page 253).
2. Establish a connection between the ClassPad and computer,
and then open the ClassPad drive on the computer.
• See “To establish a connection between ClassPad and a
computer” (page 251).
3. Perform copy, delete, and other file operations as required.
• If you have a VCP file or XCP file you want to transfer to
ClassPad, copy it to the ClassPad drive.
4. After you finish all the operations you want to perform, terminate
the USB connection between ClassPad and the computer.
• When you terminate a USB connection, ClassPad
automatically imports a VCP file currently in the AutoImport
folder. For details, see “Auto Import of VCP Files” below.
• For information about how to import a VCP file manually, see “To open a VCP file” (page 254).
• For information about how to import an XCP file manually, see “To import an XCP file” (page 255).