Casio ClassPad II fx-CP400 User Manual
Page 163
Chapter 8: Geometry Application
163
Specifying the Color and Line Type of a Displayed Object
You can use the procedure below to specify the color and line type for the outline of a figure, the fill color inside
a figure, or the color of text, labels, and other non-figure objects.
u To specify the color and line type of a particular object
1. Use the procedure under “Selecting and Deselecting Figures” (page 161) to
select the object whose color and/or line type you want to specify.
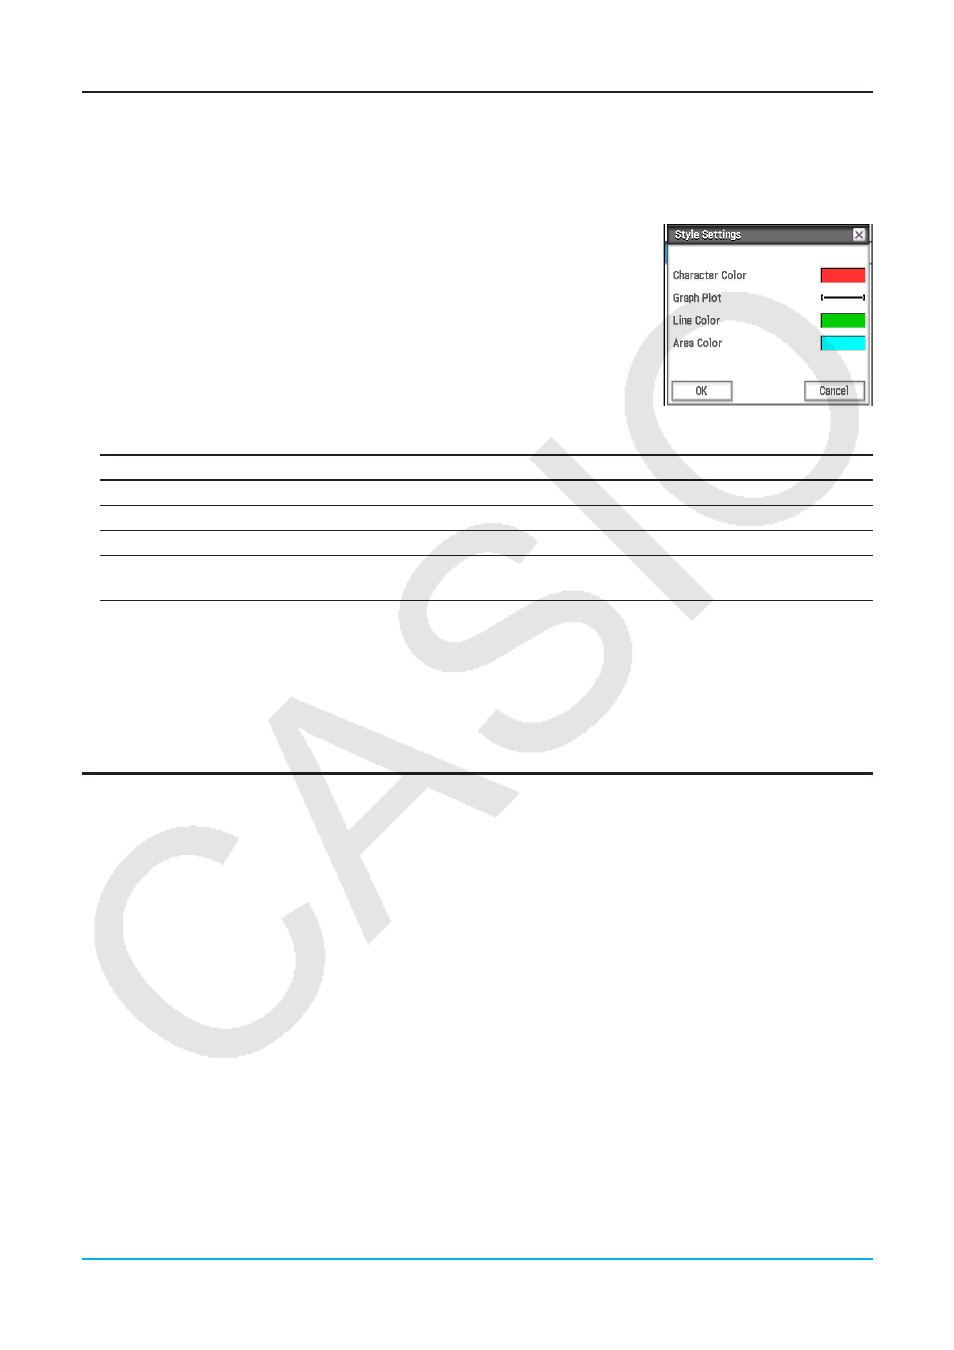
2. Tap [Edit] and then [Style] to display the dialog box shown to the right.
• The dialog box will show only supported settings, which depend on the
composition of the selected object.
3. Configure the dialog box with the following settings.
To specify this:
Perform this operation:
Specify the text color
Tap “Character Color” and then tap the desired color.
Specify the line type
Tap “Graph Plot” and then tap the desired line type.
Specify the line color
Tap “Line Color” and then tap the desired color.
Specify the figure fill color
Tap “Area Color” and then tap the desired color. To specify no fill color,
tap “Clear”.
4. To apply the settings you configure, return to the dialog box in step 2 of this procedure and then tap [OK].
u To specify the color and line type of all the objects on the Geometry window
1. Tap anywhere on the screen where there are no figures to deselect all of the figures.
2. Perform the procedure from step 2 under “To specify the color and line type of a particular object”.
Changing the Display Priority of Objects
Basically, objects you draw on the Geometry window are stacked in the order they are drawn (newest drawing
on top). You can use the operations in this section to move a drawn object to the top or the bottom of the stack.
You also can move all text to the front, if you want.
• To move a particular object to the front, select it and then tap [Edit] - [Properties] - [To the front].
• To move a particular object to the back, select it and then tap [Edit] - [Properties] - [To the back].
• To move all text to the front, tap [Edit], [Properties] and then [All Text].