Creating a new bin – Grass Valley K2 Dyno v.2.0 User Manual
Page 59
14 June 2011
K2 Dyno Controller Operator Manual
59
Creating a new bin
2. Touch
New
.
3. To enter the bin name, touch the bin property panel.
NOTE: Bin names previously edited, such as on an external PC can be imported to
the K2 Dyno Controller. For more information on how to import bin names, see
"Importing" on page 103
.
4. Touch
Enter
.
TIP: There are two ways to move between highlight bins. One way is to
touch the bin number/bin name panel (step 1), and from the highlight
bin list, double-touch the highlight bin to which you want to move. The
other is to touch < or > to move to the next highlight bin to the left or
right. For example, to move from "Bin1" to "Bin4", touch > three
times.
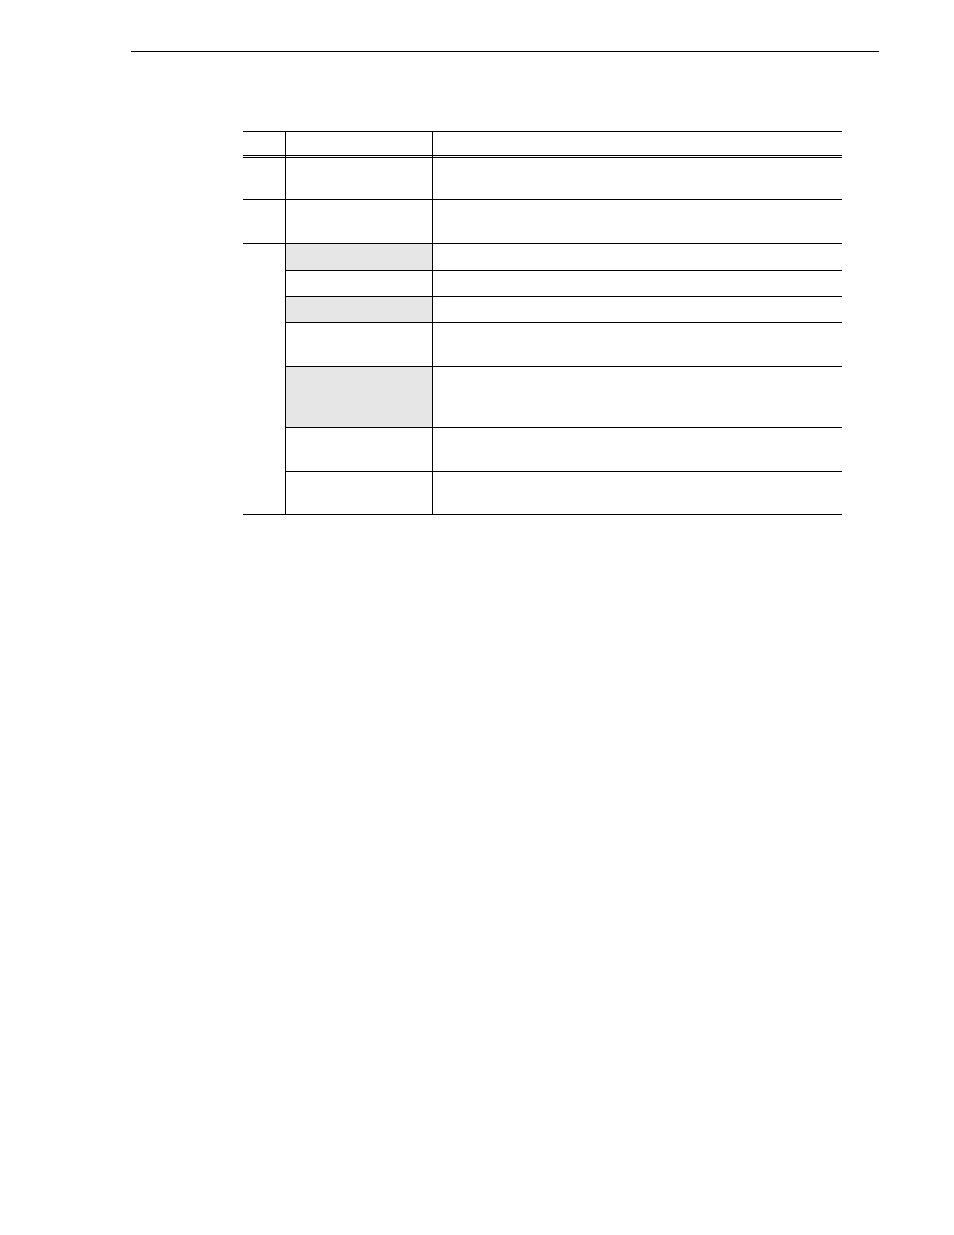
(3)
Bin property
Shows the bin number and name. Touch this to change the name of the
bin.
(4)
In/Out panel
When an item is selected, this panel shows its mark-in and mark-out
points.
(5)
DELETE
Deletes the selected bin.
OPEN
Expand the selected bin.
NEW
Creates a new bin.
COPY
Copies a bin. In the desired destination, touch
Paste
to copy the
selected item.[Paste is not displayed until Copy has been selected.]
SEND
Copies the selected item to the destination that you set in "Network"
on the Config screen. For more information about the settings, see
"Transferring items (SEND function)" on page 60
.
CUT
Removes the selected bin. Touch
Move
to move the selected
item.[Move is not displayed until Cut has been selected.]
VIEW
Toggles the view of the item in a slot between the thumbnail and the
keyword.
No.
Name
Function