Tolerance settings, 2 measurement procedures, Outer diameter measurements – KEYENCE LS-3100/3100W Series User Manual
Page 16: 2. measurement procedures

10
CHAPTER 3 Quick Setup Procedures
Tolerance Settings
The following procedure shows how to set the upper limit to 10.5 mm, and
lower limits to 9.5 mm.
For details on tolerance setting for 7-step differentiation, refer to pages 23
through 26.
3-2. Measurement Procedures
LIMIT
1
0
ENT
9
.
5
5
ENT
H
L
I
O
=
=
–
6
6
0
0
.
.
0
0
0
0
0
0
0
0
H
L
I
O
=
=
[
– 6 0
.
0 0 0
1
0
H
L
I
O
=
=
[
– 6 0
.
0 0
1
0
0
0
H
L
I
O
=
=
H
L
I
O
=
=
H
L
I
O
=
=
H
L
I
O
=
=
[
1 0
.
5 0 0 0
9
]
]
[
– 6 0
.
0
1
0
0
0
.
0
]
[
– 6 0
.
1
0
0
0
.
0
5
0
]
–
1
6
0
0
.
.
5
0
0
0
0
0
0
0
]
H
L
I
O
=
=
[
1 0
.
5 0 0
9
0
. ]
H
L
I
O
=
=
[
1 0
.
5 0
9
0
.
0
5 ]
H
L
I
O
=
=
1 0
9
.
.
5
5
0
0
0
0
0
0
H
L
I
O
=
=
[
1 0
.
5 0 0 0
]
.
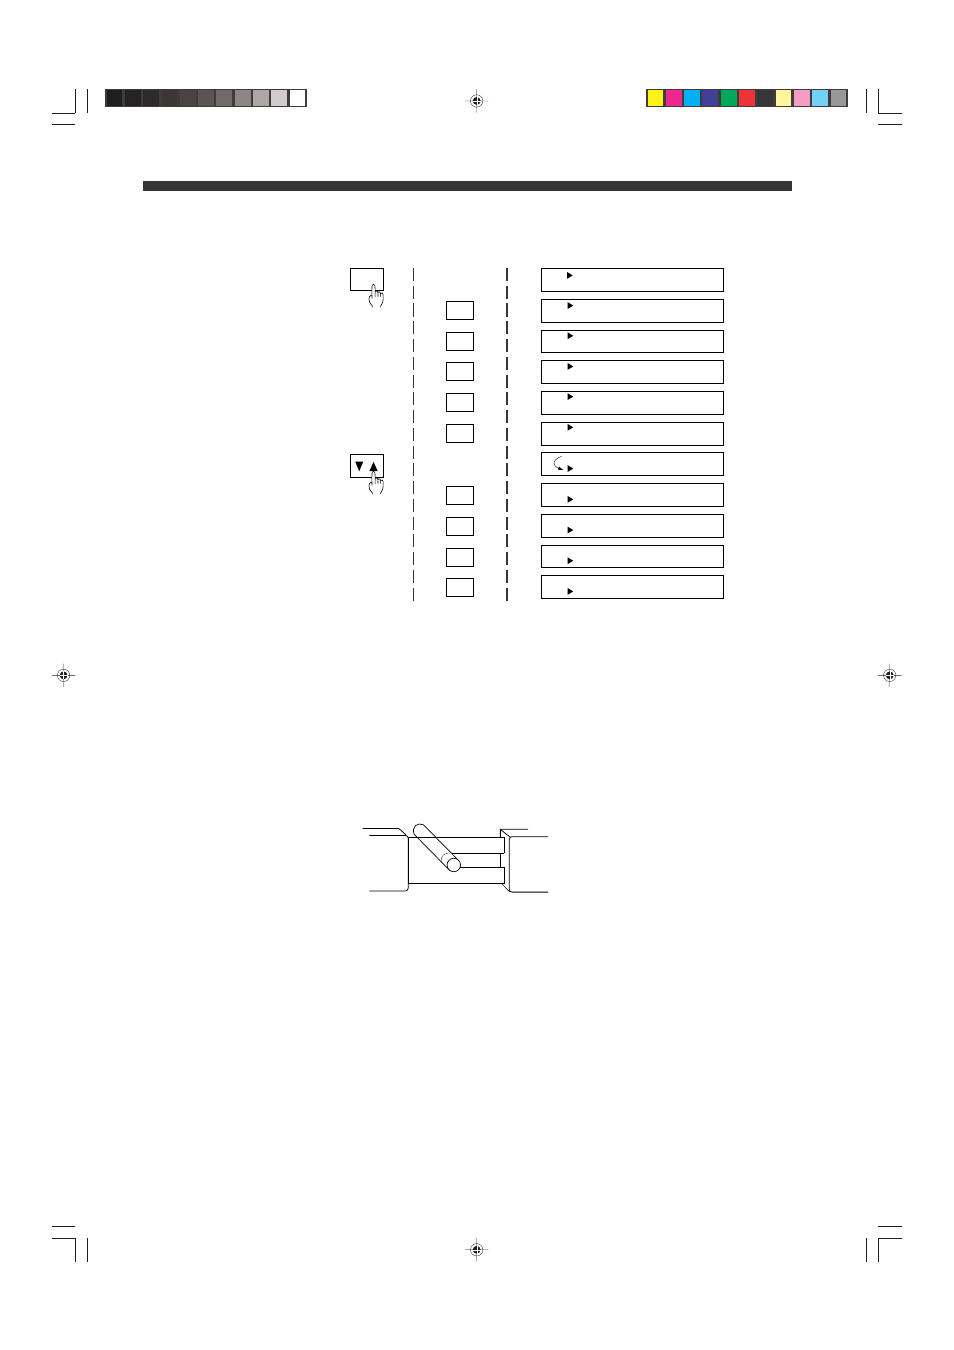
" " moves
to the "LO"
position
▲
OK
Outer Diameter
Measurements
■ Applications
• Measuring piston outer diameter
• Measuring flat cable width
• Measuring capacitor outer diameter
■ Setting
After "MEMORY INITIALIZED" is displayed, the segment mode is automati-
cally set to DIA (outer diameter measurement).
For details on AVERAGE setting, refer to "AVERAGE", and for details on
tolerance setting, refer to "Tolerance Settings" shown above.
• The number of measurements for averaging is set to 1024 after settings
are initialized.
"----" appears on the display for about 3 seconds, even after a target is
placed within the measuring range.
• In the DIA mode, "----" appears on the main display when no workpiece is
within the measuring range.
R
T
08.10.1, 11:14 AM
10
