Using nsdee with an scm plug-in, Adding a project to the subversion repository – HP Integrity NonStop J-Series User Manual
Page 122
a.
Return to Eclipse and select the project you added files or directories to in the NonStop
Project Explorer view.
b.
Select Refresh from the context menu. NSDEE detects the new files and directories.
4.
To check out changes to a project contributed by others:
a.
Use the SCM tool to update with the change.
b.
Select Refresh from the context menu of the NonStop Project Explorer view. NSDEE detects
any changed files and updates them.
Using NSDEE with an SCM plug-in
This section describes how to use the Subclipse plug-in for Subversion with NSDEE managed
projects. Other SCM tools use similar but differing procedures. Three main activities are described
in this section:
•
“Adding a local NonStop project to an SVN repository” (page 122)
•
“Checking in project files” (page 123)
•
“Checking out project files” (page 123)
This section provides only an example. For detailed information about Subclipse, see the online
help for Subclipse - Subversion Eclipse Plugin.
Adding a local NonStop project to an SVN repository
Say you created a simple managed C project named HelloWorld and you want to add it to a
Subversion repository that you set up in the Subversion Repository Exporing perspective at the
location C:\svn-repository. To add HelloWorld to the repository, perform the following
steps from the NonStop Development perspective:
1.
In the NonStop Project Explorer view, select the HelloWorld project.
2.
From the context menu, select Team
→Share Project... to open the Share Project wizard.
3.
In the Share Project wizard, select SVN.
4.
Select Next >. In the following page, your repository should already be selected as well as
the Use existing repository location: button. (Do not change these selections.)
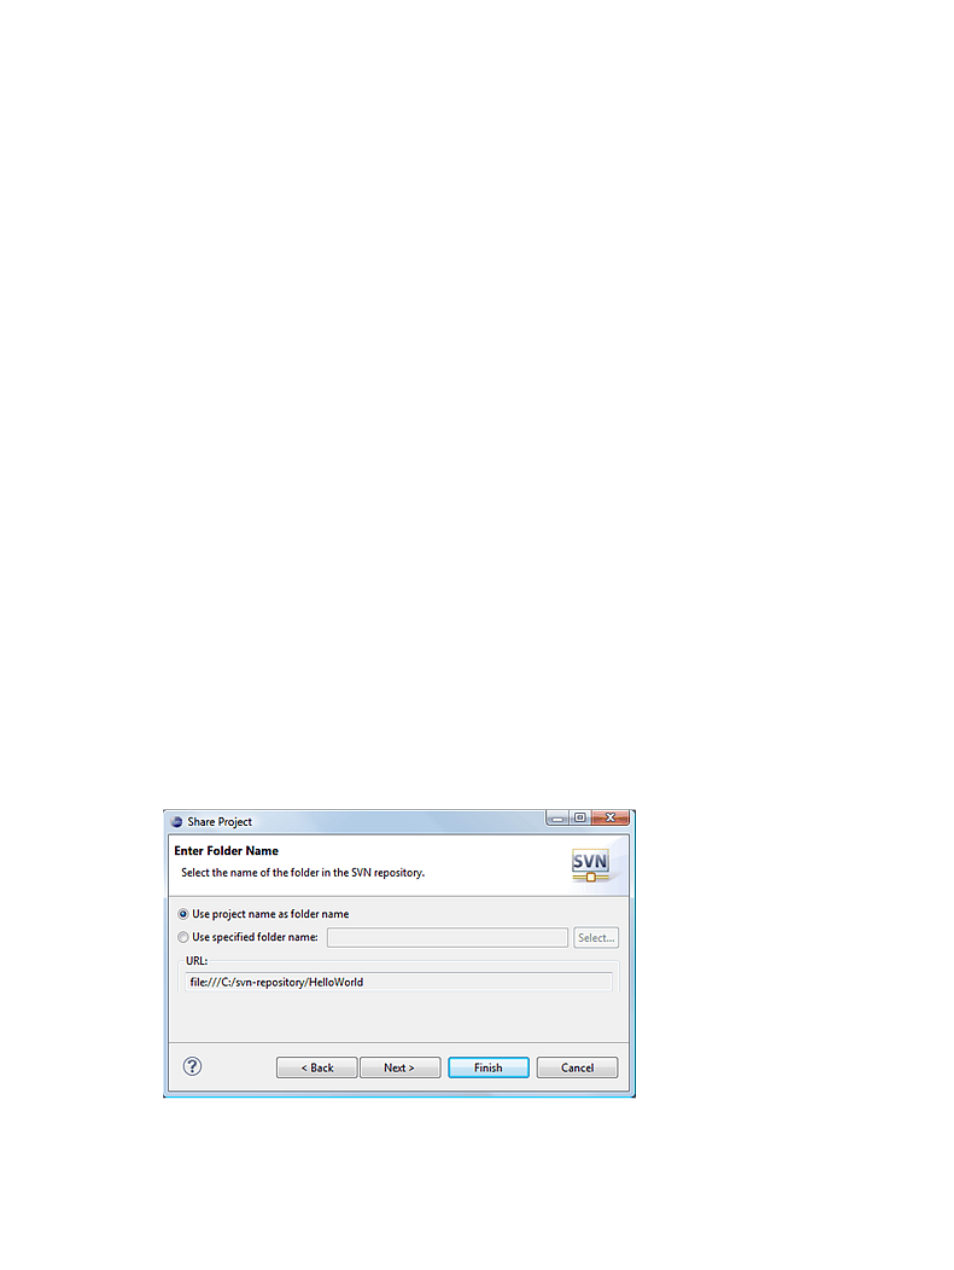
5.
Select Next >. The next page shows file:///C:/svn-repository/HelloWorld as the
location of HelloWorld in the repository (see
).
Figure 81 Adding a project to the subversion repository
6.
Select Finish.
7.
A dialog opens asking if you want to open the Team Synchronizing perspective. Select Yes
to see HelloWorld in this perspective. Regardless of your choice, HelloWorld is added
122
Tasks