HP NonStop G-Series User Manual
Page 279
Moving the Cursor
Page Mode Editing
058061 Tandem Computers Incorporated
C–9
Using the Cursor
Control and Editing
Keys
You use the cursor control and editing keys when you position the cursor
or add or delete characters and lines on the screen. These are the basic keys
you use to manipulate the cursor and the space on the screen to
complement the more sophisticated functions you can perform with the
numbered function keys.
Moving the Cursor
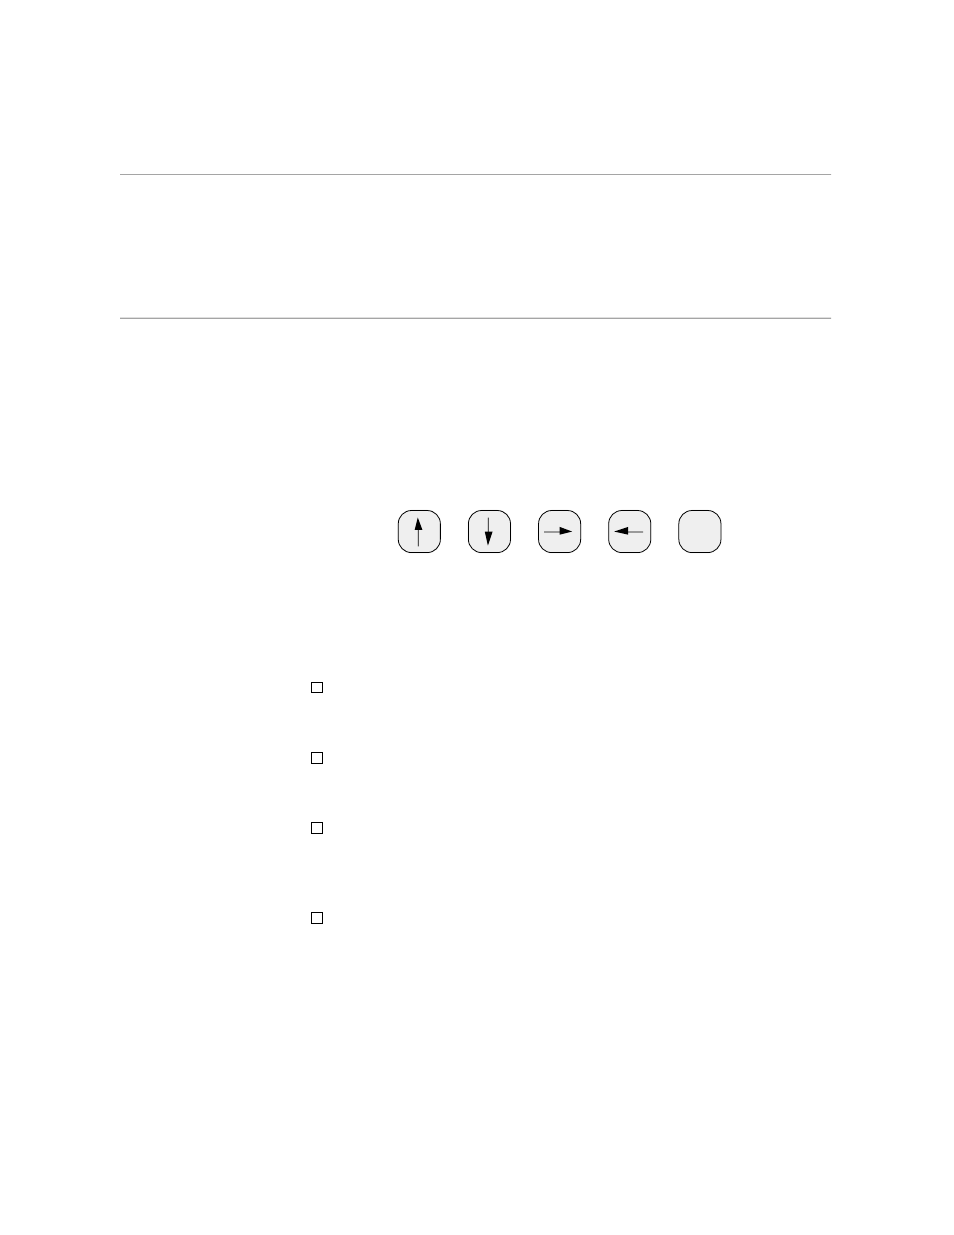
To the right of your alphanumeric (main) keyboard, there are four arrow
keys and the HOME key:
HOME
These four arrow keys are the cursor control keys. When you use the EDIT
VS program, you press the cursor control keys as well as the RETURN key
to move the cursor around the screen. When you move the cursor around
an empty screen, you will notice:
From the top to the bottom of the screen, there are 24 lines on which
you can place the cursor. This means a screen holds up to 24 lines of
text.
From the left side to the right side of the screen, there are 80 columns in
which you can place the cursor. This means a screen holds up to 80
characters per line of text.
If you press the up (
↑
) cursor key when the cursor is on the top line of
the screen, the cursor moves to the bottom line of the screen. If you
press the down (
↓
) cursor key when the cursor is on the bottom line of
the screen, the cursor moves to the top line of the screen.
If you press the right (
→)
cursor key when the cursor is in column 80,
the cursor moves to column 1 one line down. If you press the left (
←
)
cursor key when the cursor is in column 1, the cursor moves to column
80 one line up.