IAI America RCP2W-RA10C User Manual
Page 90
84
12. Process for Motor Replacement
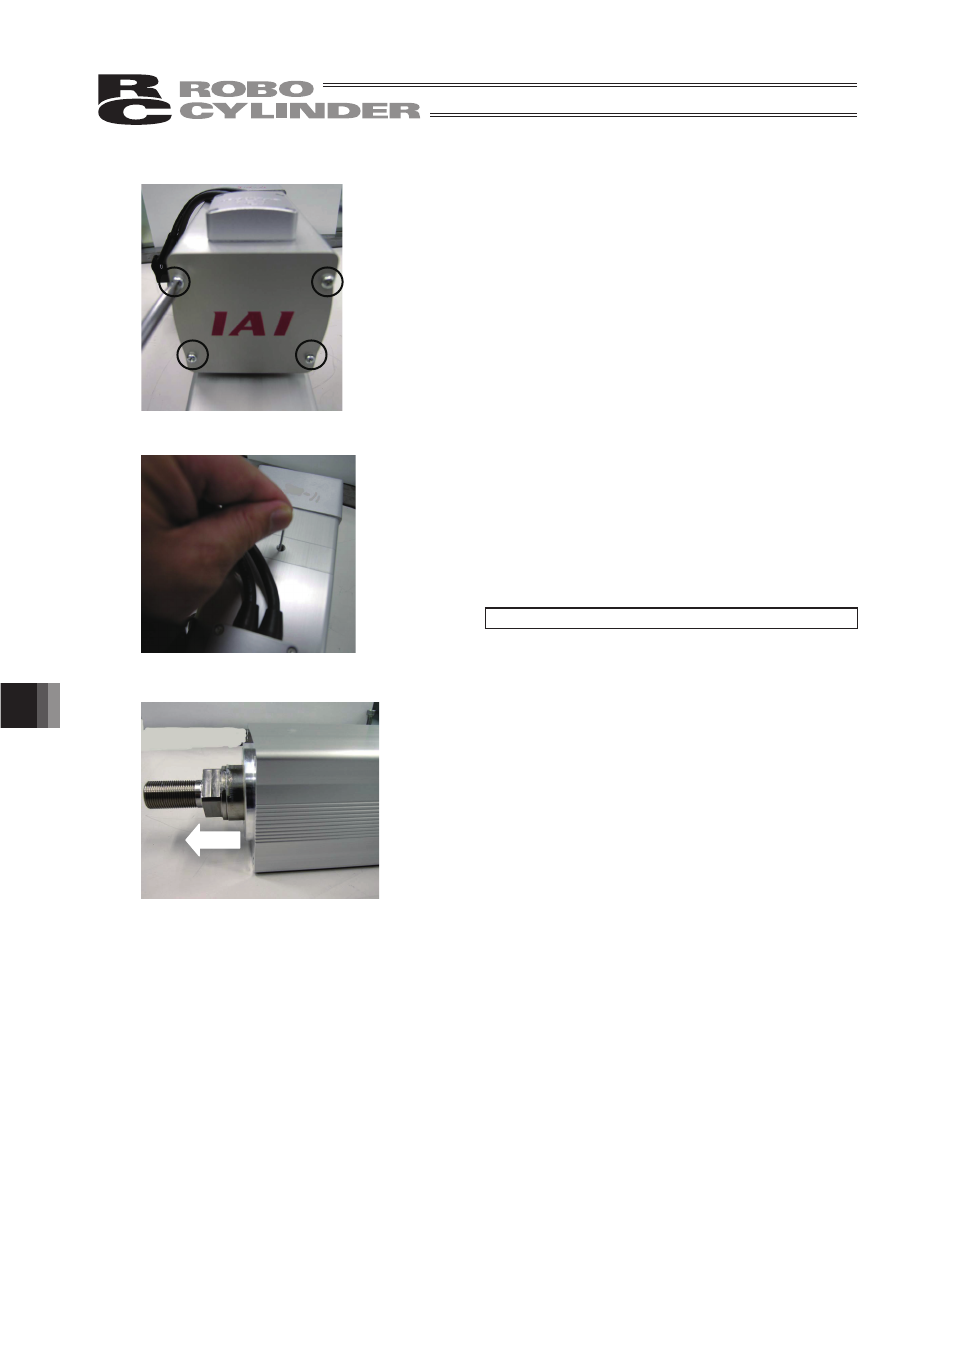
16) Hold the motor cover with 4 screws and tighten them
with a Phillips screwdriver.
17) You will be able to see the hex socket head cap
screw (M3 × 5) retaining the motor shaft joint unless
you have moved the rod after the procedure to insert
the motor into the main unit in 12).
Untighten the hex socket head cap screw (M3 × 5)
using a 1.5mm sized hex wrench.
Tightening Torque : 85N·cm (8.7kgf·cm)
18) Pull the rod further. In the range of lead length, you
will find the second hex socket head cap screw (M3
× 5) tightening the motor shaft joint.
For low lead actuators, it is difficult to move the rod
manually. Do not intend to move it forcefully, connect
the controller and move it with JOG operation.
This manual is related to the following products: