Setting up the “photogate timing” timer – PASCO Xplorer-GLX Users’ Guide User Manual
Page 69
X p l o r e r G L X U s e r s ’ G u i d e
63
measured from the start of data collection to the midpoint of the sequence. From
these measurements and user-entered (or default) constants, the GLX derives
other measurements such as position, velocity, and acceleration. The configura-
tion of what sequences the GLX measures and what secondary measurements it
derives is called a timer.
The GLX is programmed with nine timers. The timer that you choose depends on
the sensor (or combination of sensors) that you are using and the type of mea-
surement that you would like to make. The following example details the proce-
dure for selecting and setting up the “Photogate Timing” timer. The general
procedure for other timers is similar, and the specifics of each timer are described
on pages 64 through 67.
Setting Up the “Photogate Timing” Timer
In this example, we will connect and set up a single photogate to measure the
velocity of an object of known width.
1.
Connect a Photogate Port or Digital Adapter and a single photogate to the
GLX.
If the Timing Screen does not open automatically, go to the Home Screen,
use the arrow keys to highlight the Timing icon, and press
. Then press
to open the Add menu.
2.
You will see the Add menu, which contains the timer options. For this exam-
ple, select Photogate Timing.
Once you have chosen a timer, there are two types of things to set:
•
measurements, which can be set as “visible” or “not visible,” and
•
constants, which, in this case, are Flag Length and Photogate Spacing.
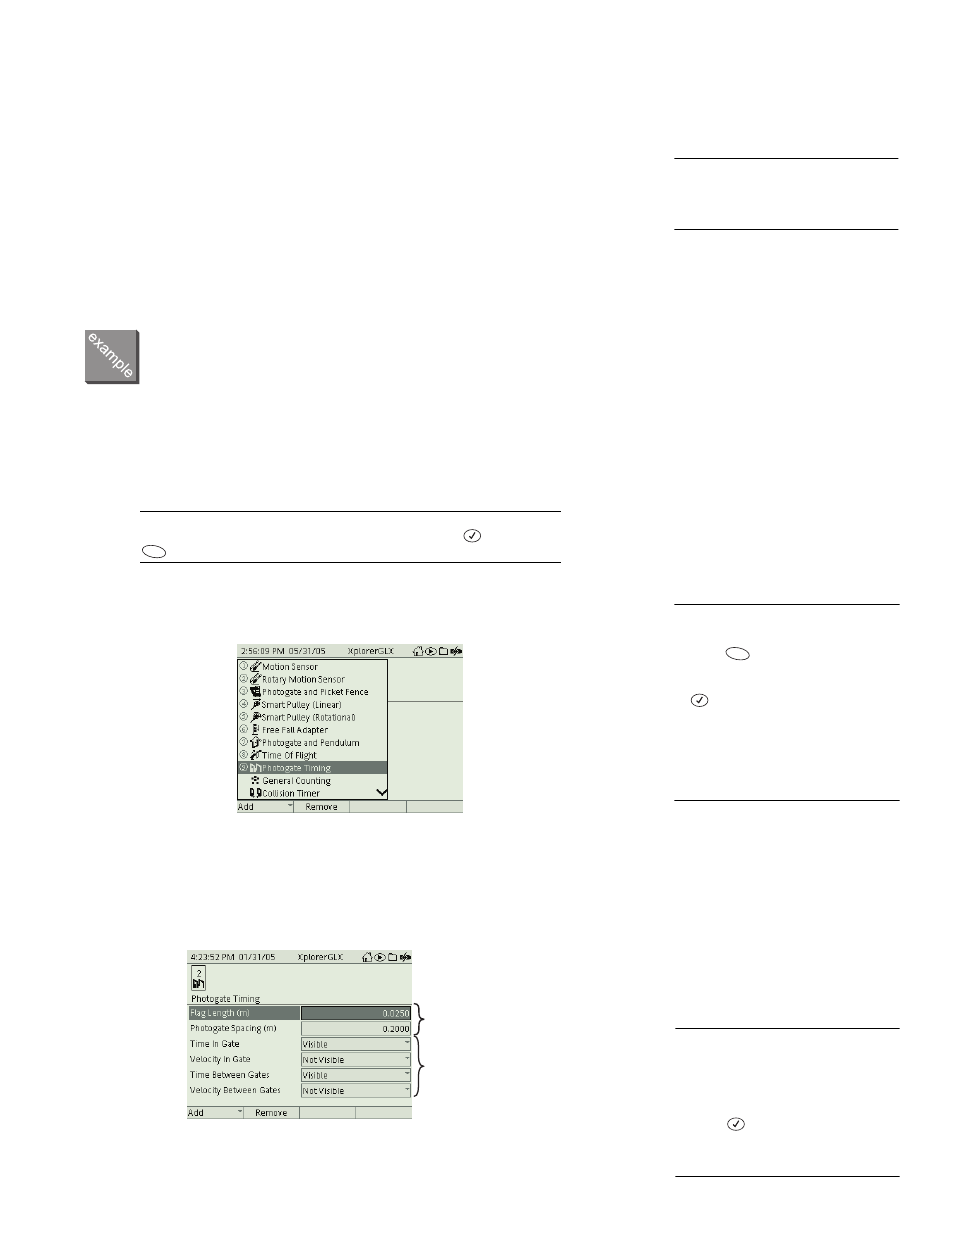
3.
In this example there is only one photogate, so set Time Between Gates and
Velocity Between Gates to “Not Visible.”
14
One exception, the “General Counting”
timer, measures the number of events
that occur within a specified period. See
page 66 for details.
F1
15
To select a timer from the Add menu
Keypad
1. Press
to open the Add menu.
2. Use the up and down arrow keys to
highlight the desired timer and press
;
or press the number on the key-
pad corresponding to the desired
timer.
Mouse
1. Click Add to open the menu.
2. Click the desired timer.
F1
Constants
Measurements
16
To change the visibility of a mea-
surement:
Keypad
1. Use the arrow keys to highlight the
measurement.
2. Press .
Mouse
Click the word “Visible.”