Epson 3865X Plus User Manual
Page 208
5.
As you lower the drive into the vertical mounting area,
guide the long end of the cable underneath the drive and
curl up the short end behind the drive.
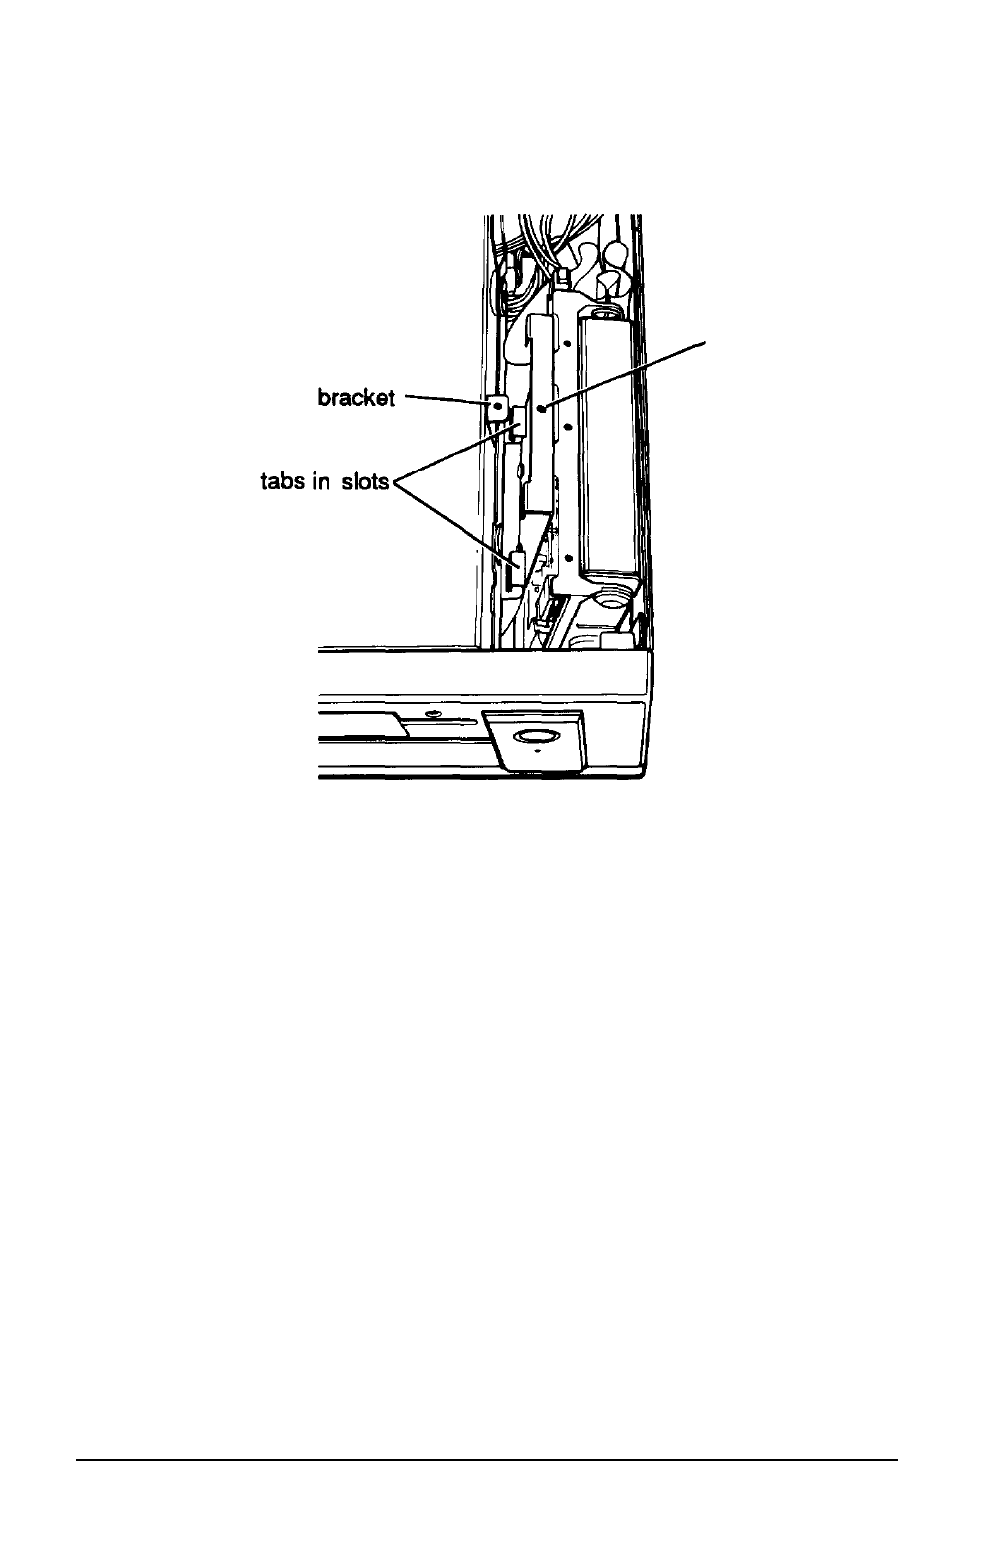
hole
As shown above, fit the tabs on the mounting plate into the
slots on the side of the subassembly. Then tilt the drive
toward the subassembly and align the retaining screw hole
on the mounting plate with the hole in the bracket.
6.
Secure the drive to the bracket with the retaining screw.
If you used the instructions above to install your drive while
the subassembly is out of the computer, see “Replacing the
Subassembly,” on page B-47. Do not follow the steps in the
next section.
Installing and
Removing Disk Drives
B-17