Step 3: setting up the concept project – ProSoft Technology PTQ-PDPMV1 User Manual
Page 113
PTQ-PDPMV1 ♦ Quantum Platform
Configuring the Processor with Concept 2.6
PROFIBUS DP Master Network Interface Module for Quantum
User Manual
ProSoft Technology, Inc.
Page 113 of 306
August 12, 2014
4.6
Step 3: Setting up the Concept Project
1 Start Concept Version 2.6.
2 Open the F
ILE
menu, and then choose N
EW
P
ROJECT
.
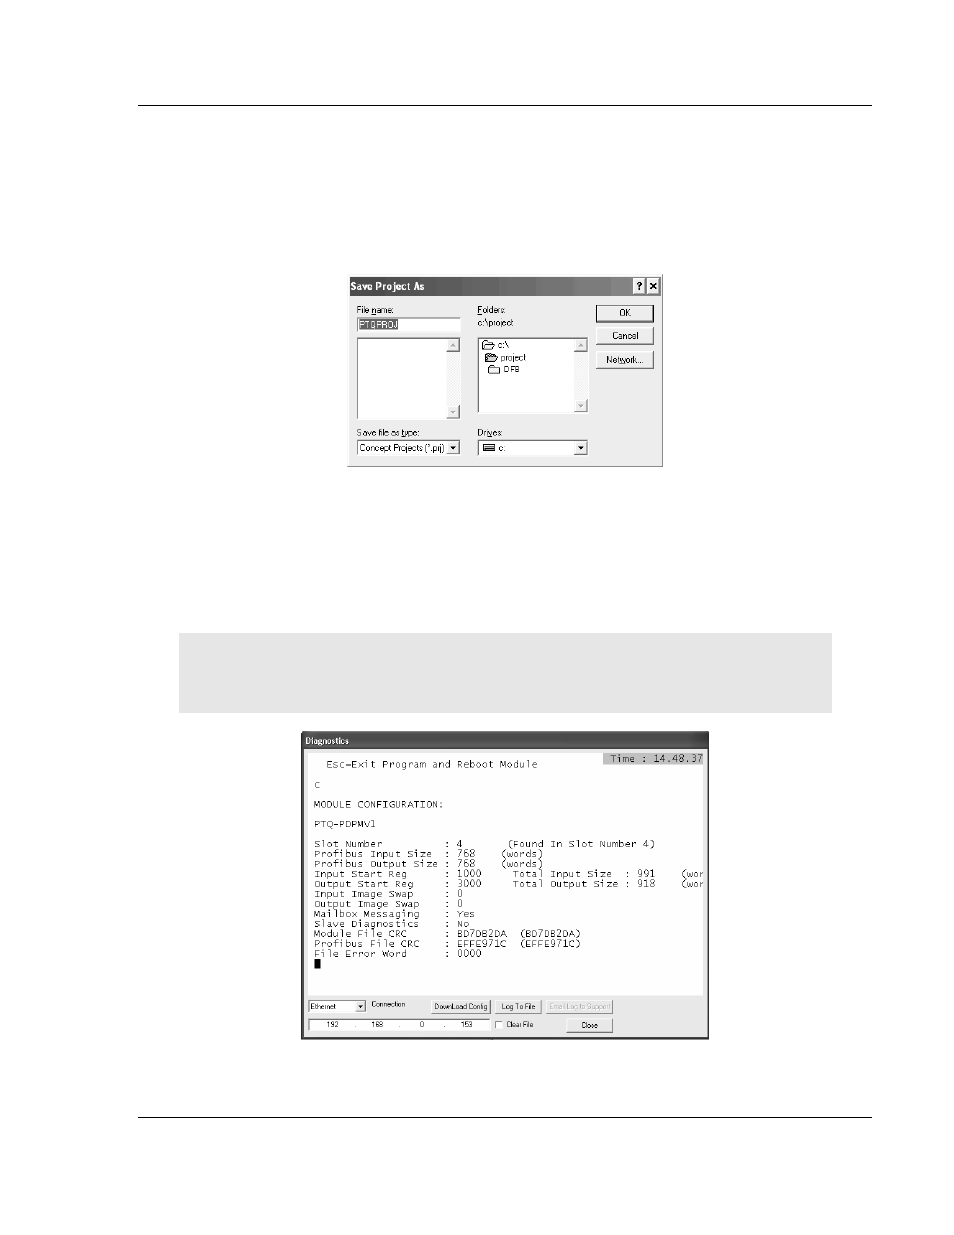
3 Open the F
ILE
menu again, and then click S
AVE
P
ROJECT
A
S
.
4 Navigate to C:\project, and enter PTQPROJ as the file name. Click OK
to
save the file.
5 Configure the general settings for your application. Select the correct
Quantum processor type (PLC Selection) and other modules that will be
located in the Quantum rack.
6 In PLC Configuration, double-click PLC
M
EMORY
P
ARTITION
. Verify that the
number of input registers and output registers are sufficient for your
application.
Note: You can view the number of input and output words required for your PTQ-PDPMV1
application in the Diagnostics window in ProSoft Configuration Builder. From the module’s
configuration/debug menu, press [B] to open the Block Transfer Statistics menu.