Step 1, Step 2 – Measurement Computing WBK Options User Manual
Page 150

STEP 1 –
Install the Software
1.
Remove
previous version Daq drivers, if present. You can do this through Microsoft’s Add/Remove
Programs feature.
2. Place the Data Acquisition CD into the CD-ROM drive. Wait for PC to auto-run the CD. This may take a
few moments, depending on your PC. If the CD does not auto-run, use the Desktop’s Start/Run/Browse
feature to locate and run the CD’s setup.exe file.
3. After the intro-screen appears, follow the screen prompts.
STEP 2 –
Determine the type of Network Connection
To properly connect a WBK25 you must determine the type of network that it will become part of. This is
because the type of network used has a direct bearing on the IP address that will be assigned.
Briefly, the four network types are as follows:
Dedicated Network - with a direct cable connection from the PC to the device
•
•
•
•
Dedicated Network - making use of a network hub or switch
LAN with a DHCP Server
(Local Area Network with a Dynamic Host Configuration Protocol)
LAN with no DHCP Server
(Local Area Network with no Dynamic Host Configuration Protocol)
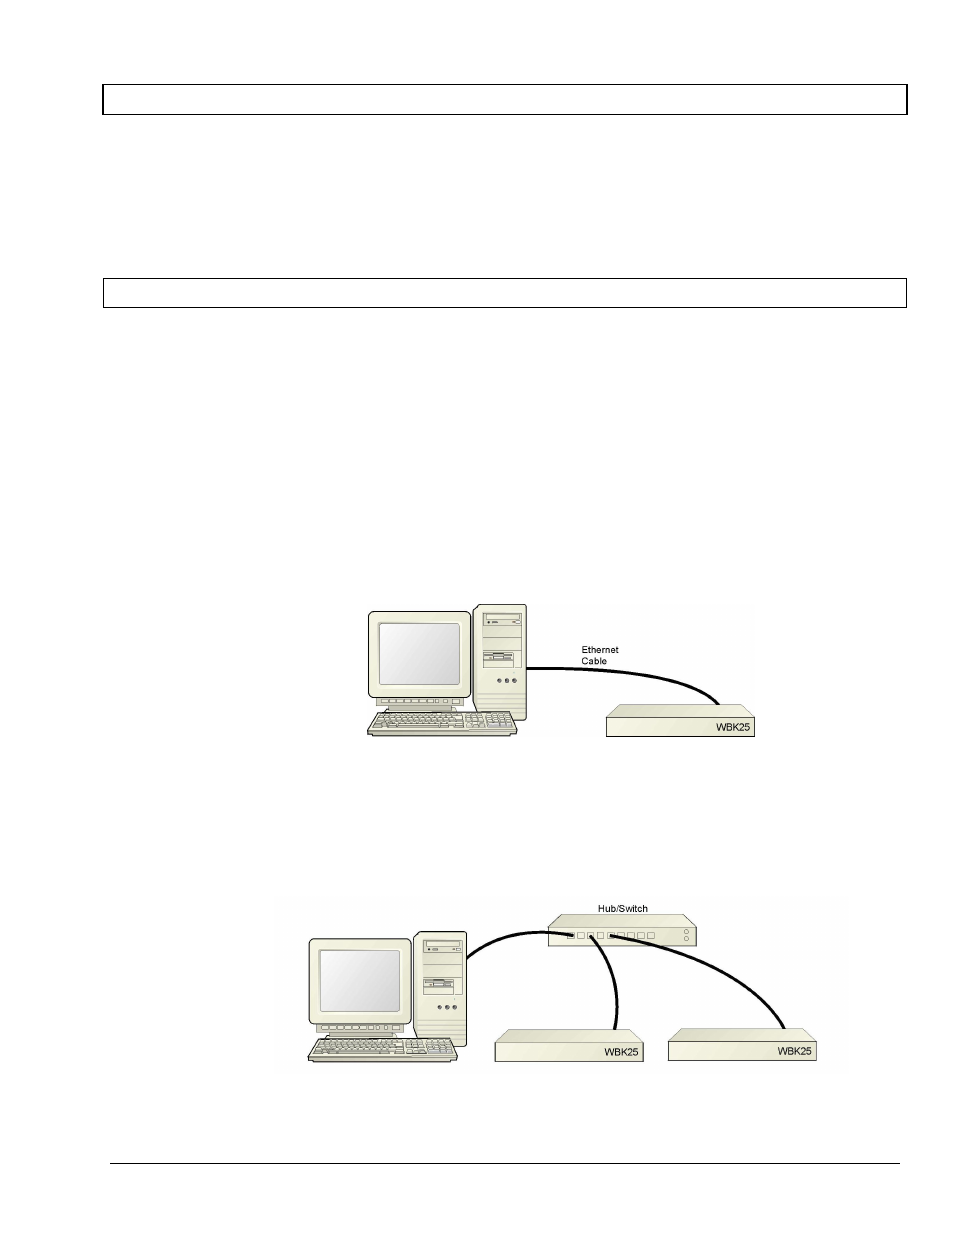
Dedicated Network - with a direct cable connection from the PC to the device
In this scenario the WBK25 is connected directly to an Ethernet jack on a host computer.
Dedicated Network using a Direct Cable Connection
Dedicated Network - making use of a network hub or switch
In this scenario the WBK25 is connected to the Ethernet through a network hub or switch. At least one
computer is also connected to the hub.
Dedicated Network using a Hub/Switch
WBK25 Ethernet Interface Module User’s Guide
919896
WBK25, pg. 5
