Start / stop sequence, Sequence mode, Edit steps – ETC Echo Architectural Control Processor (ACP) v1.0.0 User Manual
Page 52: N o t e
47
Echo ACP Configuration Manual
Start / Stop Sequence
When the Sequence is NOT currently playing, “Start” displays for selection on the following
line.
When the Sequence is playing, “Stop” displays for selection on the following line.
Step 1:
Scroll to “Start” or “Stop” and press enter (
) to change the Sequence state.
Sequence Mode
Sequence Mode determines how the Sequence will behave when it is running. Options
include “Bounce”, “Single” or “Loop”.
Step 1:
Scroll to “Seq Mode” and press enter (
).
Step 2:
Use the scroll wheel to change the Sequence Mode. Press enter (
) to accept
the selection.
•
Bounce mode is similar to a preset, it can be activated or deactivated. When it is
activated, it runs through the sequence steps in order of recorded presets for the
Space, similar to a fade up. When it is deactivated, it runs through those same steps in
reverse order, similar to a fade down. A “Bounce” Sequence is useful for powering on
and off equipment that needs to be turned on or off in a particular order, like sound
amplifiers and mixers.
•
Single mode runs the defined Sequence Steps from beginning to the end, then
terminates. A single Sequence is activated by a “Start” command.
•
Looping mode runs the defined Sequence Steps in a loop from 1 through the highest
programmed Sequence Step, then starts the Sequence over again from Step 1. A
looping Sequence is activated by a “Start” command and terminated by a “Stop”
command.
Edit Steps
Step 1:
Set levels for all of the circuits within the selected Space. Levels can be DMX,
sACN, levels set through architectural controls, manually set levels from the user
interface, or a combination of sources regardless of priority.
Step 2:
Press enter (
). The selection changes to the Step 1 of 1 (this is created by
default, but has no recorded value yet). Adding more Steps into the Sequence is
done using the “Insert Step After” menu option, see Step 6: below.
Step 3:
Fade Time determines the fade time for a step in seconds. At zero seconds, the
step will snap with no fade time. Two seconds is the default. Scroll to “Fade Time”
and press enter (
). Specify a new value in seconds then press enter (
).
Step 4:
Hold Time determines the length of time that the Step will be held at the recorded
levels before fading to the next Step. Three seconds is the default. Scroll to “Hold
Time” and press enter (
). Specify a new value in seconds then press enter
(
).
N o t e :
The default fade time for sequences is zero seconds, and instead defers to the
fade times that are defined in the Sequence Steps.
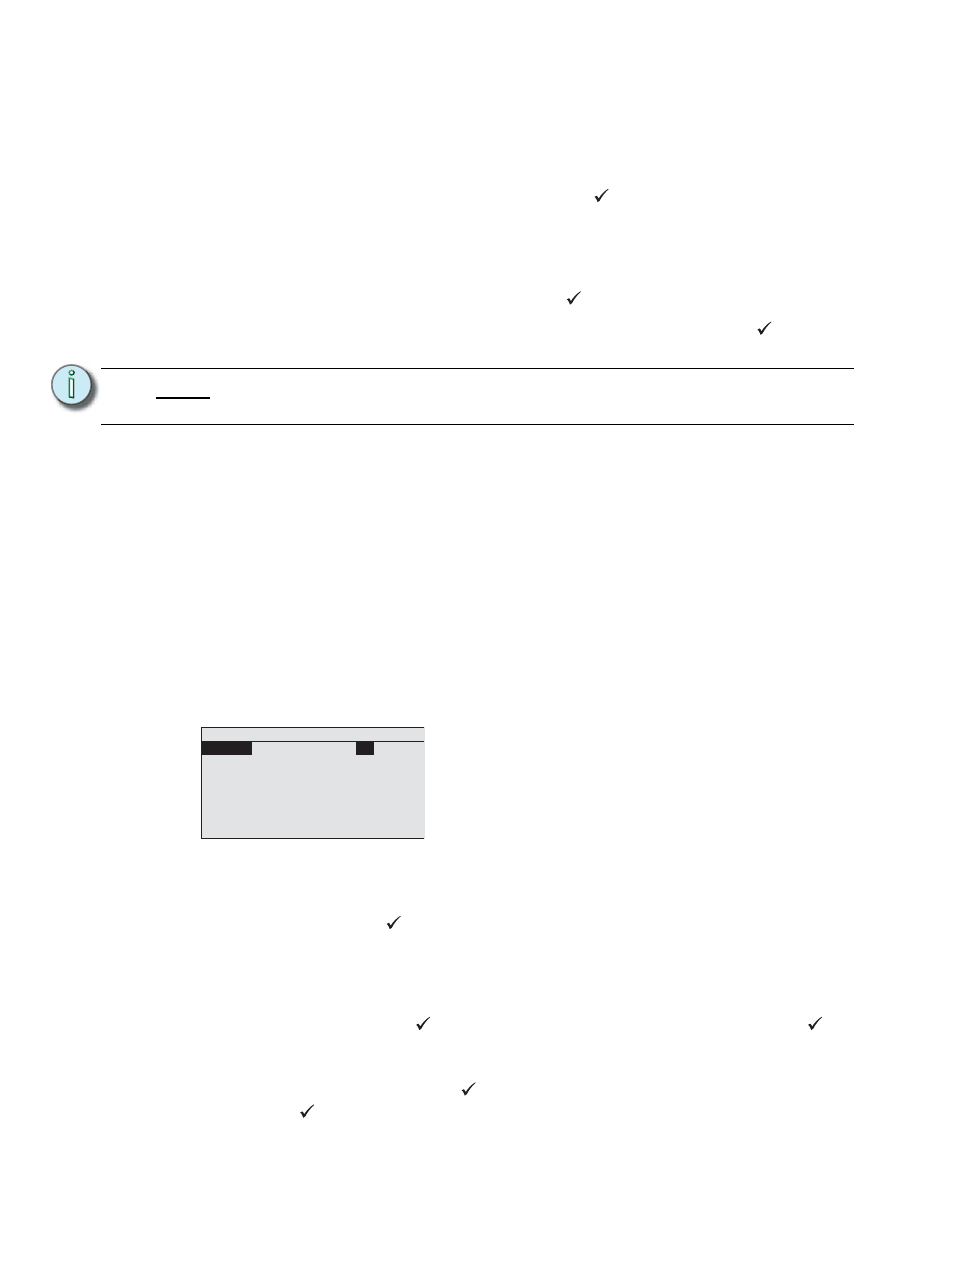
Edit Step
Step: 1
of 6
Fade Time:
2 sec
Hold Time:
3 sec
Record
Insert Step After
Delete Step
Each Sequence allows recording of up to 6 Sequence
Steps.
What each Step does is defined through the recording
(snapshot) of current output levels, and the specification
of Fade and Hold times.