Ag leader technology – Ag Leader GPS 2100 Operators Manual User Manual
Page 16
Operation
GPS 2000/2100
Ag Leader Technology
April 1998
2-8
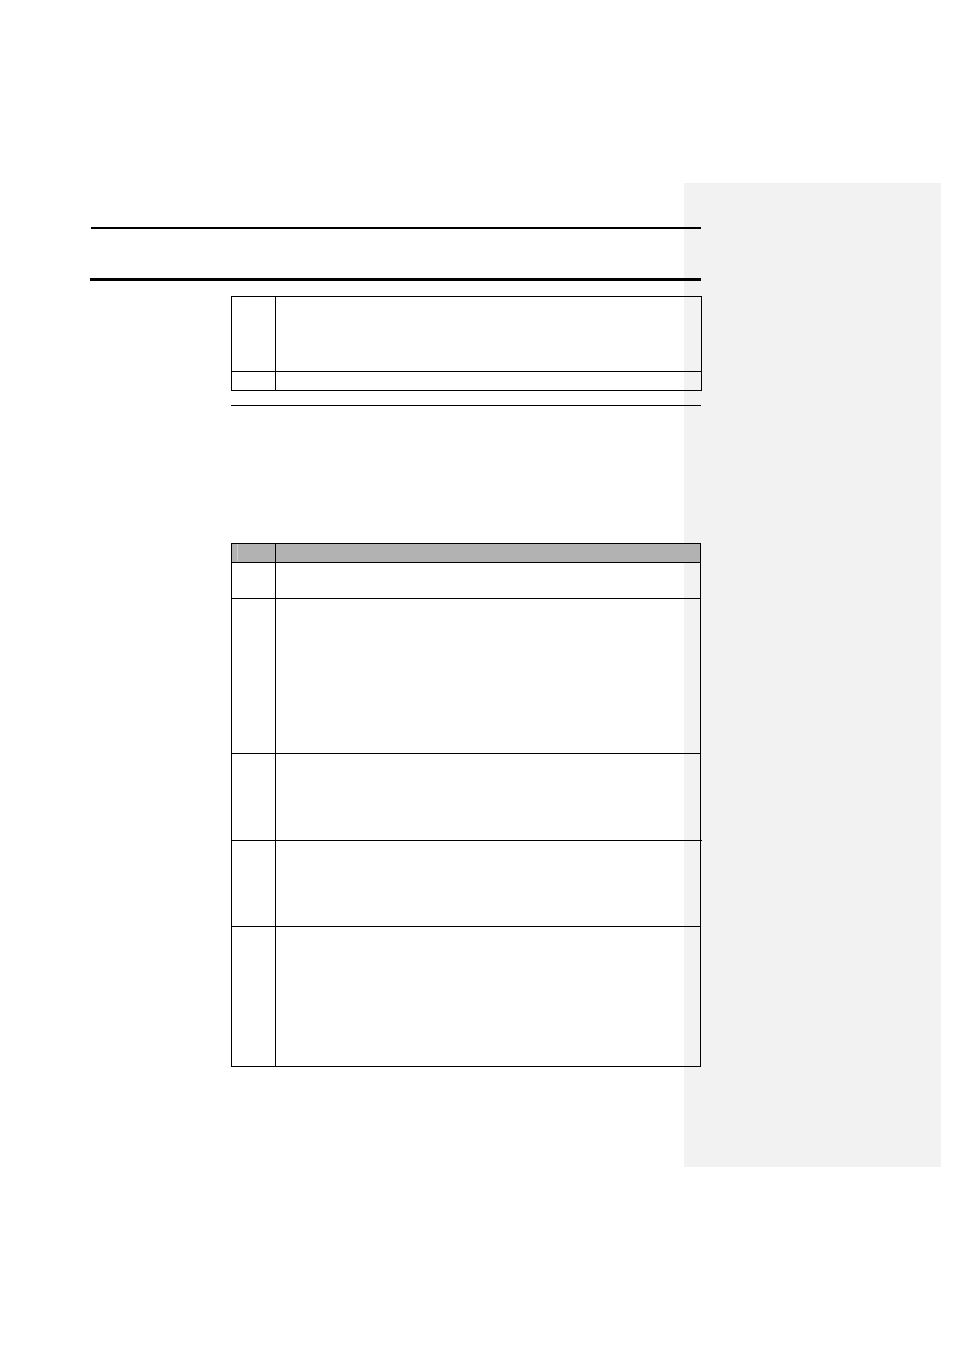
9
After the site is marked return to navigation mode and enter the
next site to navigate to. Navigation mode will continue to only
allow the user to enter in manual location values until the user
presses the enter key.
10
Repeat steps 7-9 until all the sample sites have been logged.
Site Verification
For site verification, the unit most likely will be mounted on a tractor. If this
is the case, the GPS 2000/2100 can be powered with the supplied GPS
ATV/tractor power cable or the GPS cigarette lighter cable.
The following steps represent the recommended method to operate the unit
for site verification:
Step
Action
1
Place the GPS 2000/2100 in MARK mode by pressing the MARK
key.
2
Use the directional arrow keys to select the field that data will be
logged in. If a field name has not been entered the user has the
option to manually key the name in by going to EDIT FLD which
can be found from the standard mode using the setup key. Or the
user can use the GPS Utilities program to enter in custom names
(refer to 4-3). If the user wants to change the data type to be used
they must create or edit the name using the Utilities program and
then select that data type for the desired field using the EDIT FLD
option.
3
The user must now decide how they will differentiate the data that
will be collected in the field. It is recommended to use the available
32 marks to distinguish differences in a field. An example would be
to name the marks on the basis of the different hybrids that will be
planted.
4
Now select a logging interval (INT:) which is located on the MARK
screen. Use the directional arrow keys to select a logging interval
that will provide enough memory to complete a desired amount of
work. NOTE: If you use a logging interval greater than 3 you will
need edit it back to 1, 2 or 3 sec. using Excel
5
After all the names have been entered and the field that data will be
logged in is selected, the user has two options for logging.
•
Set LOG: to ON by moving the cursor to LOG and use the up,
down arrow keys to turn logging on and off. Then activate
either spot or continuous marks as needed.
Or
•
Activate a continuous mark and also use spot marks.