Ag leader technology – Ag Leader GPS 2100 Operators Manual User Manual
Page 13
GPS 2000/2100
Setup
Ag Leader Technology
Apri1998
2-5
Soil Sampling
Using the GPS 2000/2100 the user has the capability to enter sample
locations, navigate to these points, and then mark the site where the
sample was taken. To transfer data to and from the GPS 2000/2100
the user will need to install the GPS 2000 Utilities program provided
with the system. Refer to section 4, Software, to install the GPS
Utilities program and general usage instructions.
The following is a description of how to collect soil samples using the
GPS 2000/2100:
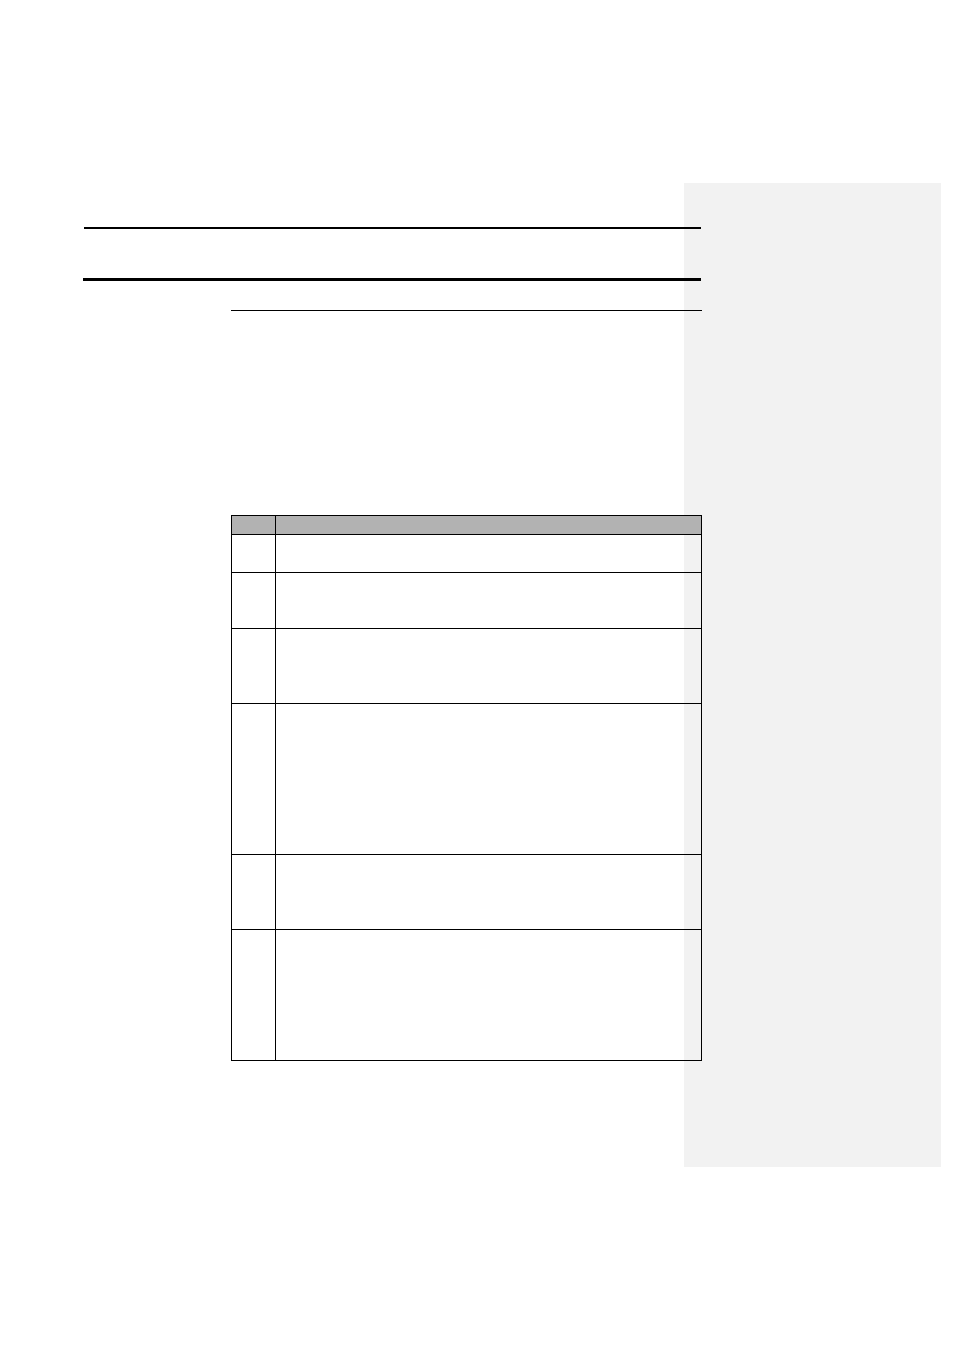
Step
Action
1
Use a software program capable of griding fields to generate a
soil sample grid map.
2
Write down the LATITUDE & LONGITUDE for each point or
print out a copy of the locations. Also record the total number
of samples that will be collected in the field.
3
The user must now create a new file with the desired sample
points in it. Follow the steps starting on 4-8 to create and save
this file. The file created must be saved in the HEXASCII
format before it can be transferred into the GPS 2000/2100.
4
From the main window of the GPS Utilities program, click on
the MEMORY button. Click on the TRANSFER TO GPS
button. Select the file that was modified with the sample points
and click OK. Follow the on screen instructions and place the
GPS unit in LOAD MEM mode. The progress indicator in the
lower right-hand corner of the screen will indicate that data is
being transferred to the GPS unit.
5
The program will now prompt the user to put the GPS unit
back into LOAD MEM mode to complete the transfer. Once
the unit is in the correct mode click OK. When completed the
GPS unit will return to standard mode.
6
On the GPS 2000/2100, press the MARK key. Using the arrow
keys select a field that contains sample data. The screen should
indicate the number of points that you entered. Press the
SETUP key once and then press the F2 key to select the
RESCALE function. A map of the points that were entered for
the field should now be visible on the screen. Press SETUP
again and press F4 to QUIT and return back to mark mode. The