Watlow EZ-ZONE PM PID User Manual
Page 16
Watlow EZ-ZONE
®
PM PID Controller
•
13
•
Chapter 2 Install and Wire
Removing the Mounted Controller from Its Case
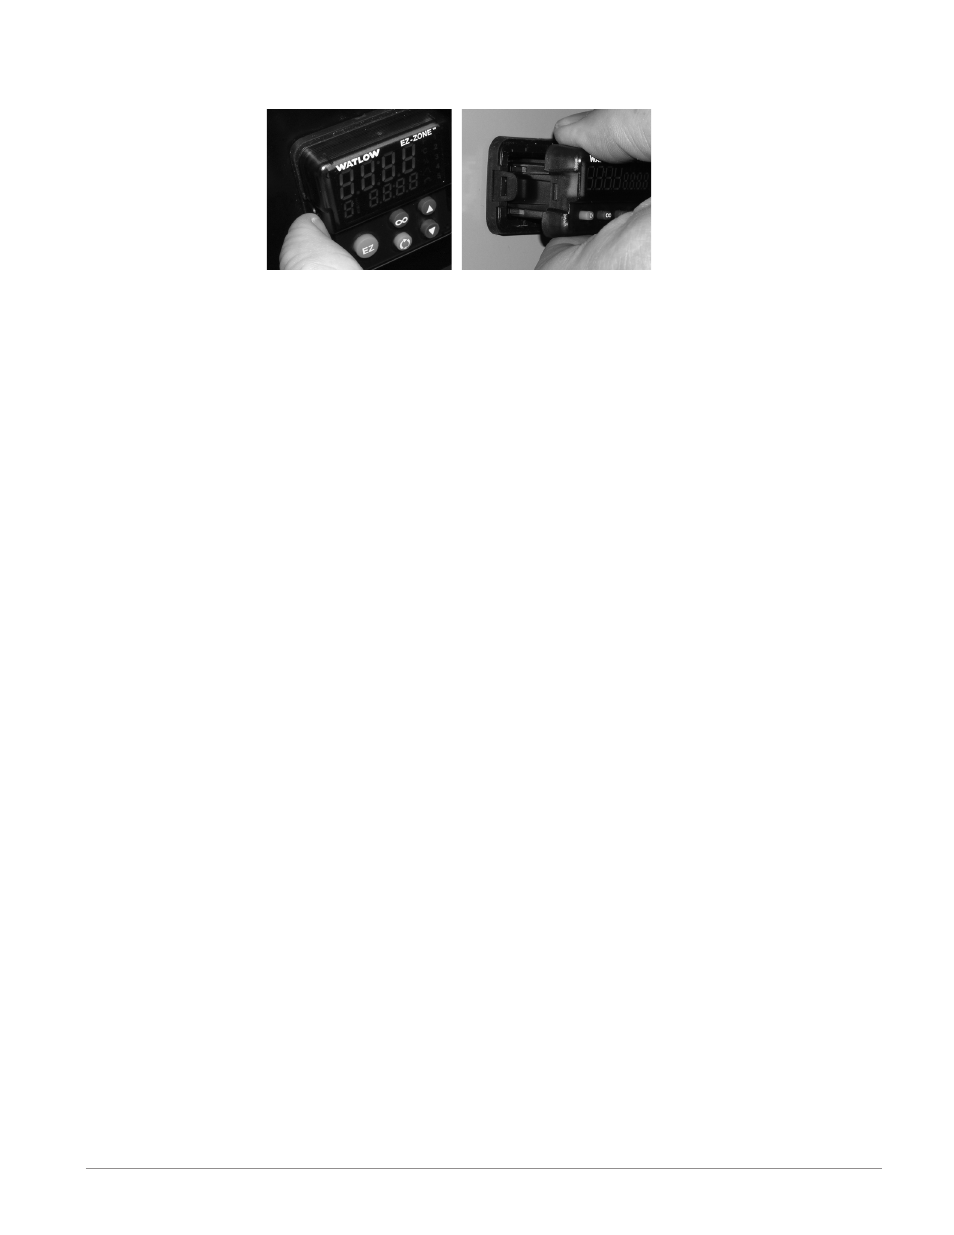
1. From the controller's face, pull out the tabs on each side until you hear it click.
2. On a PM6 control once the sides are released grab the unit above and below the face with two hands and
pull the unit out. On the PM4/8/9 controls slide a screwdriver under the pry tabs and turn.
ç
Warning:
• This equipment is suitable for use in class 1, div. 2, Groups A, B, C and D or Non-Hazardous locations
only. Temperature Code T4A.
• WARNING – EXPLOSION HAZARD. Substitution of component may impair suitability for class 1, div. 2.
• WARNING – EXPLOSION HAZARD. Do not disconnect equipment unless power has been switched off or
the area is known to be nonhazardous.
Returning the Controller to its Case
1. Ensure that the orientation of the controller is correct and slide it back into the housing.
Note:
The controller is keyed so if it feels that it will not slide back in do not force it. Check the orientation again
and reinsert after correcting.
2. Using your thumbs push on either side of the controller until both latches click.
Chemical Compatibility
This product is compatible with acids, weak alkalis, alcohols, gamma radiation and ultraviolet radiation.
This product is not compatible with strong alkalis, organic solvents, fuels, aromatic hydrocarbons, chlorinated
hydrocarbons, esters and keytones.
ç
Warning:
All electrical power to the controller and controlled circuits must be disconnected before removing the con-
troller from the front panel or disconnecting other wiring.
Failure to follow these instructions may cause an electrical shock and/or sparks that could cause an explo-
sion in class 1, div. 2 hazardous locations.
Pull out the tab on each side
until you hear it click .
Grab the unit above and
below the face and pull for-
ward .