Assigning marks within a song (marker function) – Zoom MRS-1266 User Manual
Page 49
Reference [Recorder]
ZOOM MRS-1266
49
6.
Press the [BOUNCE] key.
7.
From the main screen, repeatedly press the status
key of the track to be used as recording
destination, until the key is lit in red.
The selected track is ready for recording. Up to two status
keys can be selected. The other tracks function normally.
H
INT
When wishing to record drum sounds in stereo, select two
tracks as recording destination. If only one track is selected,
the recording will be in mono.
8.
Verify that the [RHYTHM] key in the rhythm section
is out, and that rhythm song or rhythm pattern that
you want to record is selected.
H
INT
It is also possible to record drum or bass sounds generated
by playing the pads on the unit or a MIDI keyboard.
9.
Set the recorder to playback and adjust the
recording level.
Adjust levels while watching the L/R level meter, and make
sure that no signal clipping occurs.
10.
Press the ZERO [
U
] key to return to the beginning
of the song, and then press the PLAY [
R
] key while
holding down the REC [
O
] key.
Playback of the rhythm pattern/rhythm song starts and is
recorded on the selected tracks.
11.
When recording is complete, press the STOP [
P
]
key.
Rhythm recording ends. If you want to return to normal
recording, select [MASTER] on the screen of step 3.
Assigning marks within a song
(Marker function)
You can assign up to 100 marks in a song at any desired
location, and jump to a mark by pressing a key or by specifying
the desired mark number. This is convenient when you want to
repeatedly locate a specific point for playback during recording
or mixdown.
Setting a mark
Here's how to assign a mark at the desired location in a song.
1.
Locate the point at which you want to assign a
mark.
H
INT
• A mark can be assigned either during playback or when
stopped.
• You can also use the scrub function to locate the position
with high precision.
2.
Press the [MARK] key in the control section.
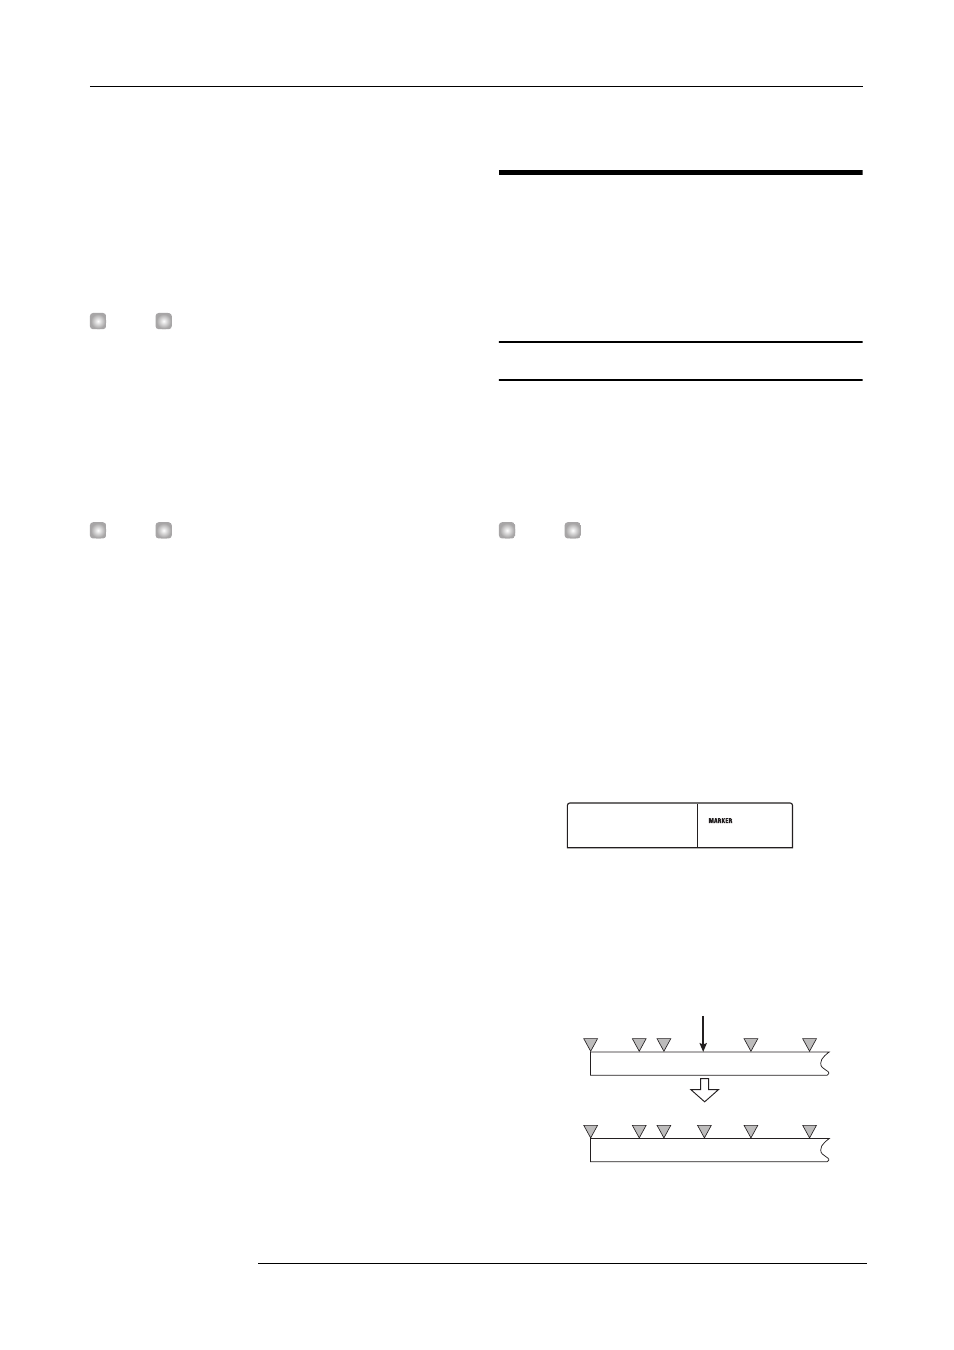
A mark will be assigned to the current location. When a
mark has been assigned, the new mark number (01 - 99) will
appear in the MARKER area in the upper right of the
display.
The mark number is assigned automatically in ascending
order from the beginning of the song. If you add a new mark
between two existing marks, the subsequent marks will be
renumbered.
PRJ 001
PRJ 001
1266CD-R
1266CD-R
03
03
00
00
01
01 02
02
03
03
04
04
00
00
01
01 02
02
04
04
03
03
05
05
Add a mark
Mark
number
Song
Mark
number
Song