Solenoid assembly, sl3 (face-up) – EXP Computer C4077-90960 User Manual
Page 190
Solenoid Assembly, SL3 (Face-Up)
1
Remove the top cover (see Figure 6-8).
2
Remove the Delivery Unit (see Figure 6-10).
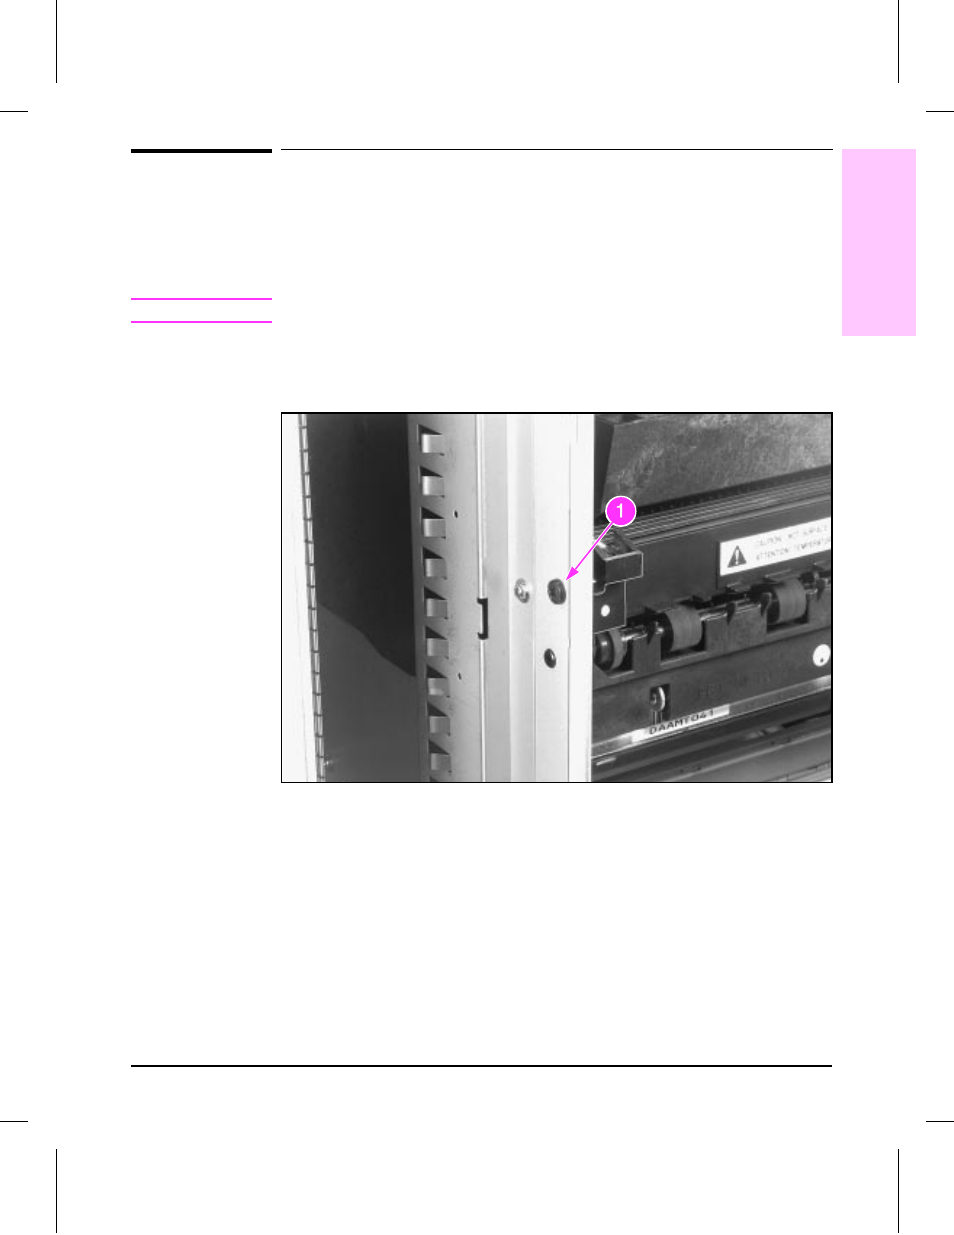
3
Remove (1) self-tapping screw, CH107 (Figure 6-50, callout 1).
C a u t i o n
Be careful not to damage the plastic arm when removing the assembly.
4
Pull the forward end of the assembly away from the chassis to clear the
locating pin, and slide it forward to clear two retaining tabs.
Face-Up Solenoid Assembly, SL3
Figure 6-50
6
Removal and
Replacement
Removal and Replacement 6-63