Lingenfelter L250280197 Lingenfelter C5 Corvette E-Force Supercharger Install Kit v2.9 User Manual
Page 47
Page 46
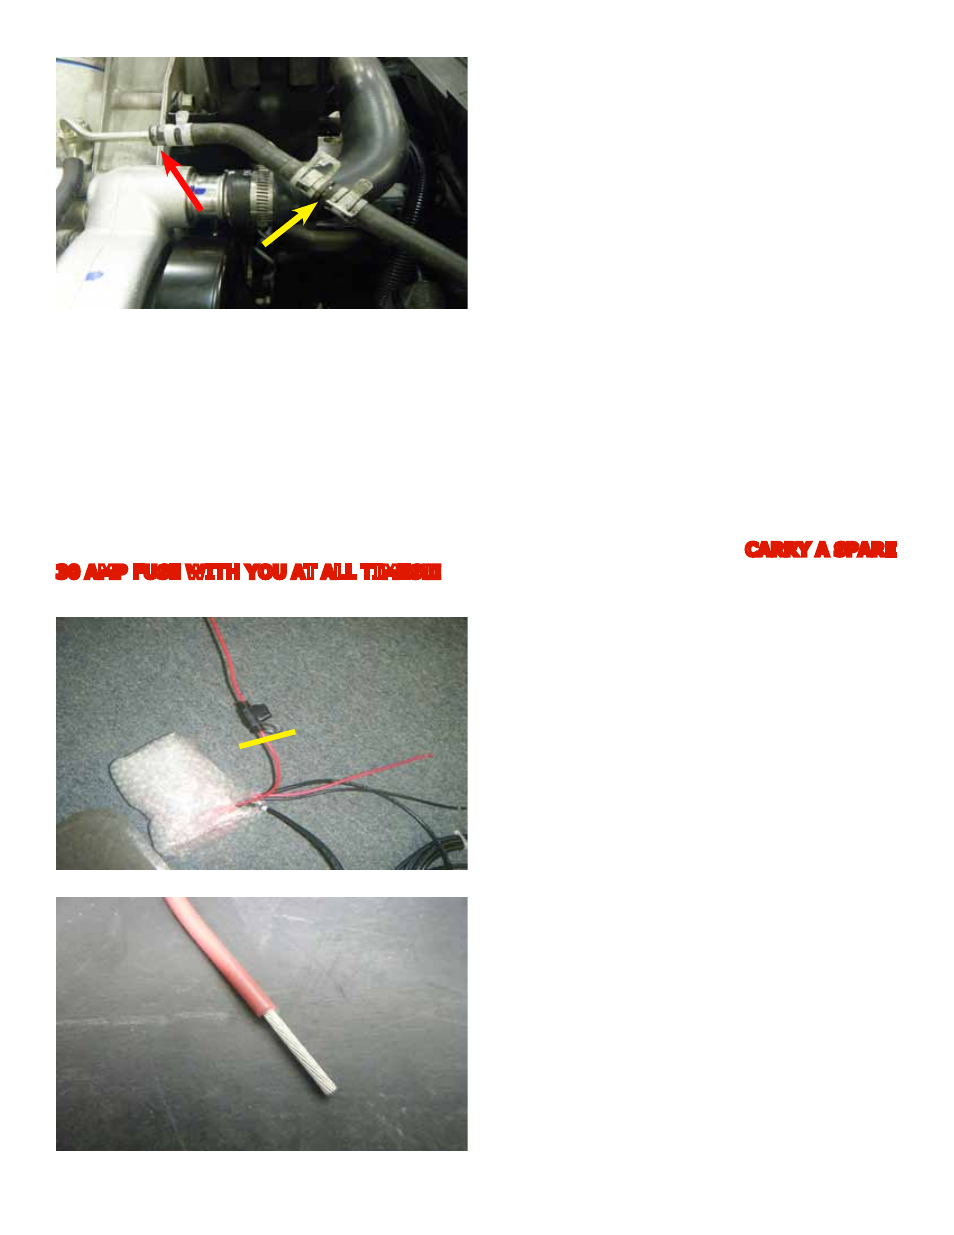
147. Install the stock 90 degree bypass hose on
the new vapor vent tube, which is denoted with a
red arrow. Then, connect the 90 degree bypass
hose to the radiator hose using the supplied hose
joiner (PN: 5670K11), denoted by a yellow arrow
148. Locate the the red wire with the inline fuse.
Cut the wire just before the inline fuse, as shown
by the yellow line in the illustration.
149. Strip the same red wire roughly 3/8”. This
wire will provide the input to the Boost-A-Pump
Module. Label the wire with tape to make sure
that the wires do not get switched when splicing
the Boost-A-Pump into the fuel pump circuit.
NOTE: Steps 148-174 and 234-238 detail the installation of the Boost-A-Pump fuel pump
voltage booster. If you have installed a high flow fuel pump so that fuel pump voltage boosting is
unnecessary, these steps may be skipped. The following procedure for the modification of the fuel
pump voltage booster wiring is intended for use on the Kenne Bell 20 Amp Boost-A-Pump only. The
installation of any other fuel pump voltage boosting device will require a different procedure. One of
the modifications that LPE makes in the following instructions involves setting the Boost-A-Pump to
a fixed voltage setting instead of using the variable voltage dial controller. In LPE testing, the OEM
fuel pump delivered the required fuel flow when the Boost-A-Pump was set to the maximum voltage
setting, which is 17 volts. This allows the Boost-A-Pump to fully boost the voltage anytime that the
engine reaches the necessary boost level to trigger the pressure switch.
WARNING: LPE does not recommend voltage boosting the pump above 17 volts. CARRY A SPARE
30 AMP FUSE WITH YOU AT ALL TIMES!!! If the fuse blows, the fuel pump will no longer
work and your vehicle will no longer run.