RKI Instruments EAGLE 2 Manual User Manual
Page 163
EAGLE 2 Operator’s Manual
PID Calibration • 153
If you do not want to continue, press the DISPLAY ADJUST NO button
and the unit will return to the Calibration Mode Screen.
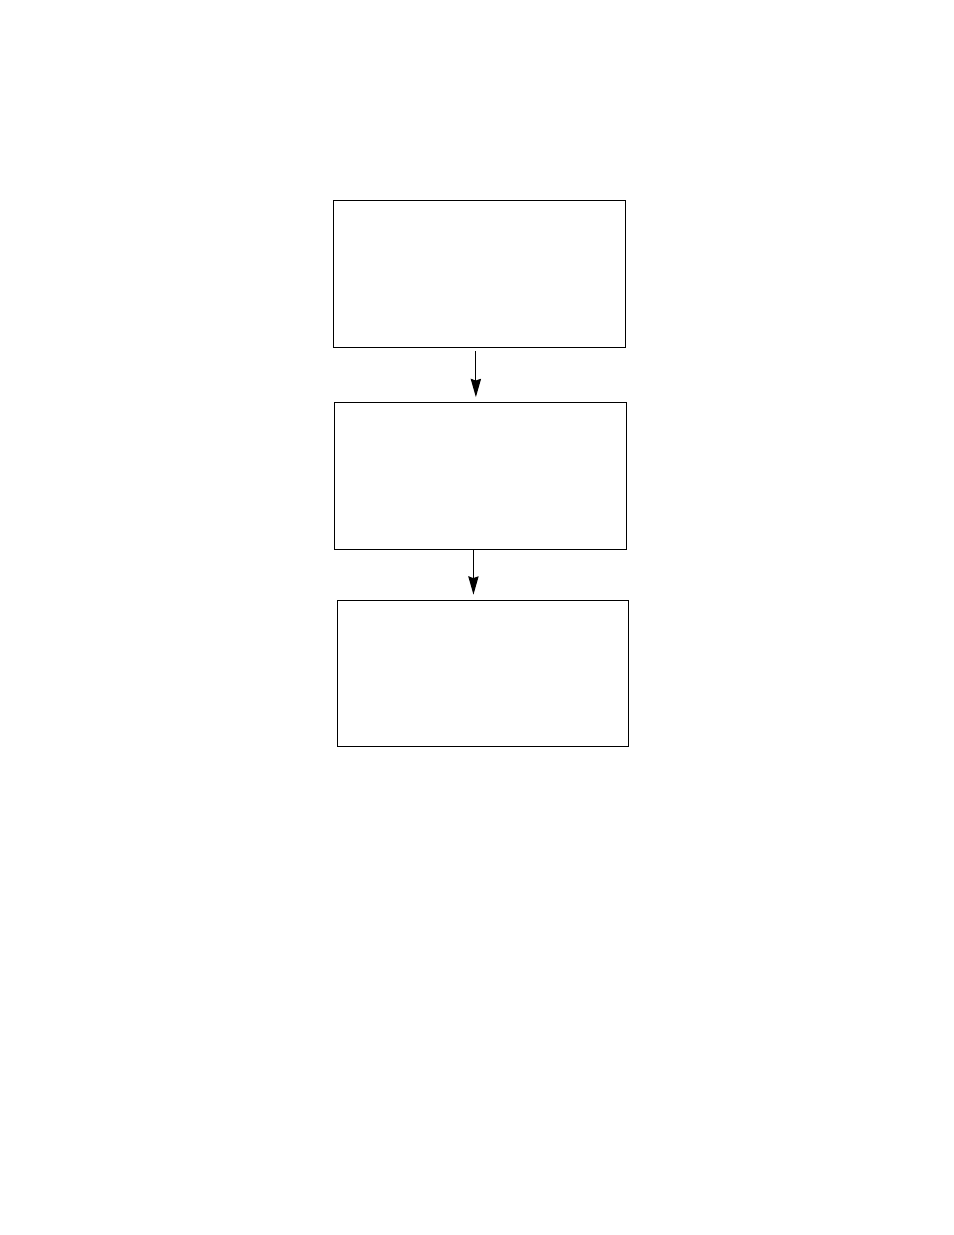
9. The EAGLE 2 will indicate that it is adjusting the zero reading for a few
seconds, then indicate that the operation is complete before returning to
the Calibration Mode Screen.
10. Install the demand flow regulator onto the multi-gas calibration cylinder.
11. Connect the sample tubing to the demand flow regulator.
12. Install the probe on the EAGLE 2 inlet fitting. Make sure the probe is
complete with internal O-ring and membrane and that the two halves of
the probe are tightened firmly together to avoid leaks that can affect the
calibration. See Figure 19, “Replacing the Particle Filter and
Hydrophobic Filter Disk” on page 76 for an illustration of the internal
parts of the probe.
ADJUSTING ZERO
RELEASE AIR BUTTON
ADJUSTING ZERO
COMPLETE
CALIBRATION MODE
AUTO CALIBRATION
SINGLE CALIBRATION
> PERFORM AIR ADJUST
NORMAL OPERATION