Fundamentals for creating a program, Entering milling steps, 1 con v ersational pr ogr a mming – ACU-RITE MILLPWRG2 User Manual
Page 93
ACU-RITE MILLPWR
G2
75
6.1 Con
v
ersational Pr
ogr
a
mming
Fundamentals for Creating a Program
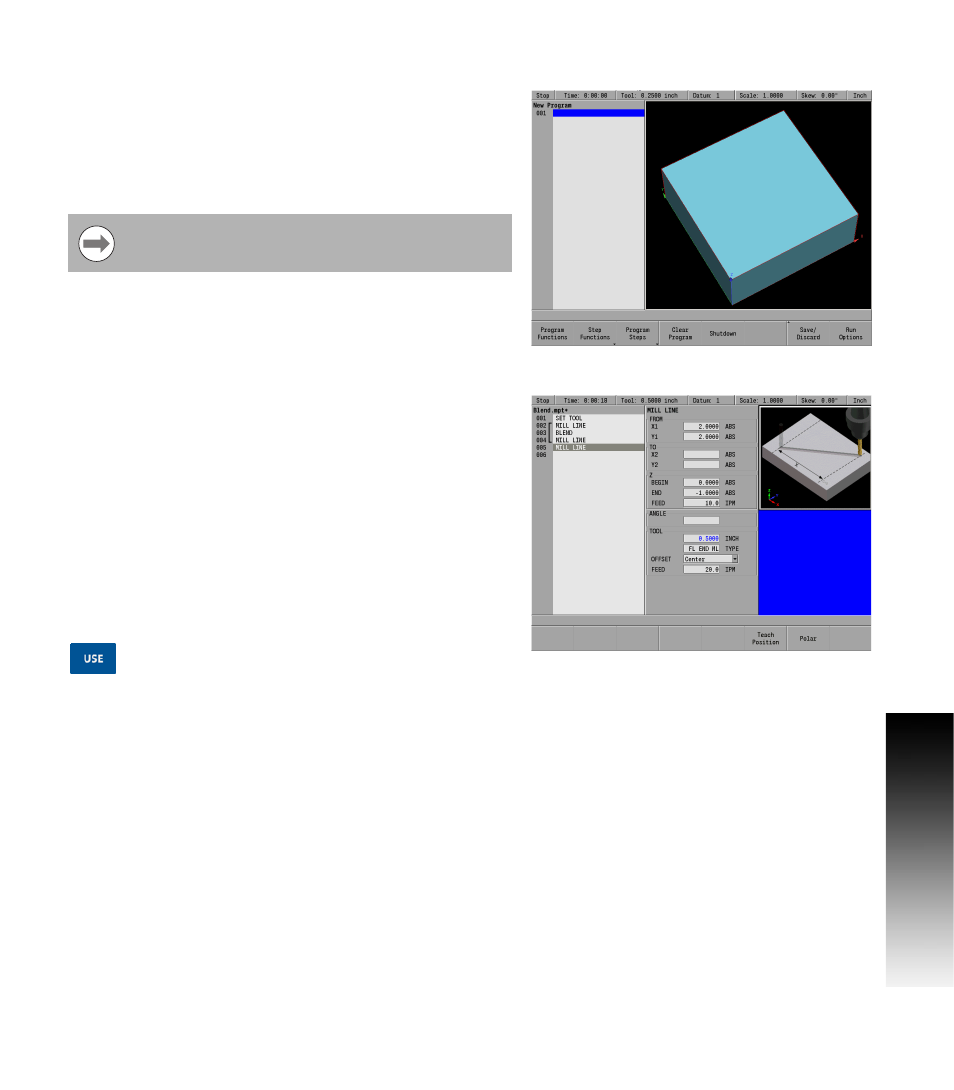
In DRO mode press the DRO/PGM key to enter program mode.
Programs are created by developing a list of milling steps to be
performed. As steps are added to the list, each will immediately be
drawn on the screen so that it can be displayed graphically, showing
the part machining in progress.
Entering milling steps
Before any programming steps are entered, a tool must first be
selected and entered. See "Editing the tool table" on page 46.
The milling function keys are among the eight yellow keys located in
the upper right corner of the console. The function you select will
appear in the program listing and will enable you to enter the data and
add the step into the program.
Additional milling functions are available in PGM mode, and are
accessed by pressing the Program Steps soft key. Program Steps soft
keys are also displayed when RECT, CIRCLE, or the HOLES keys are
pressed in PGM mode.
To enter a milling step, press the appropriate milling function (e.g.
LINE
). Some keys will open a popup menu with the soft key to
further define the type of milling step that is to be performed.
After entering the data for the program step, press the
USE
key to add the step to the program.
Press the CANCEL key at anytime to exit the milling step dialogue and
not add it to the program.
MillPwr G2 allows a maximum of 9999 program steps.