Setting a print layout and other options – Apple Pages 2 User Manual
Page 228
228
Chapter 11
Printing and Exporting Your Document to Other Formats
To print the full document or a range of pages:
1
Choose File > Print.
2
Choose the printer you want to use from the Printer pop-up menu. If you don't see
the printer you want to use and you’re using Pages in Mac OS X version 10.3, choose
Edit Printer List and add it. In Mac OS X version 10.4, choose Add Printer.
To learn about adding a printer, search for “Adding a printer” in Mac OS Help. To find
out where the printer you are using is located, pause with the pointer over the
printer's name when you are choosing it from the Printer pop-up menu.
3
Type the number of copies you want to print in the Copies field, and select the
checkbox labeled Collated if you want each group of pages to print together in order
before printing the next group. If you want to print a batch of page 1, then page 2,
then page 3, and so on, deselect the checkbox.
4
To print the entire document, select All next to Pages.
5
To print a range of pages, select From, and then type the page number of the first
page in the From field, and the page number of the last page in the “to” field.
6
Click Print.
Setting a Print Layout and Other Options
The Copies & Pages pop-up menu in the Print dialog provides several other printing
options, including using ColorSync to adjust color (see page 230), printing your
document in reverse order, printing only odd or even pages, printing a cover page
(separator page), and more. After you have set your preferred printing options, you
can save these settings as a preset so that you can use them again without going
through all the steps.
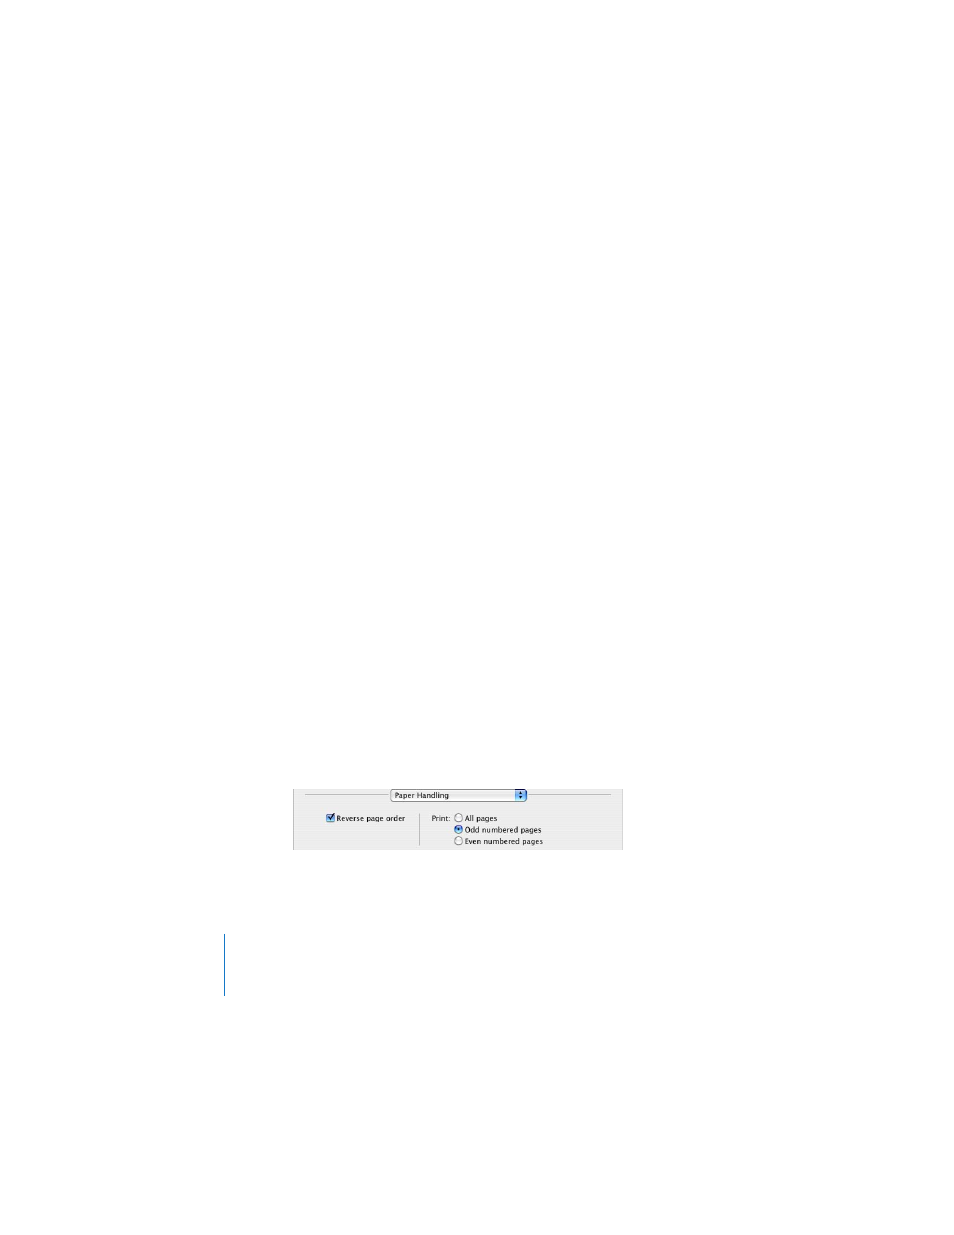
To print the document pages in reverse order:
m
In Mac OS X version 10.3, choose Paper Handling from the Copies & Pages pop-up
menu, and select the checkbox labeled “Reverse page order.”
m
In Mac OS X version 10.4, choose Paper Handling from the Copies & Pages pop-up
menu, and select Reverse.