Printing directly from the camera (pictbridge) – Toshiba Gigashot A Series User Manual
Page 124
102
Owner’s Manual
Hard Disk Camera GSC-A100FE/GSC-A40FE
Printing Directly from the Camera (PictBridge)
Using a printer that supports PictBridge (
p.156) allows you to
print directly from the camera without using a PC.
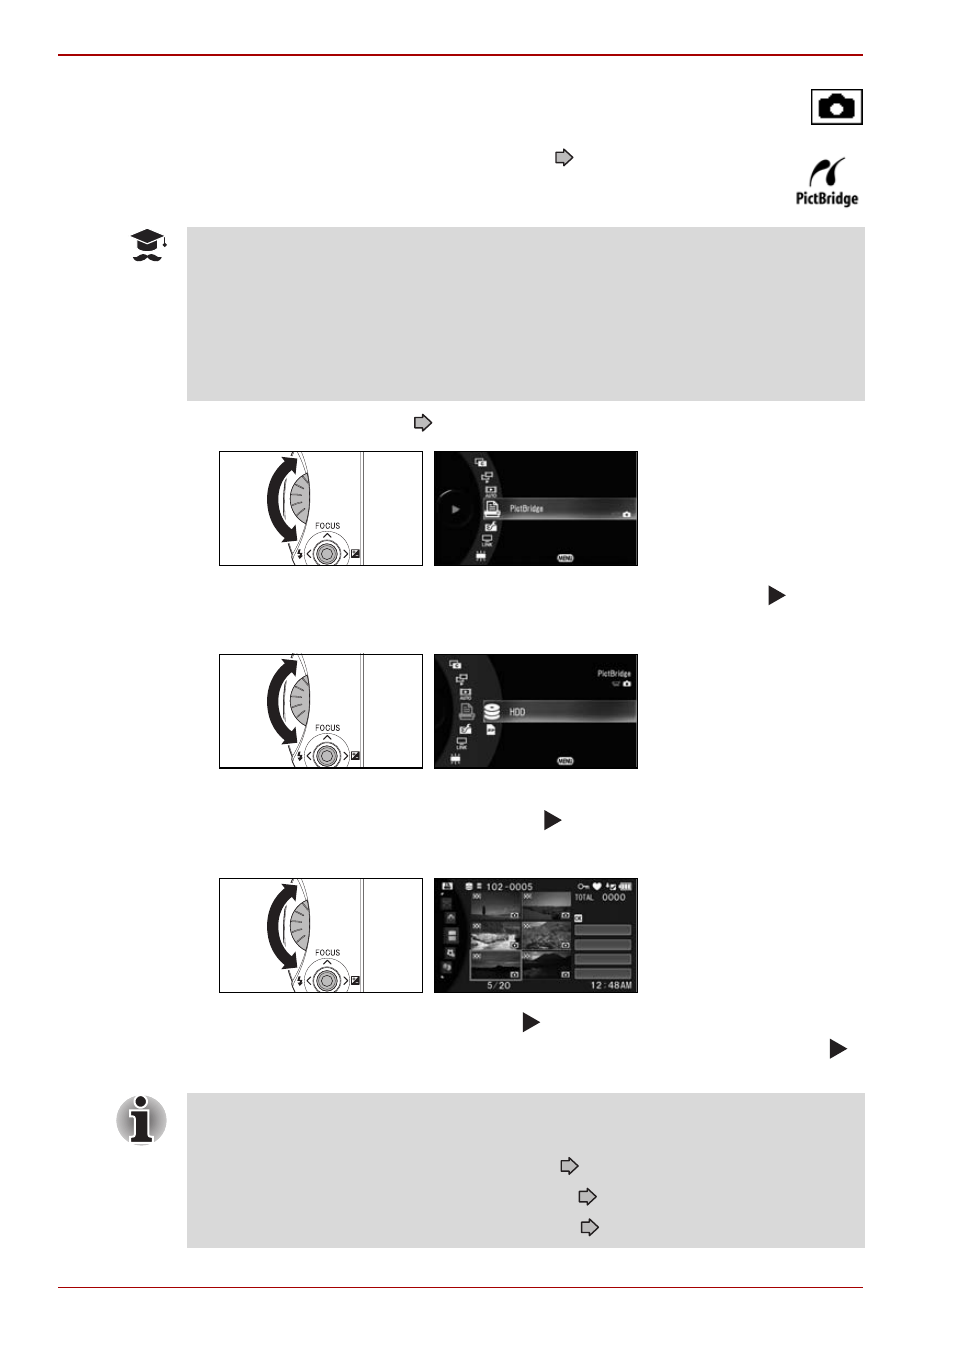
1. From the play menu (
p.35), select [PictBridge].
Use the jog dial to select [PictBridge] and then press the OK ( ) button.
2. Select the desired drive.
Use the jog dial to select the drive where the still images to be printed
are located and then press the OK ( ) button.
3. Select the images to be printed.
Use the jog dial or move the OK ( ) button up, down, left or right to
move the cursor to an image you want to print. Then press the OK ( )
button.
ATTENTION
Always connect the AC adapter to the camera when printing.
The camera is not guaranteed to connect successfully to all PictBridge-
compatible printers.
If you disconnect the USB cable while the camera is connected to a
printer, malfunctions may occur.
PLAY MENU
DISPLAY SETTINGS
EXIT
HDMI-CEC
AUTO PLAY
CONTINUOUS VIDEO PLAYBACK
PLAY MENU
CANCEL
28/10/2007
SELECT
OK
SELECT ALL
SPECIFY RANGE
CANCEL
There are also various other ways to select images. See the pages listed
below.
Selecting All the Images in an Album
Selecting Images in a Specified Range
Selecting Images from Multiple Albums