Protecting all the images on a drive – Toshiba Gigashot A Series User Manual
Page 118
96
Owner’s Manual
Hard Disk Camera GSC-A100FE/GSC-A40FE
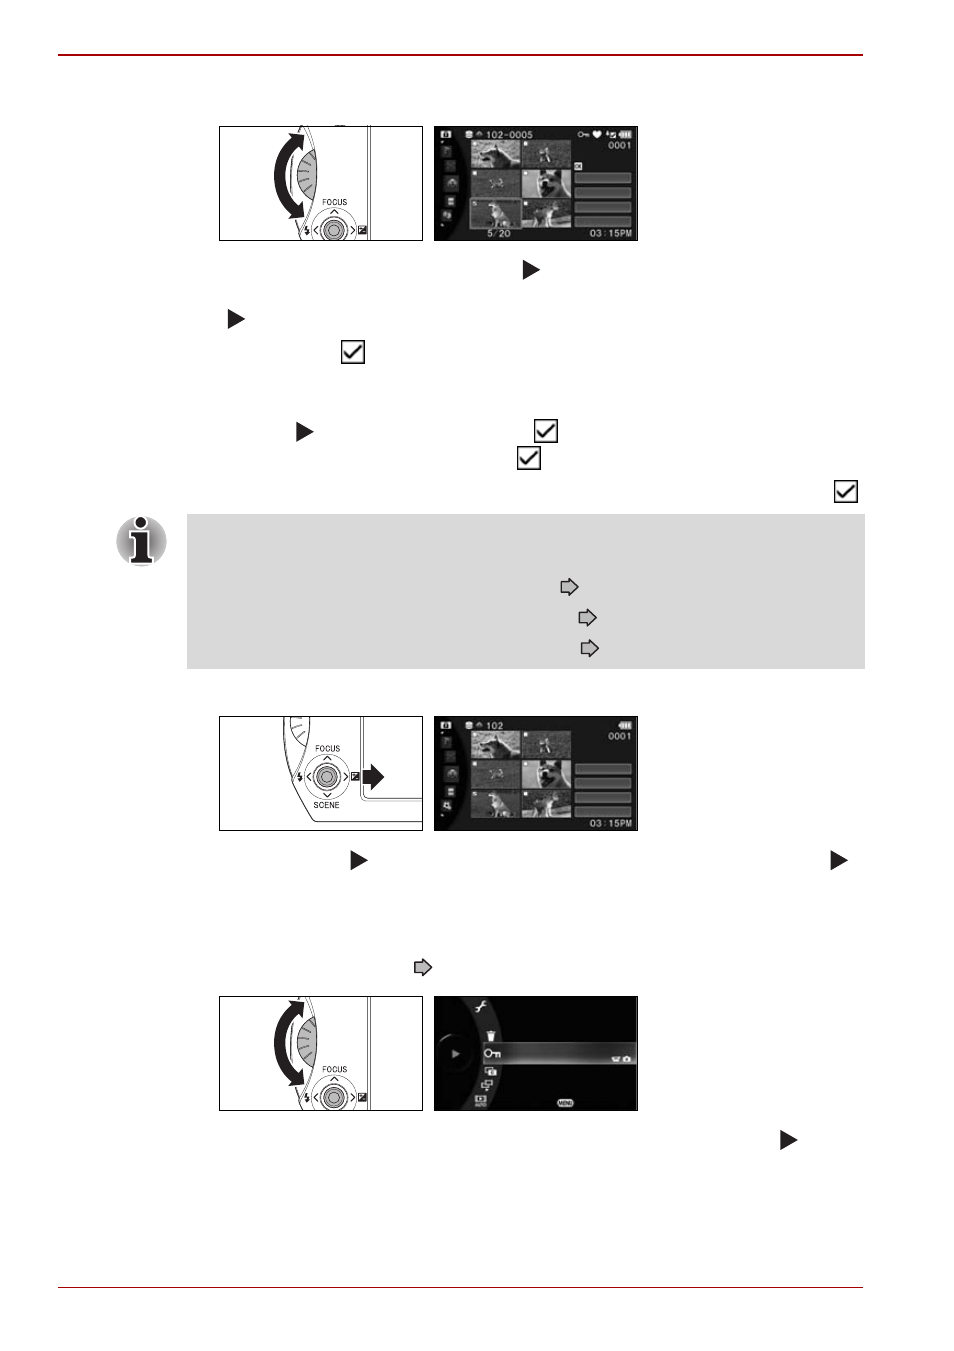
4. Select the images to be protected.
Use the jog dial or move the OK ( ) button up, down, left or right to
move the cursor to an image you want to protect. Then press the OK
( ) button.
A checkmark
appears on the image to be protected, indicating that it
is selected.
If you move the cursor to an image with the protection icon and press
the OK ( ) button, the checkmark
is cleared. Protection is removed
from images with the checkmark cleared.
Repeat this step until all the images you want to protect are selected .
5. Select [OK].
Move the OK ( ) button right to select [OK] and then press the OK ( )
button.
Protecting All the Images on a Drive
1. From the play menu (
p.35), select [PROTECT].
Use the jog dial to select [PROTECT] and then press the OK ( )
button.
28/10/2007
IMAGE
CLEAR
OK
CLEAR ALL
SPECIFY RANGE
CANCEL
There are also various other ways to select images. See the pages listed
below.
Selecting All the Images in an Album
Selecting Images in a Specified Range
Selecting Images from Multiple Albums
28/10/2007
IMAGE
OK
CLEAR ALL
SPECIFY RANGE
CANCEL
PLAY MENU
PROTECT
COPY
CONTINUOUS VIDEO PLAYBACK
EXIT
ERASE