Unprotecting all the images on a drive – Toshiba Gigashot A Series User Manual
Page 119
Owner’s Manual
97
Hard Disk Camera GSC-A100FE/GSC-A40FE
2. Select [ALL IMAGES].
Use the jog dial to select [ALL IMAGES] and then press the OK ( )
button.
3. Select the desired drive.
Move the OK ( ) button up or down to select the drive where the
images to be protected are located and then press the OK ( ) button.
4. Select [SET].
Move the OK ( ) button left to select [SET] and then press the OK ( )
button.
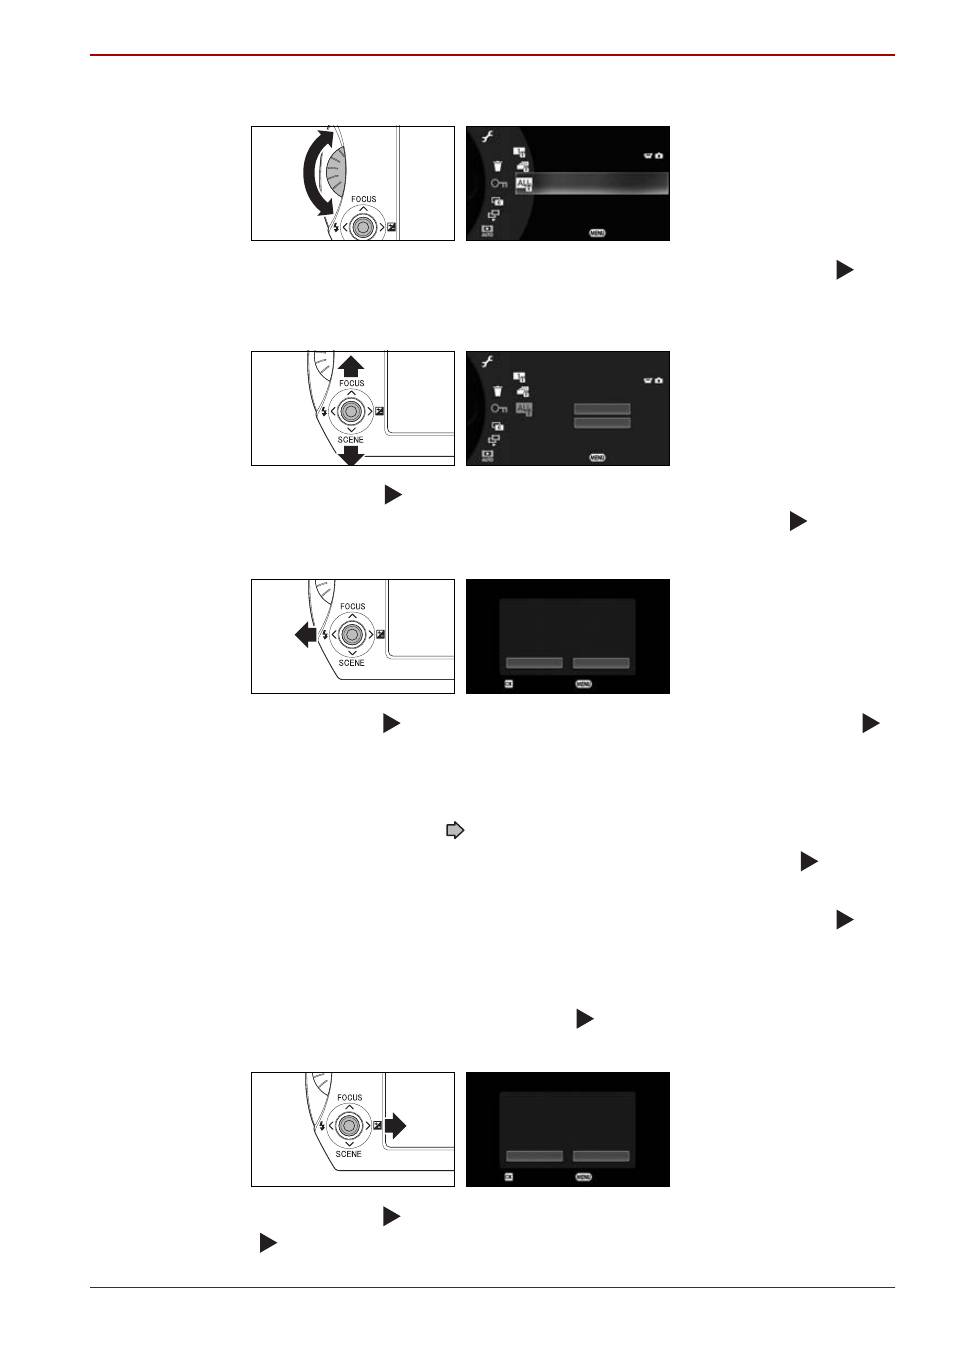
Unprotecting All the Images on a Drive
1. From the play menu (
p.35), select [PROTECT].
Use the jog dial to select [PROTECT] and then press the OK ( ) button.
2. Select [ALL IMAGES].
Use the jog dial to select [ALL IMAGES] and then press the OK ( )
button.
3. Select the desired drive.
Use the jog dial to select the drive where the images to be unprotected
are located and then press the OK ( ) button.
4. Select [CLEAR].
Move the OK ( ) button right to select [CLEAR] and then press the OK
( ) button.
ALL IMAGES
PLAY MENU
PROTECT
CANCEL
PLAY MENU
ERASE
ALL IMAGES
HDD
SD CARD
CANCEL
PROTECT
SET OR REMOVE PROTECTION
CLEAR
OK
CANCEL
SET
PROTECT
SET OR REMOVE PROTECTION
CLEAR
OK
CANCEL
SET