Reloading the internal demo song into the varios, Reloading the internal, Demo song into the varios – Roland maxWerk Musical Instrument User Manual
Page 129: P. 129)
129
Reloading the internal demo song
into the VariOS
Since the demo song inside the VariOS is saved in the internal flash ROM of the VariOS, it will
not play back correctly if you format the internal flash ROM of the VariOS or if you delete the
demo song data. Reload the demo song using the following procedure.
If you execute this procedure, all user data will be erased from the internal flash
ROM. Please re-save the user data to a PC card before you proceed.
1
Start up your computer, and insert the CD-ROM that was included with the VariOS.
If your computer does not contain the VariOS driver, you must first install the VariOS
driver as described in
2
Use a USB cable to connect the VariOS to your computer, and power up the VariOS.
3
Windows:
Using Explorer, copy the
“VariOS_DemoSong”
(located within the “BackUp” folder of the
CD-ROM) into the removable disk (the mounted VariOS drive).
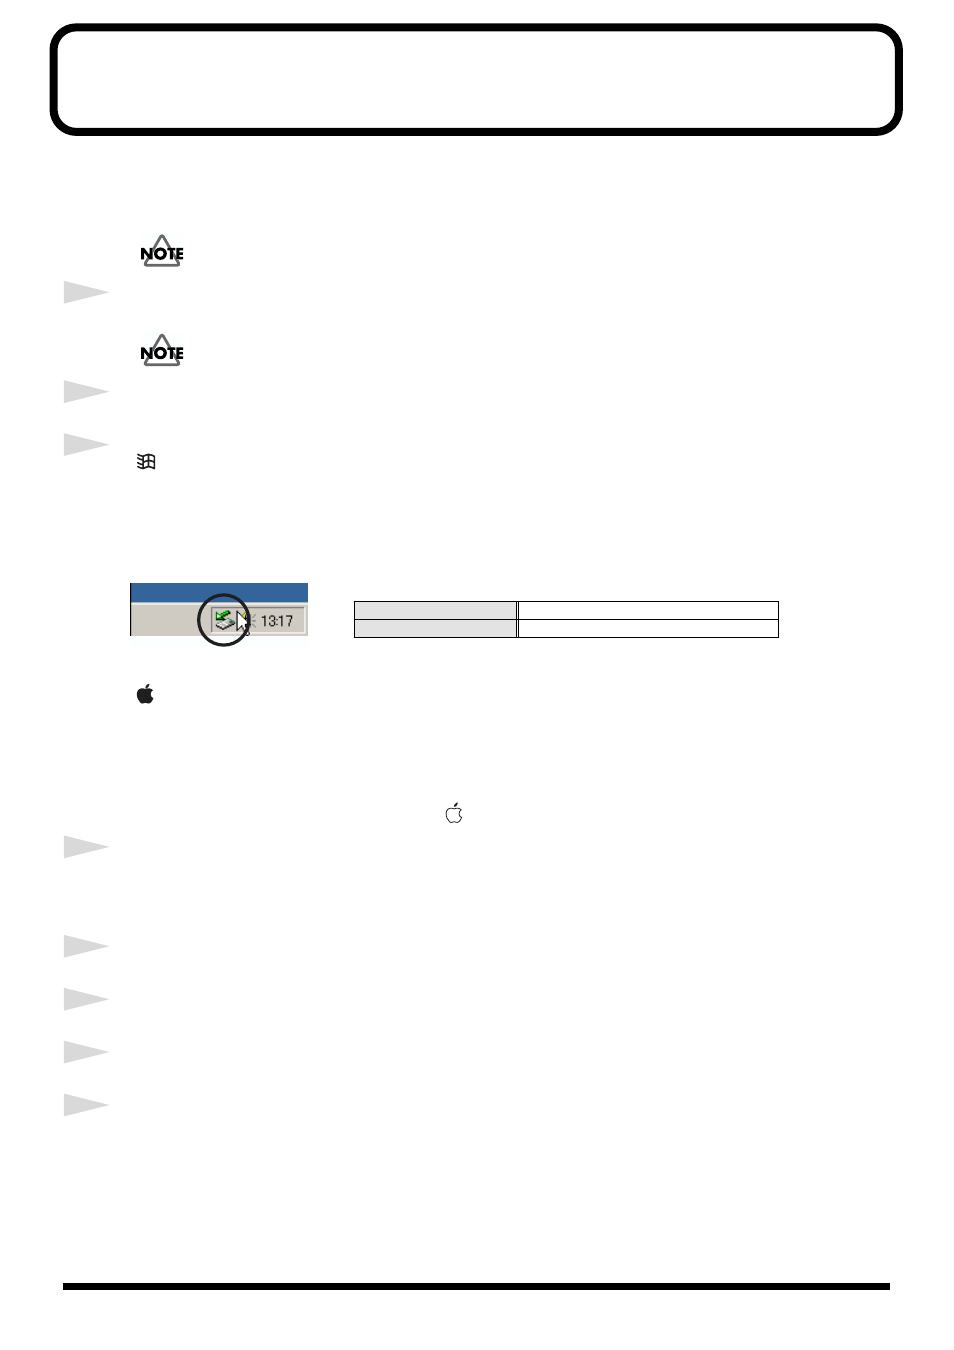
When the copy is finished, double-click the
“remove”
icon in the task tray, and click the item
that represents the VariOS drive (this will vary depending on your version of Windows) to
unmount the drive.
fig.02taskicon
Macintosh:
Use the mouse to drag the
“VariOS_DemoSong”
(located within the “BackUp” folder of the
CD-ROM in the Finder), and copy it into the
“VARIOS_DRV”
disk (the mounted VariOS drive)
in the Finder.
When the copy is finished, drag the
“VARIOS_DRV”
(the VariOS drive) from the desktop into
the recycling bin. Alternatively, you can click VARIOS_DRV on your desktop, and execute
Unmount from the Special menu (shortcut [
] + [E]).
4
Press the
[MENU]
button of the VariOS so it’s lighted, and the Menu screen is displayed.
* Initially, the Menu screen will show the most recently selected menu. Hold down the
[MENU]
button for
a time or press the
[EXIT]
button to move to the top-level menu.
5
Turn the
[VALUE]
knob to select
“MENU8 DISK,”
and then press the
[VALUE]
knob.
6
Turn the
[VALUE]
knob to select
“Menu8-5 Format,”
and then press the
[VALUE]
knob.
7
When
“Select Media”
appears, choose
“Flash ROM”
and press the
[VALUE]
knob.
8
A message of
“Are You Sure? Format OK?”
will ask you for confirmation. Press the
[VALUE]
knob once again to execute formatting. If you press the
[EXIT]
button you will return to the
previous screen.
During formatting, the display will indicate
“Now Processing...”
When formatting is finished,
the display will indicate
“Completed!”
The demo song has now been reloaded.
Windows XP, 2000
USB high-capacity storage device
Windows Me
USB disk