Varios menu reference – Roland maxWerk Musical Instrument User Manual
Page 104
104
VariOS Menu Reference
* For details on how to switch between the screens of MENU mode and how to edit the settings, refer to
“Basic operation of the VariOS”
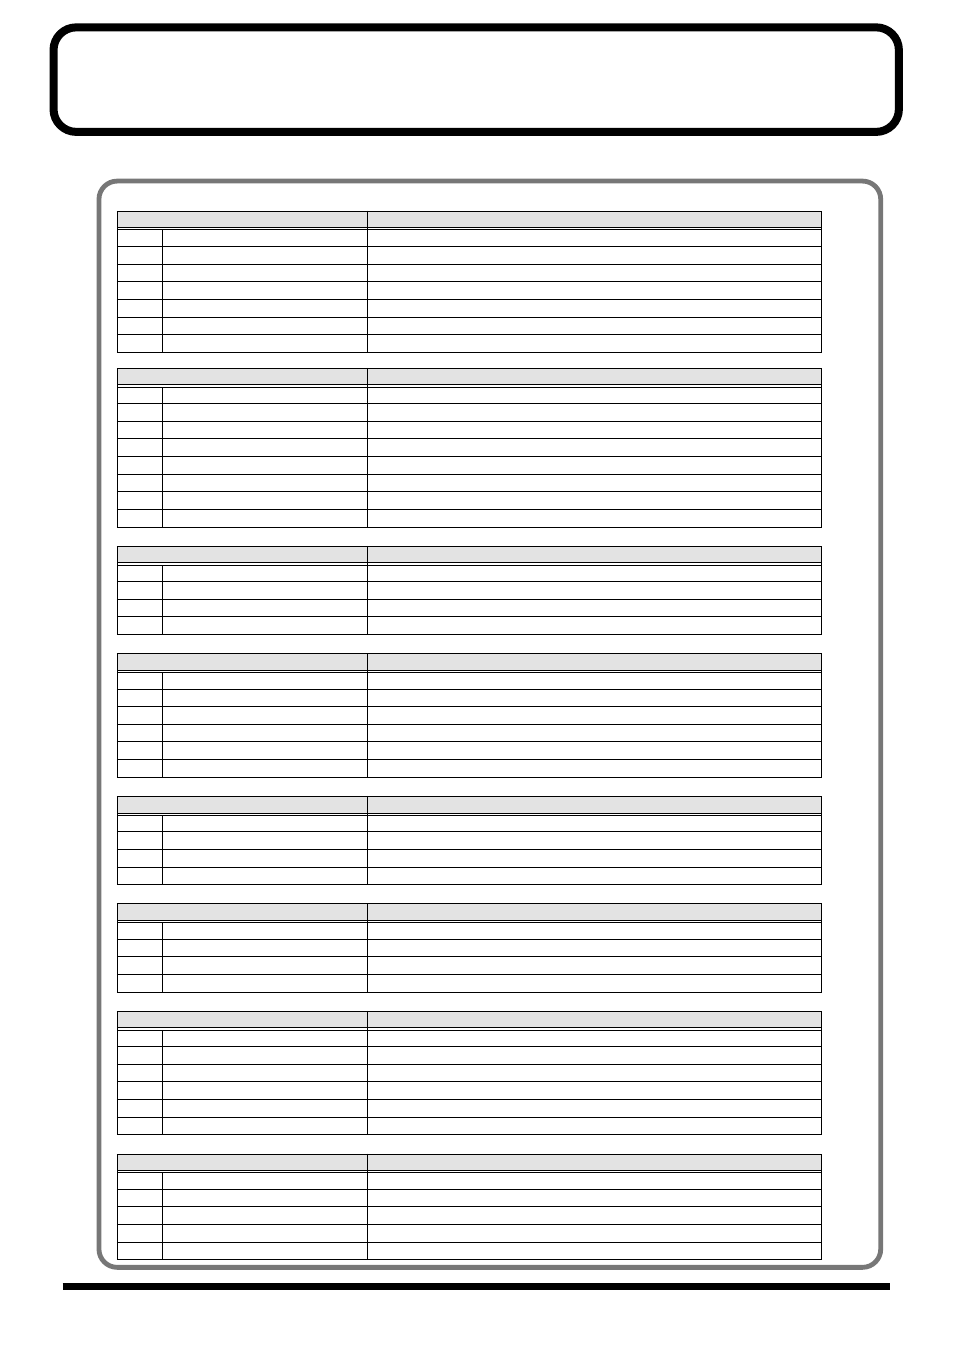
Menu structure
Menu1 Sample Edit
Sample settings
1-1
Key Assign Mode
1-2
Playback Mode
How a sample is played (p. 105)
1-3
Trigger Mode
1-4
Loop Switch
1-5
Robot Voice
1-6
Wave Gain
1-7
Fade In/Out
Menu2 Part Edit
Part settings
2-1
Keyboard Map
Keyboard map selection (p. 107)
2-2
Voice Reserve
Voice allocation setting (p. 107)
2-3
Tempo Sync
Master tempo synchronization on/off (p. 107)
2-4
Pitch Sync
2-5
Level/Pan
2-6
Tune
Part tuning (coarse, fine) and octave shift (p. 107)
2-7
Key Range
2-8
Receive Channel
Menu3 Controller Edit
Controller settings
3-1
CTRL Setting
Range of parameter change (p. 108)
3-2
Knob Assign
CC: numbers transmitted by knobs (p. 110)
3-3
Knob Output Mode
MIDI output destination of knobs (p. 110)
3-4
Knob Control
Parts for which knobs are enabled (p. 110)
Menu4 Effect Edit
Effect settings
4-1
Effect Switch
4-2
Part Routing
Settings for each part (p. 111)
4-3
Effect Type MFX
4-4
Effect Type Cho
4-5
Effect Type Rev
4-6
Common Routing
Settings for the entire performance (p. 111)
Menu5 Tune
Tuning settings
5-1
Master Tune
Tuning of the entire VariOS (p. 112)
5-2
Master Coarse/Fine Tune
Coarse tune and fine tune of the entire VariOS (p. 112)
5-3
Transpose
Pitch adjustment in semitone units (p. 112)
5-4
Octave Shift
Pitch adjustment in octave units (p. 112)
Menu6 Utility
Utility
6-1
Sample Delete
6-2
Sample Rename
6-3
Sample Swap
6-4
Factory Reset
Restore the factory settings (p. 112)
Menu7 System
System
7-1
Control Channel
MIDI settings that control all parts (p. 113)
7-2
Audio Input Jack
Settings for the rear panel audio input jacks (p. 113)
7-3
MIDI Mode
Rear panel MIDI connector setting (p. 113)
7-4
Panic Key
7-5
LCD Contrast
7-6
M.Attenuation
Menu8 DISK
Disk
8-1
Load
8-2
Save
8-3
Delete
8-4
Rename
8-5
Format