Konica Minolta Polygon Editing Tool User Manual
Page 83
81
Chapter
2
File
Menu
900
910
File – Import – Digitizer – Step Scan (When VIVID 900/910 is Selected)
M
emo
• In the range image, areas comprised of regular data are
shown in color.
• In High Quality mode, data for which laser intensity was
too high are displayed in bright gray, while data for which
intensity was too low are displayed in dark gray.
• If the color and range images are not scanned at
the same time, clicking the [Color Read] button or
double-clicking on the image will capture a color
image and display it.
• Dragging the mouse on the color image will en-
large the image. If necessary, enable color correc-
tion such as “Dark”, “Log” and “Smooth”, in the
[Camera1] tab and load the color image again.
• If the type of rotating stage has not been desig-
nated, turn the rotating stage manually to the next
angle displayed in the “Next angle:** degree”
message dialog box.
8
Click the [OK] button.
The next specified angle will appear in [Current
angle], and the object will be scanned for the
next image.
• If a rotating stage has been selected by the Turn-
table, the stage will turn to the next angle and
then the object will be scanned.
• To cancel scan, click the [Cancel] button instead
of the [OK] button, and repeat steps 6 to 8.
Note
The rotating stage may rotate in the opposite direction
during measurement depending on its type.
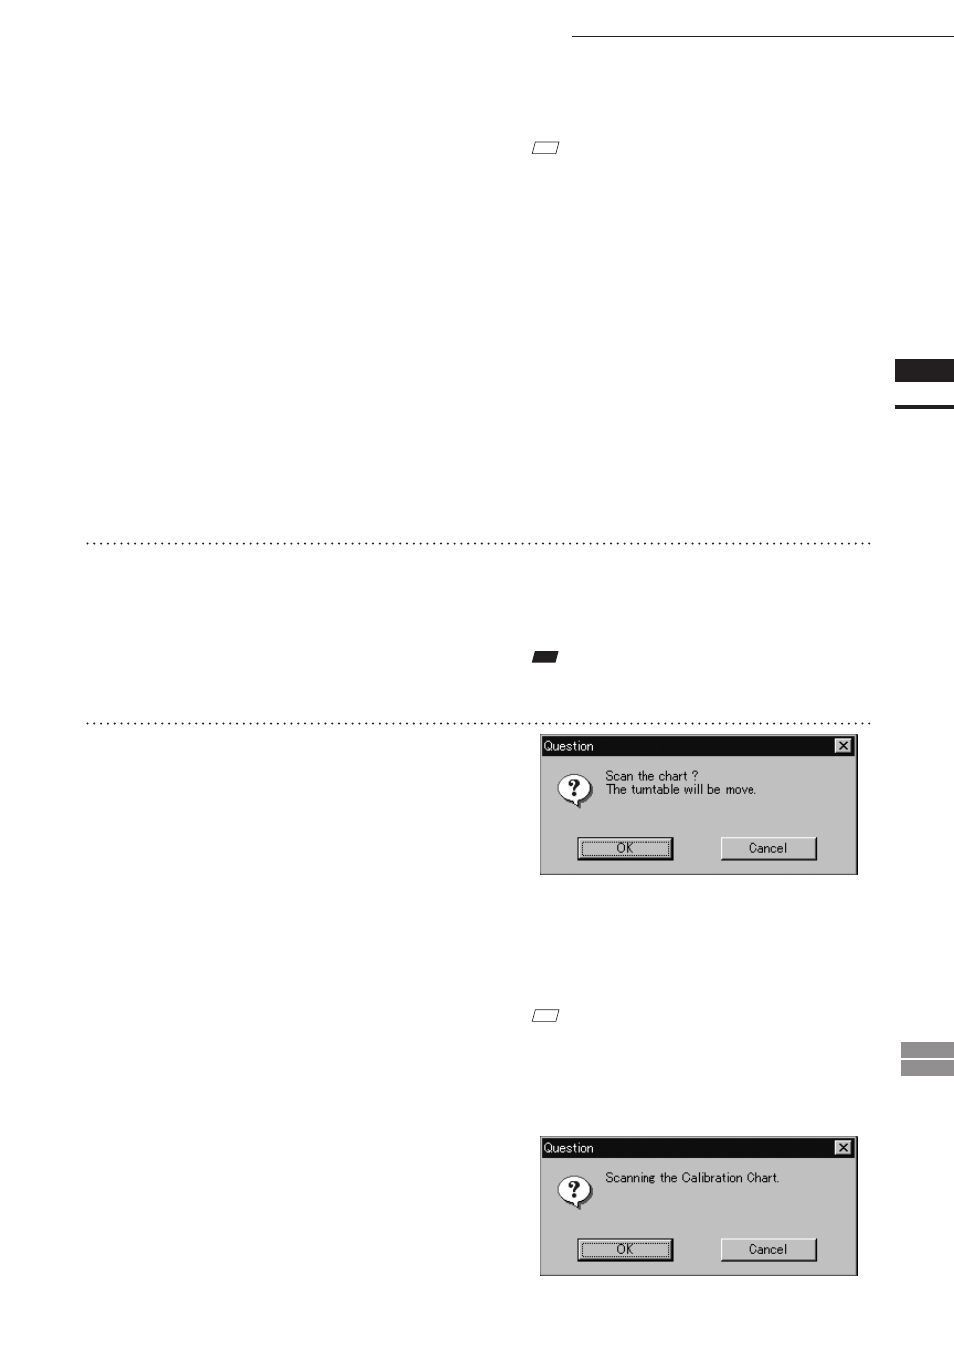
9
Repeat step 8 until shots from all the
desired angles are captured.
When shots from all the desired angles are
captured, the “Scan the chart ? The turntable
will be move.” message dialog box will appear.
• If you want to acquire a shot again, click the [Cancel]
button to close the dialog box, click the angle cur-
rently displayed in [Current] with the left mouse but-
ton, then select the desired angle among those which
have been set from the pulldown menu that appears.
M
emo
If an angle (rotation step) has been selected at step 4,
necessary steps (angles) to complete 360 degrees will
be displayed in the pull-down menu. However, it is not
necessary to scan at all the angles. You can select neces-
sary steps (angles) only.
• Click the [OK] button. The rotating stage will
start to rotate toward the angle (home position)
where the calibration chart is to be measured.
When the rotating stage has reached that angle
(home position), the “Scanning the Calibration
Chart.” message dialog box will appear.
• Click the [OK] button. The rotating stage will
start to rotate toward the angle (home position)
where the calibration chart is to be measured.
When the rotating stage has reached that angle
(home position), the “Scanning the Calibration
Chart.” message dialog box will appear.