File – export – elements – Konica Minolta Polygon Editing Tool User Manual
Page 139
137
Chapter
2
File
Menu
9i
910
900
700
300
File – Export – Elements
Exporting Element Data as Various Formats
This command is used to export the data of the selected elements in various data formats.
Operating Procedure
1
From the element list, select the ele-
ments to be exported.
2
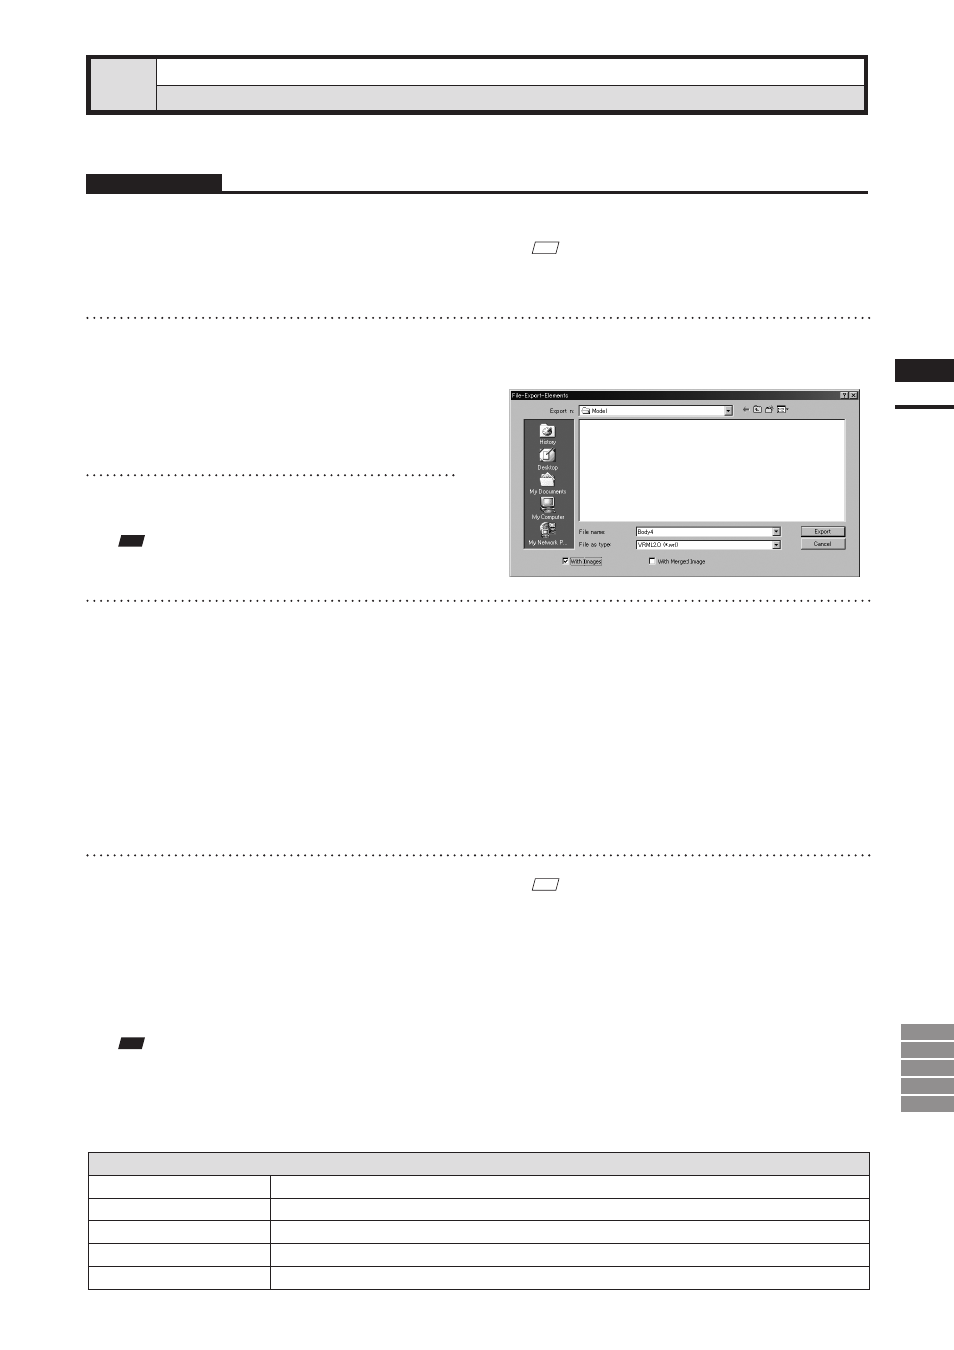
From the [File] menu, select [Export]
and then click [Elements].
The [File-Export-Elements] dialog box will appear.
• If two or more elements have been selected, their
names will be displayed in the order they are
displayed in the element list.
3
If you want to change the file name,
enter a new file name.
Note
The file name must consist of alphanumeric characters only.
4
From the [File as type] pull-down menu,
select the desired format.
The following file types are available.
• VRML1.0
(*.wrl)
• VRML2.0
(*.wrl)
• Softimage
(*.hrc)
• Wavefront
(*.obj)
• DXF
(*.dxf)
• ASCII
(*.asc)
• STL(ascii, binary)
(*.stl)
• MGF
(*.mgf)
• If a format (i.e. VRML1.0, VRML2.0, Softim-
age) that allows attachment of images is selected,
the [With Images] checkbox will be effective. If
you want to attach images to the data, check the
checkbox.
M
emo
If “Softimage” has been selected in [Export as type] and
the [Export] button is clicked, four kinds of files will be
exported (*.hrc, *.mtr, *.pic, *.txt). (Only “*.hrc” files
will be exported if the [With Images] checkbox is not
checked.)
To used exported data with “Softimage”, store the data
files in the following directories of the “Softimage”
database.
• “*.hrc” file - [Models] directory
• “*.mtr” file - [MATERIALS] directory
• “*.pic” file - [Pictures] directory
• “*.txt” file - [TEXTURES2D] directory
Note
If the element data contains two or more images, an error
message will appear when the [Export] button is clicked
with “Softimage” selected in [File as type], [With Images]
checked and [With Merged Image] unchecked.
5
Click the [Export] button.
The first element will be exported, and a dialog
box for the next element will appear.
• When all the elements are exported, the dialog
box will close.
• If you click the [Cancel] button, the next element
and subsequent elements will not be exported.
Parameters for [File-Export-Elements] Dialog Box
Export in
Select the folder for exporting data.
File name
Input the name of data file to export.
File as type
Select format for exporting data.
With Images
Textures will also be output when the data is exported.
With Merged Image
Textures will be merged and output when the data is exported.
M
emo
It is possible to select two or more elements by clicking
them while holding down the [Shift] or [Ctrl] key.