HEIDENHAIN ND 1300 OED and Crosshair Systems User Manual
Page 72

54
QC-300 Series User’s Guide
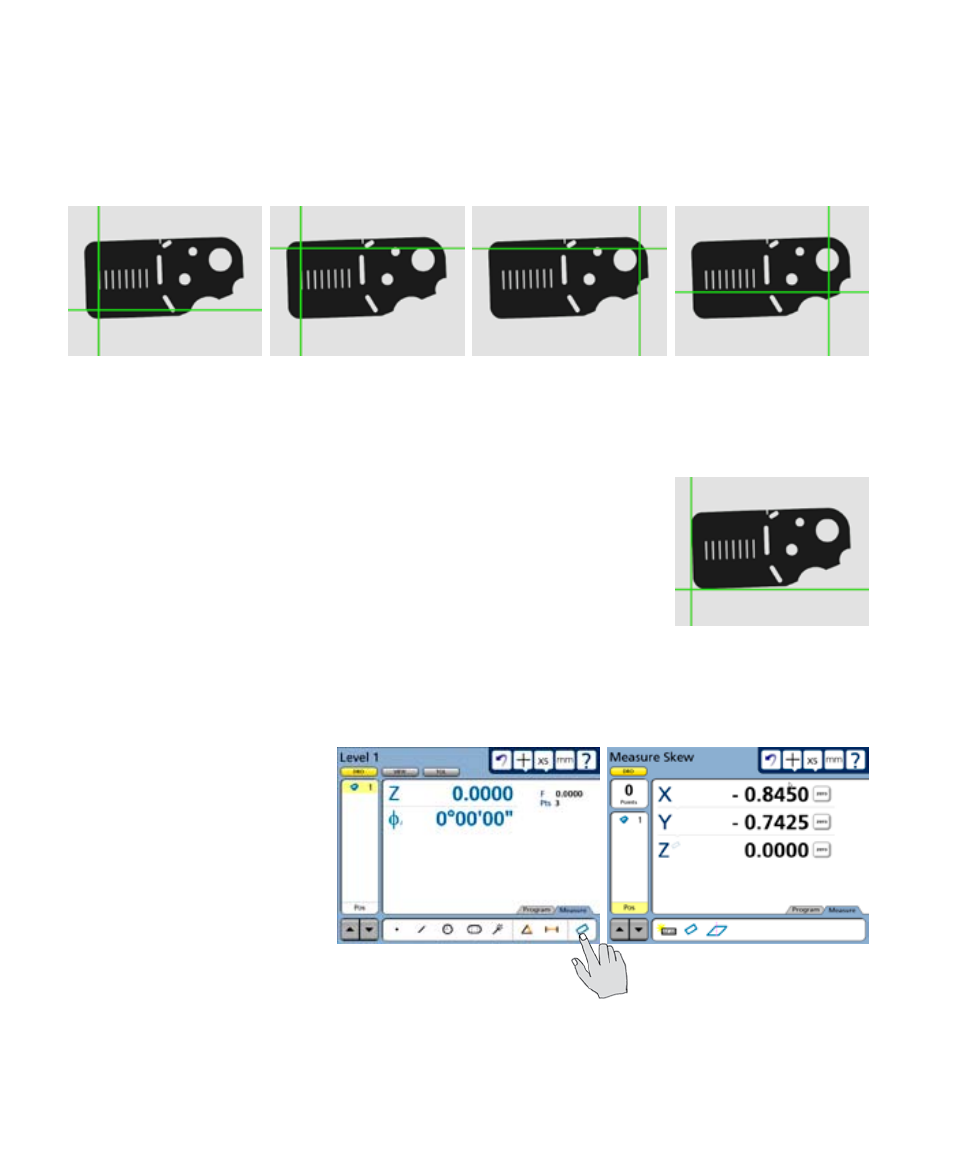
2 Touch the Level icon and perform the leveling measurement by probing three or more points that are
well distributed across the surface of the desired part plane. Use the Crosshair to probe, move the Z-axis of
the stage to focus the part surface under the Crosshair and then press the Enter key to enter each point. Press
the Finish key to complete the level measurement. The level plane feature will be added to the Features list
in blue.
Skewing the part
When the part is misaligned (twisted) in the X-Y plane, errors can be generated
during the measurement process. These errors can be eliminated by creating a
skew alignment for the part.
The skew alignment includes a precise measurement of the part misalignment.
Once the misalignment is known to the system, subsequent feature measure-
ments are automatically compensated to eliminate misalignment errors. Mea-
surement data in the DRO will reflect measurements of a perfectly aligned part.
To skew the part:
1 Touch the Measure Skew
icon.
The four corners of the Metronics QC Quickie slide are probed to perform part leveling
