HEIDENHAIN ND 1300 OED and Crosshair Systems User Manual
Page 206
188
QC-300 Series User’s Guide
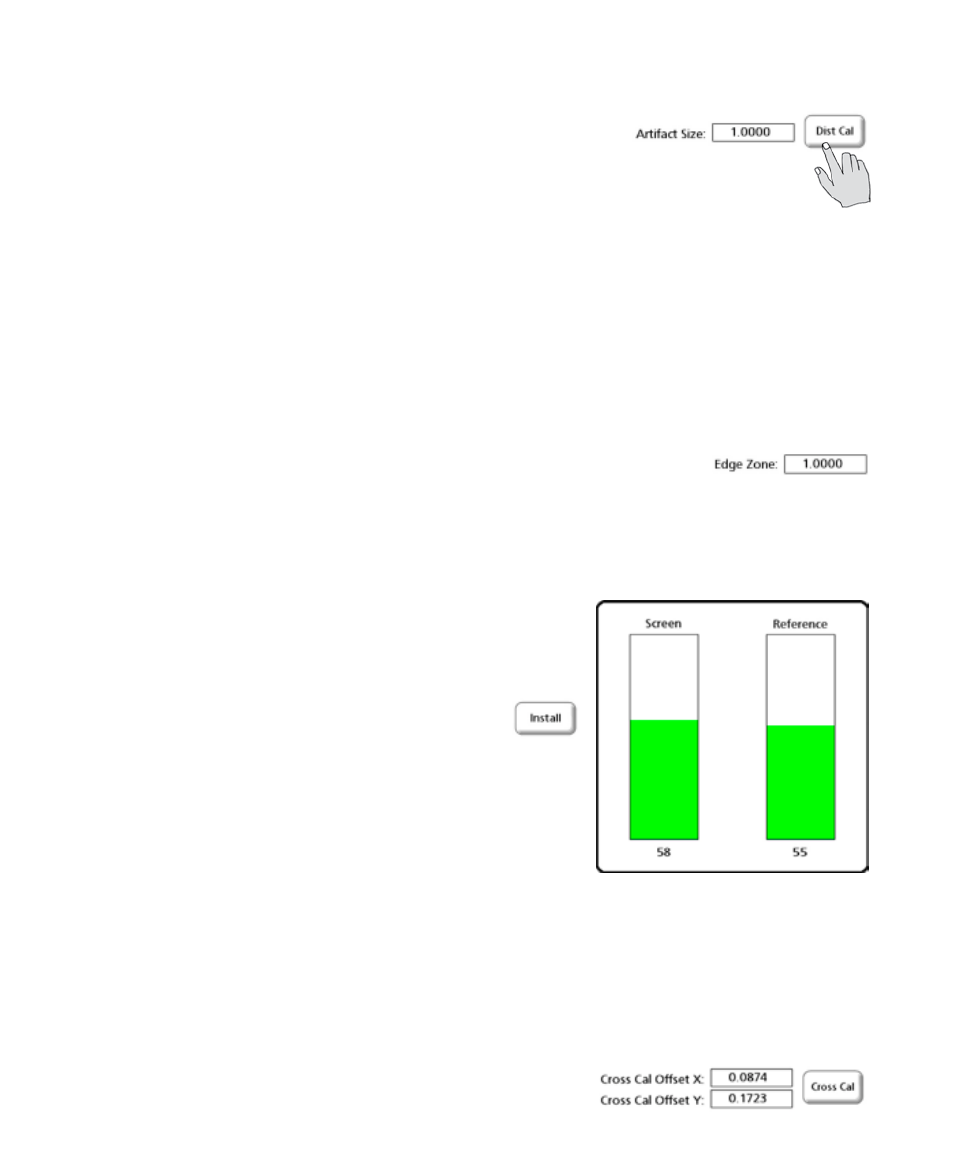
2 Touch the Dist Cal button. You will be prompted to repeatedly place the edge detector probe over the
standard parts edge and to press the Enter key. Follow the instructions
provided in the upper left corner of the screen to complete the calibra-
tion.
3 When the teach calibration is complete, use the edge detector probe to measure a few edges
to verify that the teach calibration was successful.
Specifying an active edge detection zone for program playback
During program playback, the edge detector is disabled until it is positioned within a predetermined radius
around the target edge detection point. This radius of active edge detection is the edge zone Disabling
edge detection in this manner avoids erroneous edge detection as the stage is moved from one target edge
point to the next. To specify the edge zone:
1 Enter the active edge detection radius into the Edge Zone data field in the
current unit of measure.
Evaluating optical light levels
Check the fiber-optic cables and light sensors before using the edge detector probe. Light levels transmit-
ted by the sensor and reference cables are displayed on the optical
edge detection Install screen as shown. Adjust the light levels by
moving the sensors. To evaluate light levels:
1 Touch the Install button. The Screen and Reference
light levels will be displayed.
2 Position the edge detector probe over a light area of the com-
parator screen. The Screen and Reference light level numeric indi-
cations should be approximately in the middle of the range and the
level indicator bars should be shown in green
Calibrating crosshair and edge probe offset
Cross calibration compensates for the offset between the measurement locations of the crosshair and edge
detector probes. It is not necessary to perform a cross calibration unless you are alternately using the
crosshair and edge detector probes for measurements conducted on the same part.
1 Touch the Cross Cal button. You will be prompted to measure a circle with the crosshairs. The probe
will change to crosshair automatically. Follow the instructions pro-
vided on the screen to complete the cross calibration. Offset values