Visara FEP-4600 Installation User Manual
Page 11
FEP-4600 Installation and Configuration
707119-001
1-3
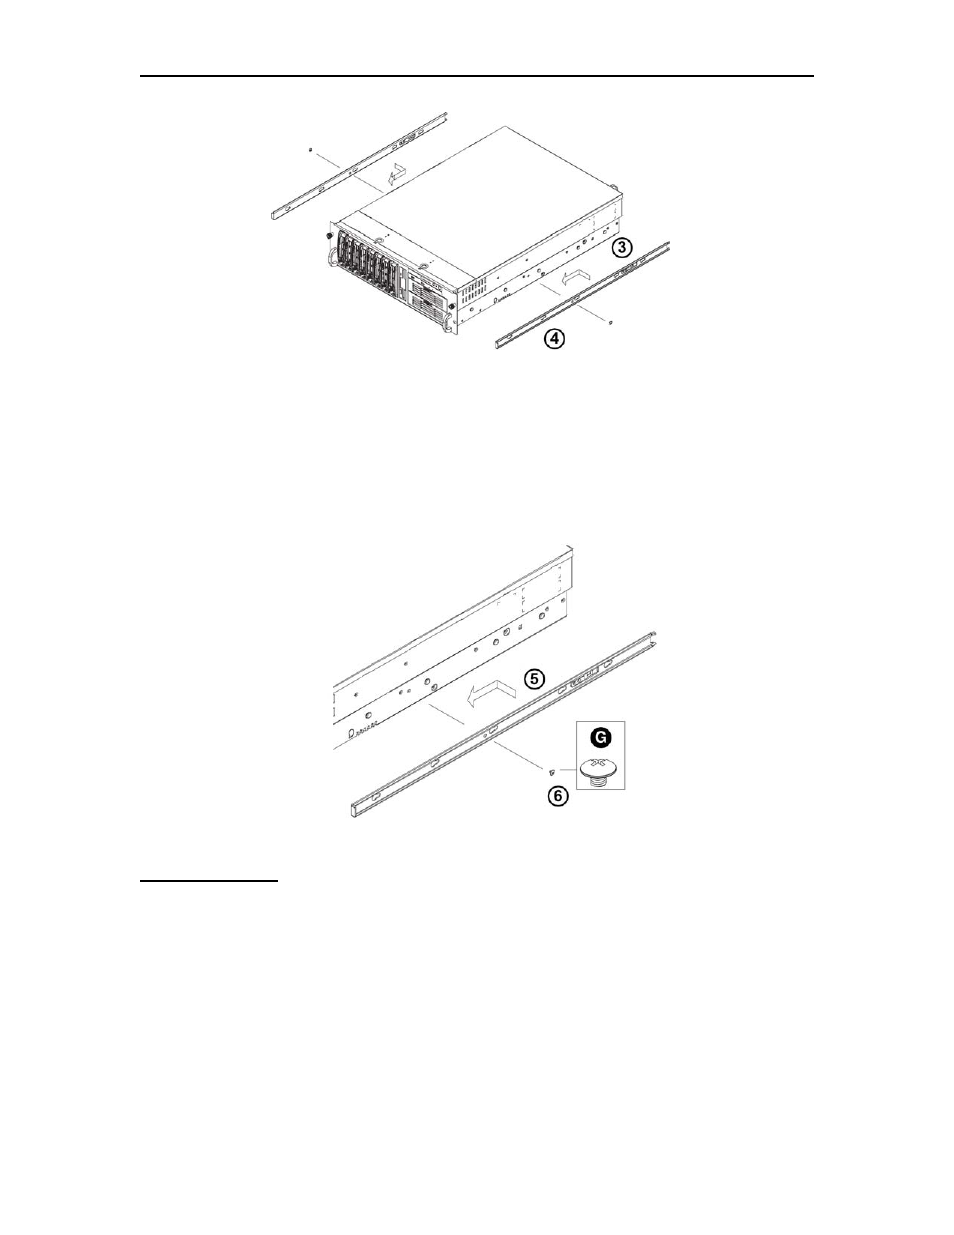
4. Align the larger end of each hole against its corresponding button. Once all
aligned, push the holes toward their corresponding buttons and the rail is placed
on the chassis.
5. Once the rail is placed on the chassis, pull the rail forward until the rail buttons
lock in the small ends of the corresponding holes.
6. Secure the rail to the chassis with a Type G screw. Repeat the above steps to
install the other rail on the chassis.
Rack Installation
After you have installed the inner rails on the chassis, you are ready to install the outer
rails of the rail assemblies to the rack.
(The rails are designed to fit in the racks with the depth of 28-33”.)
Procedure:
1. In the package, locate a pair of front (short) and rear (long) brackets. Please note
that the brackets are marked with Up/Front Arrows (front) and Up/Rear arrows
(rear).
2. Secure the front (short) bracket (marked with the Up/Front arrows) to the outer
rail with two Type G screws.