Adjusting cutter blades – Gasboy 1000 Series FMS Diagnostic Manual User Manual
Page 72
Receipt Printer Post
03/07/03
4-13
Adjusting Cutter Blades
Adjustment of the cutter blades may become necessary if the cutter fails to operate properly. This
may be indicated by receipts not being completely cut or paper becoming jammed inside the
printer. Cutter blades are sharp! Keep fingers away from sharp edges of blade while making
adjustments.
Adjust After Incomplete Cuts
1.
Follow the procedure for accessing the printer.
2.
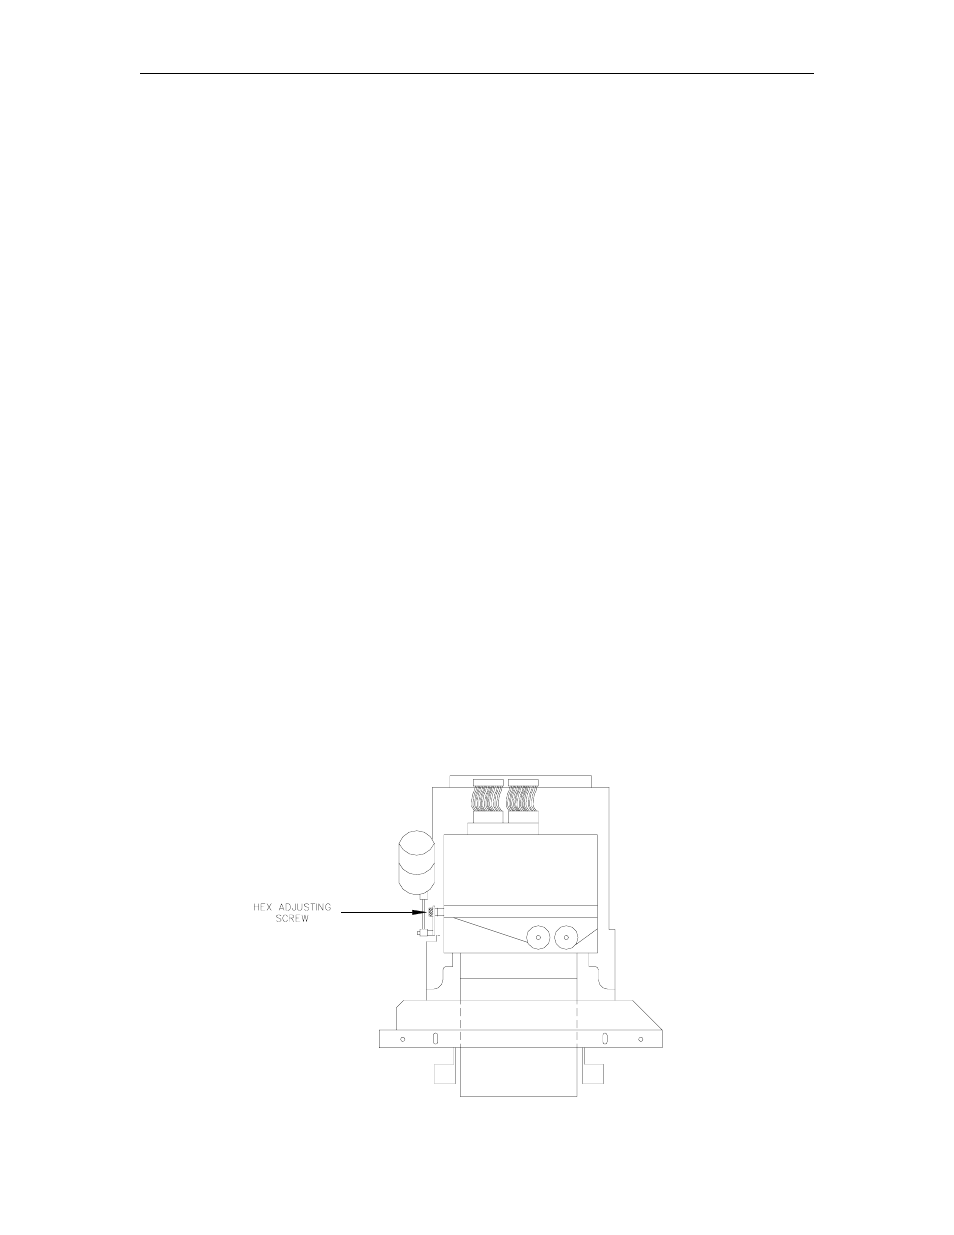
Loosen the hex adjusting screw (located on the lower left side of the cutter) using a 2.5 mm
hex key. Do not use pliers; damage to the screw head may result. Pivot the bottom cutter
blade upward. Tighten the hex screw to lock the blade in place.
3.
Perform a few self-tests to make sure the cutter operates properly.
4.
Return the printer slide assembly to its normal position and lock it in place with the hex head
screw.
5.
Close and lock the printer access door.
NOTE:
Make sure the printer door lock is drawn tight in order to insure a watertight seal.
Adjust After Paper Jams
1.
Follow the procedure for accessing the printer.
2.
Carefully remove any paper that may be stuck inside the printer.
3.
Loosen the hex adjusting screw (located on the lower left side of the cutter) using a 2.5 mm
hex key. Do not use pliers as damage to the screw head may result. Pivot the bottom cutter
blade down. Tighten the hex screw to lock the blade in place.
4.
Perform a few self-tests to make sure the cutter operates properly.
5.
Return the printer slide assembly to its normal position and lock it in place with the hex head
screw.
6.
Close and lock the printer access door.
NOTE:
Make sure the printer door lock is drawn tight in order to insure a watertight seal.