Create and use areas – Baby Lock ProStitcher Version 14.04.0051 (BLPS3) Instruction and Reference Guide User Manual
Page 43
5.8 | Design Menu
Pro-Stitcher User Manual
Create and use areas
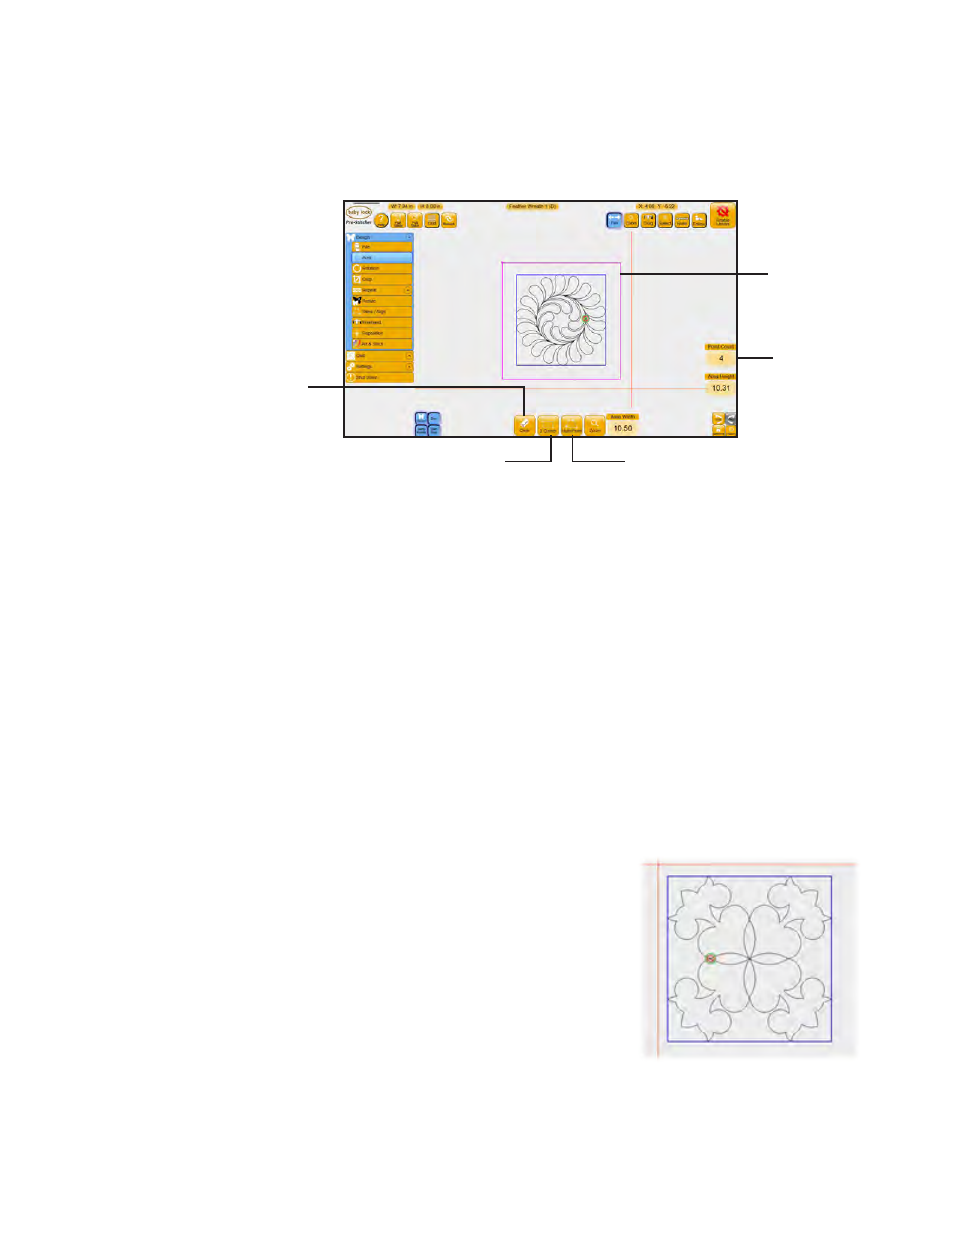
A quilting area is a portion of the Pro-Stitcher screen that represents an area on the quilt. Within this area,
you can place designs, repeat them, stretch them, skew them, crop them, and so forth, knowing that
everything within the defined area on the screen will match up with the corresponding area on the quilt.
Create an area at any point during the design process. You can create only one area at a time.
To clear an area
• Select Area on the menu, then select Clear.
Areas can be a simple rectangle, created by identifying two opposing corners (2-corner areas), or they can
be more complex, unique shapes, created by plotting multiple points (multi-point areas). The area is fixed
in position once it is defined and cannot be moved.
To move or adjust an area, first clear the current area and then recreate it. To fit the area within the work
area of the screen, use Zoom.
To create a rectangular area using 2 Corner
1. Move the quilting machine so the needle lines up with
one corner of the desired area on the quilt. (It may be
necessary to press the Disable Motors button at the top-
right corner of the screen.) Then press 2-Corner.
A purple line
shows the
defined area.
Shows how many
points you have
defined for the
area.
Select to clear
a defined area.
Use Multi-Point to create areas with
three or more points, such as hexagons.
Use 2-Corner to easily
create rectangular areas.