Installation, Installation of the x-rack and y-rack, Tools required – Baby Lock ProStitcher Version 14.04.0051 (BLPS3) Instruction and Reference Guide User Manual
Page 13
Pro-Stitcher User Manual
Installation | 3.5
Installation
Tools required
• Power drill
• 4mm Allen wrench
• 5mm Allen wrench
• Slotted screwdriver (one large and one small)
• Phillips screwdriver (one large and one small)
• Manual engagement/disengagement tool (see Parts List, item O)
Installation of the X-Rack and Y-Rack
To install the X-Rack
1. Remove the blue 12-foot Flexirack (see Parts List, item
A) and the Pro-Stitcher carriage (see Parts List, item E)
from the box.
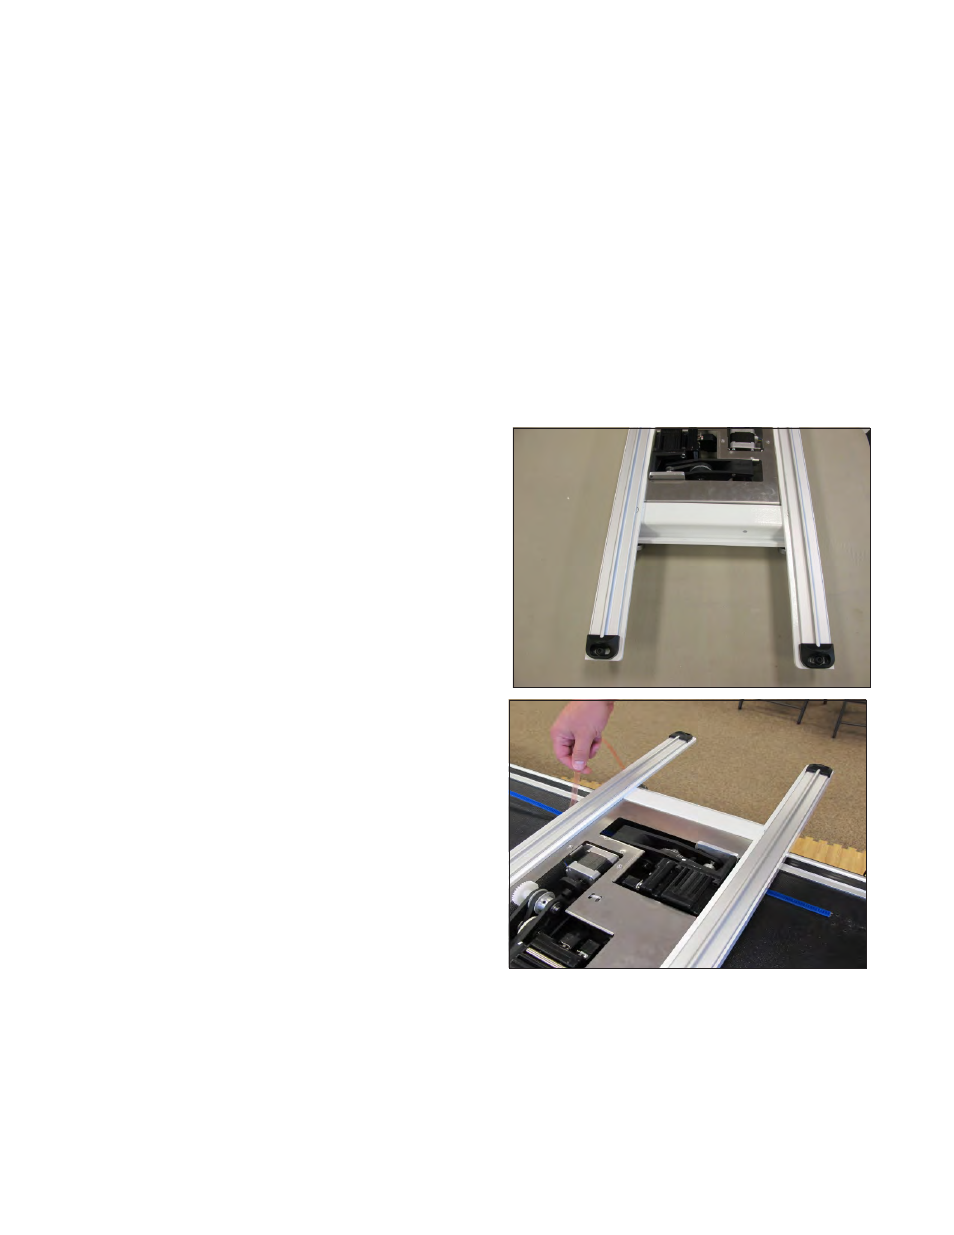
2. Place the Pro-Stitcher carriage on the frame. Starting
at one end of the table, begin mounting the blue
Flexirack to the front of the table while aligning it to
the front white gear on the carriage.
Peel back a few inches of the pink protective layer
of the tape. Position the blue Flexirack by aligning it
to the white gear as you move down the table. Press
down on the blue Flexirack to stick it firmly to the
table.