Avery Dennison SNAP 500 User Manual
Page 74
74
User’s Manual—SNAP™ 500 Gen 1 and Gen 2
Connecting to the Printer through Filezilla
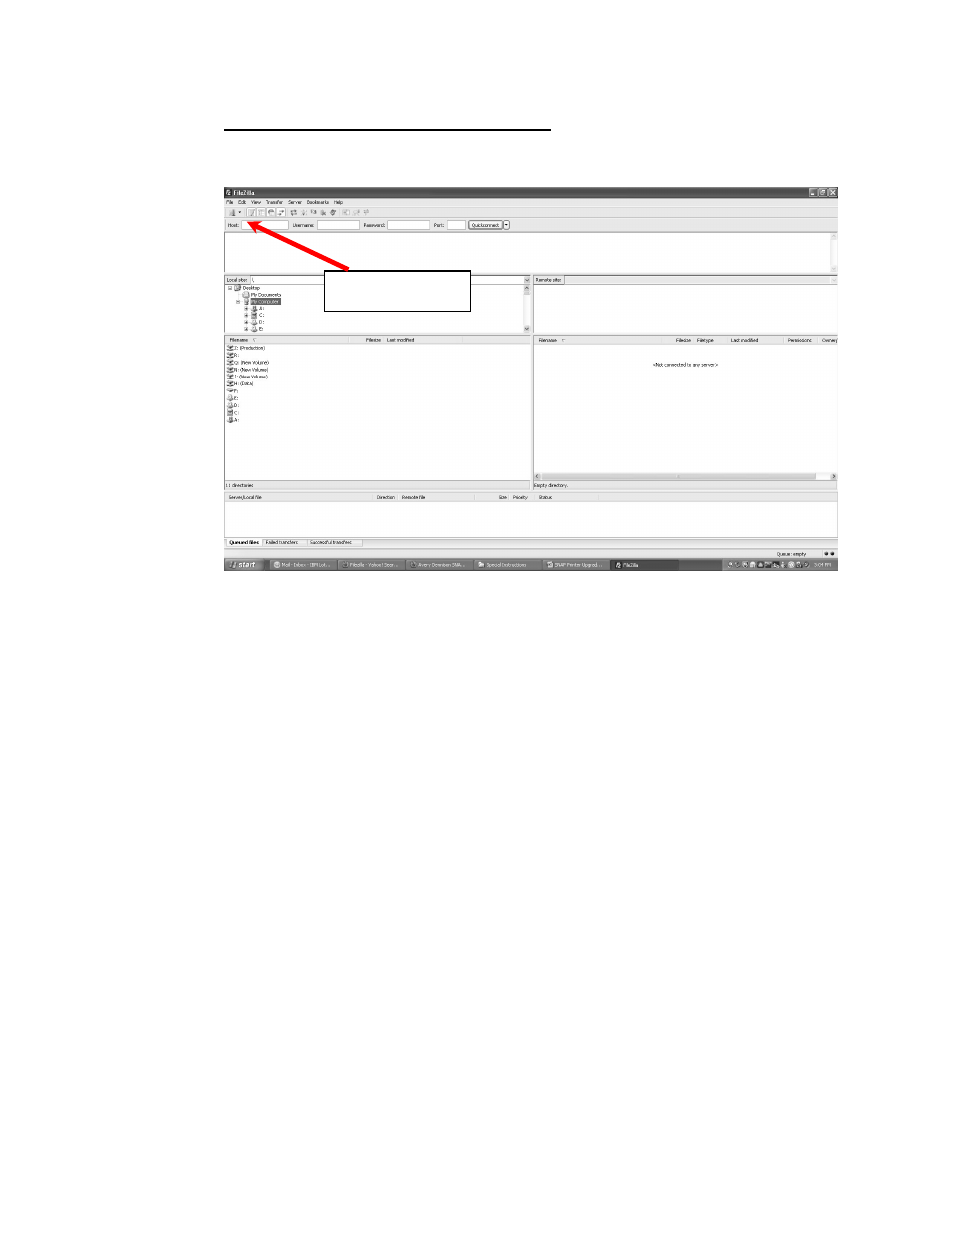
1. Start the Filezilla application. The following window will appear:
2. Enter the printer’s IP address in the host box, enter the printer’s username
(Avery) and password (Dennison) in the corresponding boxes, and click the
Quickconnect button.
3. The screen is divided into two sets of panes. The left panes show folders on the
computer, and the right panes show folders on the printer. The top pane on each
side shows the folder, and the bottom pane shows files and subfolders in the
highlighted folder.
4. The information in these panes is not live – it is a snapshot of the file structure
when the screen was last refreshed. To refresh the screen, select View –
Refresh from the menu or click the Refresh icon on the toolbar. Transferring the
Upgrade File to the Printer
5. The screen below shows Filezilla ready to transfer the upgrade file to the printer.
In the left panes, the folder on the computer that hold the upgrade file has been
selected in the upper pane and the upgrade file is selected in the lower pane. In
the right panes, the root directory of the printer is shown. The upgrade file must
be placed in the printer’s root directory.
Refresh icon