Avery Dennison SNAP 500 User Manual
Page 58

58
User’s Manual—SNAP™ 500 Gen 1 and Gen 2
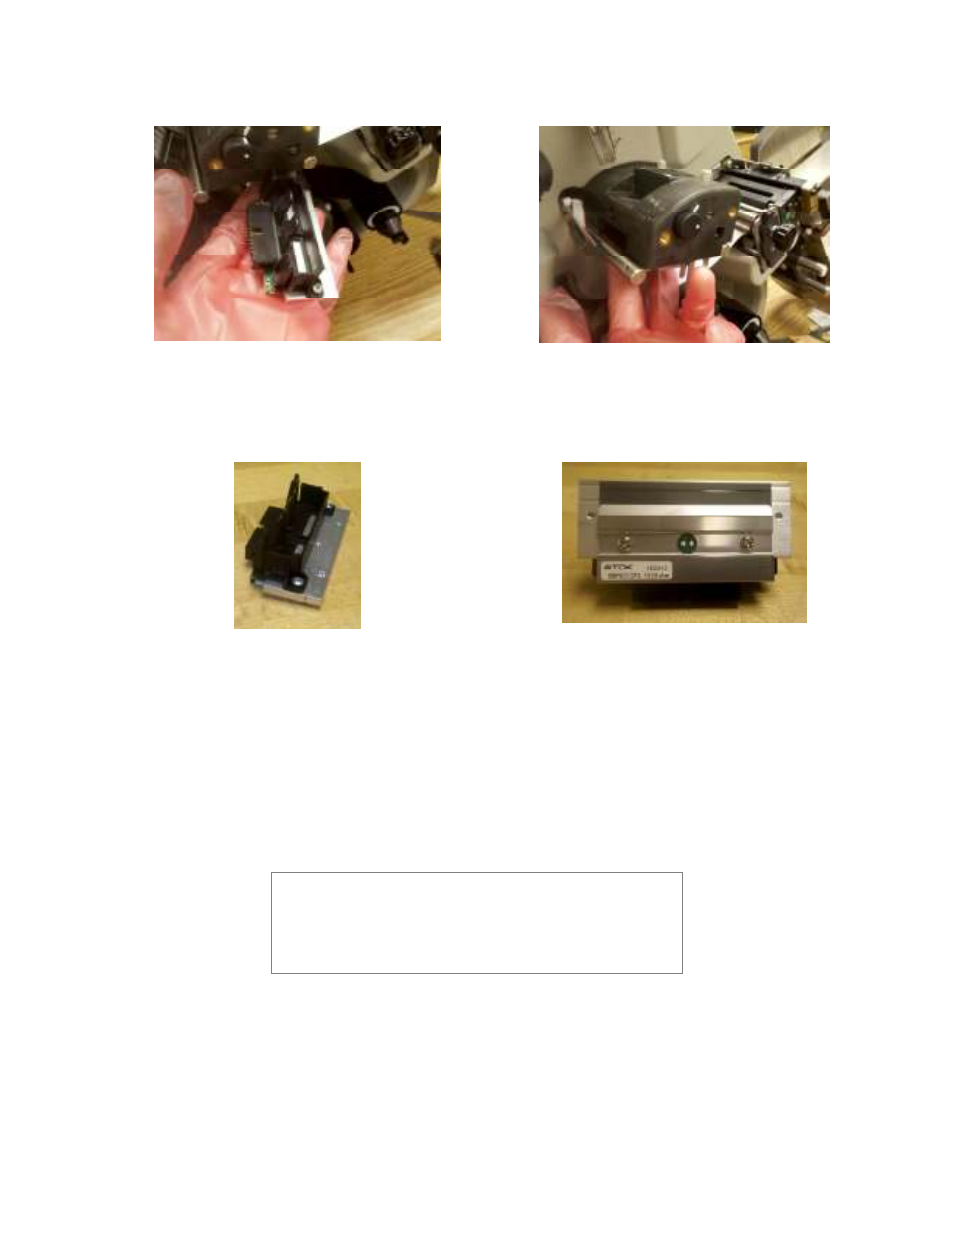
Figure 17c. Print Head Assembly – Removed
Figure 17d. Inserting Print Head Assembly
Figure 17e. Print Head Assembly
Figure 17f. Print Head
5. Place the new print head assembly onto the plastic mount bracket
underneath the print station (see Fig. 17c and 17d). Push it up until it clicks
into position.
6. Reconnect the print head cable connectors, making sure that the connectors
are seated tightly.
WARNING: If the cables are not connected correctly, the
print head will be destroyed when the power to the printer
is turned on. Check to see that the cable is tight by
observing from underneath the print head. The cable’s
connectors should be inside of the connectors located on
the print head.
7. Replace the tape and ink supplies, and double-check your work.
8. Turn on the power to the printer.
9. As a final test, make a test run to check the print quality of the labels.
