Scanning • 8, Setting up an omr scan configuration (continued) – Pitney Bowes DI950 FastPac Inserter User Manual
Page 151
SV61311 Rev. E
8-7
Scanning • 8
Setting Up an
OMR Scan
Configuration
(continued)
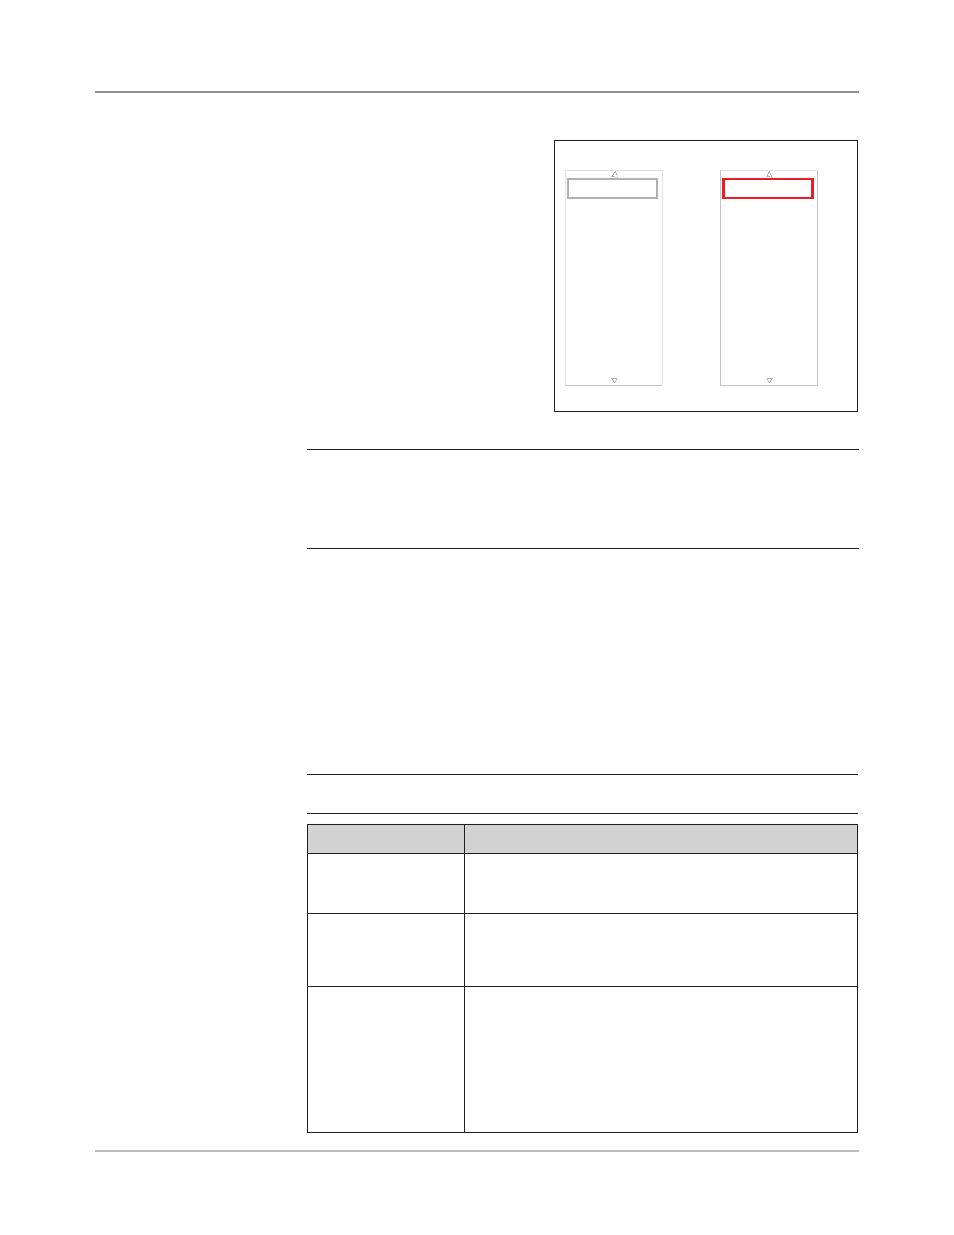
7. The Add OMR Functions
screen displays. There are
two lists available on the
screen: Selected Functions
and Available Functions.
Levels in this chapter for a
brief description of the func-
tion of each mark.
NOTE: Items that can be added appear in the Available list. Items that have
been added appear in the Selected list.
• Use the LEFT/RIGHT arrow keys to move between lists.
• Use the UP/DOWN arrow keys to highlight an item within a list.
a. Highlight the appropriate item in the Available list, then select "Add
Highlighted Item". The item you selected in the Available list will
move to the end of the Selected list.
b. Repeat step a, above, until all necessary items have been added to
the Selected list.
c. Press "Finished" when you are done.
8. The Create OMR screen displays. Use the UP/DOWN arrows to high-
light an item in the OMR Marks list. (This list contains items added in
step 7.)
9. Select "Set Options for Highlighted Item".
Set Options for Highlighted Item".
NOTE: The options that appear vary, depending upon the selected function.
Menu Option
Associated Options/Actions
Increase Count for
Highlighted Item
(MC, WAS only)
Allows you to increase the number of marks for the function.
The count number is appended to the abbreviation (e.g.
MC1, MC2, MC3).
Decrease Count for
Highlighted Item
(MC, WAS, PC, PN
only)
Allows you to decrease the number of marks for the function.
The count number is appended to the abbreviation (e.g.
MC3, MC2, MC1).
Use When
Toggles:
•
Present, or
•
Absent.
When Present is selected, the function will be performed
when mark is printed.
When Absent is selected, the function will be performed
when the mark location is blank.
Selected and Available Lists
Selected Functions
Available Functions
SAF
PAR
DVF
BOC
BM
DVS
ES
MK
MC:2
PC:2
PN:2
SL
SF1
SF2
Safety
Divert Sheets