4 saving the configuration – Rockwell Automation DeviceNet Communications Module User Manual
Page 47
Configuring the Scanner
5-7
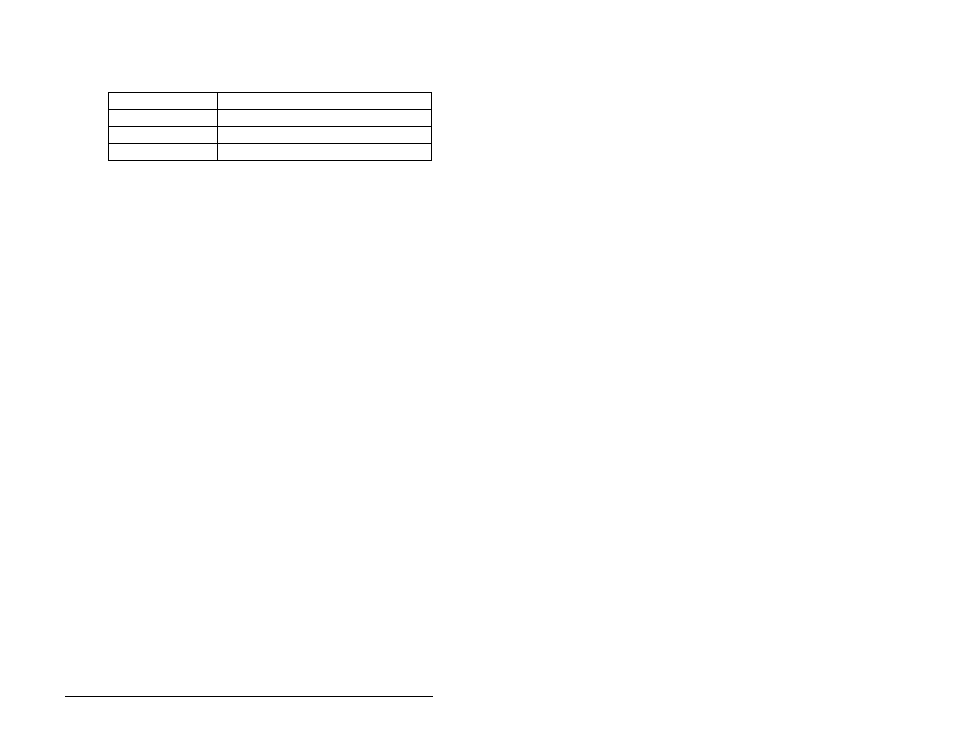
Step 2. In the Memory box, select a location in scanner memory
from table 5.4.
In our example, we are using a 1747-SDN scanner and selected
Discrete.
Step 3. In the Start Word box, select the word in memory at which
the data should start. In our example, we selected 1. Logic
Command and Speed Reference data should be written to
O:1.1 and O:1.2, respectively.
5.4
Saving the Configuration
After configuring a scanner, you must download it to the scanner.
You should also save it to a file on your computer.
Step 1. In the Scanner Module dialog box (figure 5.6), click Apply
to save the configuration to the scanner. A Scanner
Configuration Applet appears and asks if it is OK to
download the changes.
Step 2. Click Yes to download the changes. The changes are
downloaded and then the Scanner Module dialog box
reappears.
Step 3. Click OK to close the Scanner Module dialog box.
Step 4. Select File > Save. If this is the first time that you saved
the project, the Save As dialog box appears. Navigate to a
folder, type a file name, and click Save to save the
configuration to a file.
Table 5.4 – Scanner Module Memory Locations
Scanner
Memory Locations
1747-SDN
Discrete or M-File
1756-DNB
Assembly Data
1771-SDN
Block Xfer 62 – 57