Layers and track order, Disabling tracks – Apple LiveType 2 User Manual
Page 55
Chapter 4
Working With Tracks
55
Layers and Track Order
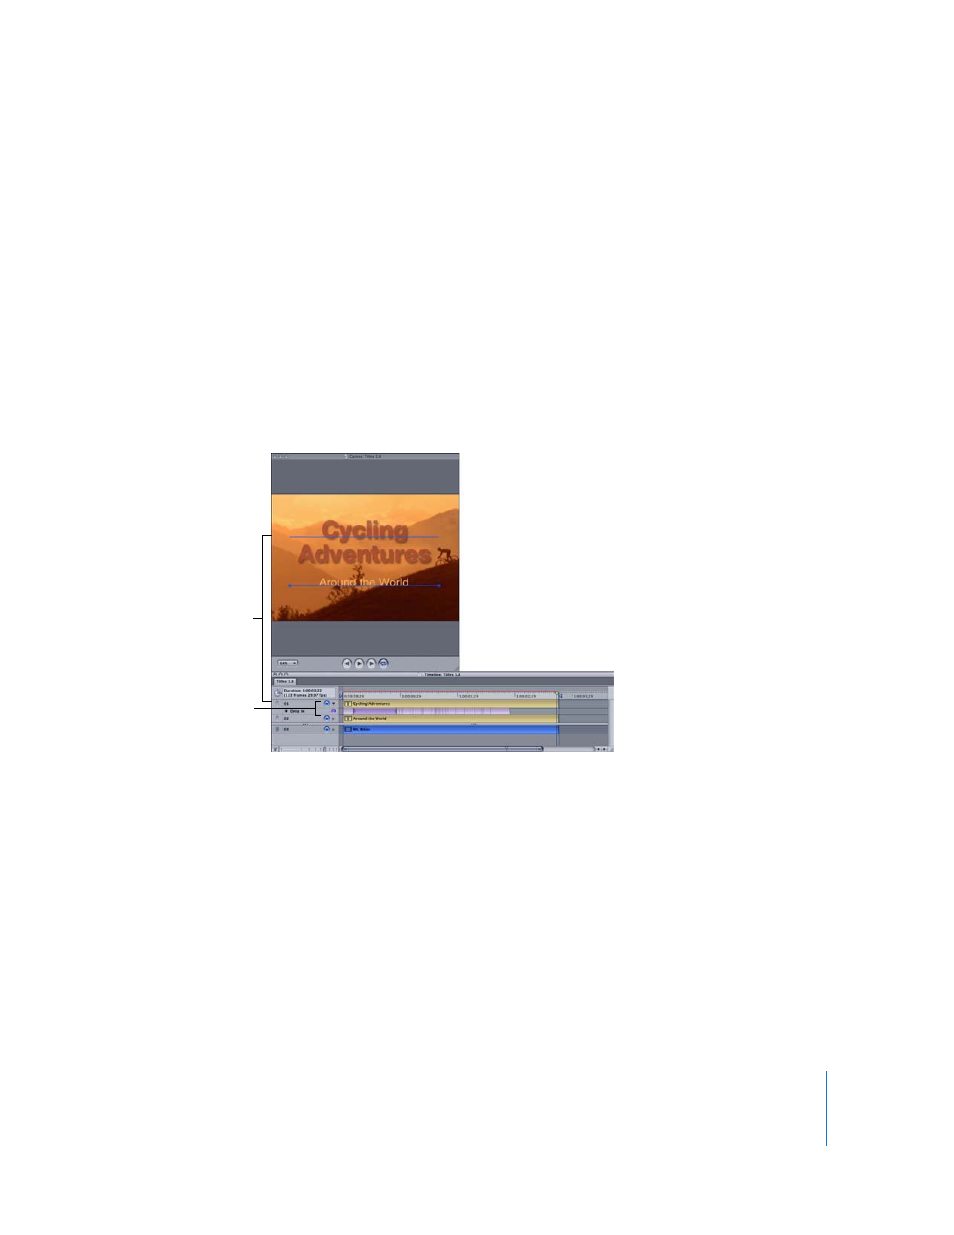
Elements in the Canvas invariably overlap, which is why it’s important to manage track
layers. When you create a new track, it is always the top layer. Any content you add to
that track is in front of all other elements in the Canvas.
Note: In the Timeline, tracks are displayed in front-to-back order, with Track 1 in front.
To change a track’s front-to-back position, do one of the following:
m
Click inside the track bar in the Timeline and drag it up or down, to a new position.
m
Select the track you want to move, either in the Canvas or in the Timeline, then choose
one of the options from the Layout menu: Bring to Front, Send to Back, Bring Forward
[one layer], and Send Backward.
The tracks renumber to accommodate the new order.
Disabling Tracks
You can disable tracks, as well as effects applied to tracks, in the Timeline window. This
can be useful in reducing clutter in the Canvas, and it saves preview-rendering time
when you only need to preview one or a few elements. Deactivating elements is also
useful for comparing different design choices.
To disable a track or effect:
m
Click the Enable/Disable button immediately to the left of a track or effect in the
Timeline.
While the blue baseline of a disabled track remains in the Canvas, its contents no
longer appear in the Canvas, are not represented in the Inspector’s Live Wireframe
Preview, and do not render when you generate a preview or final movie.
Track 1 (top layer)
Enable/Disable buttons