Apple LiveType 2 User Manual
Page 120
120
Chapter 9
Advanced Design Techniques
4
Apply the Needle Drop effect to the track, which is in the Glows category in the Effects
tab of the Media Browser.
5
Set the track and effect durations to 1 second, set the Render Selection Out Point at 1
second, then click the Play button to render a RAM preview.
6
With the playhead over the effect in the Timeline, click the Effects tab of the Inspector
to view the active parameters.
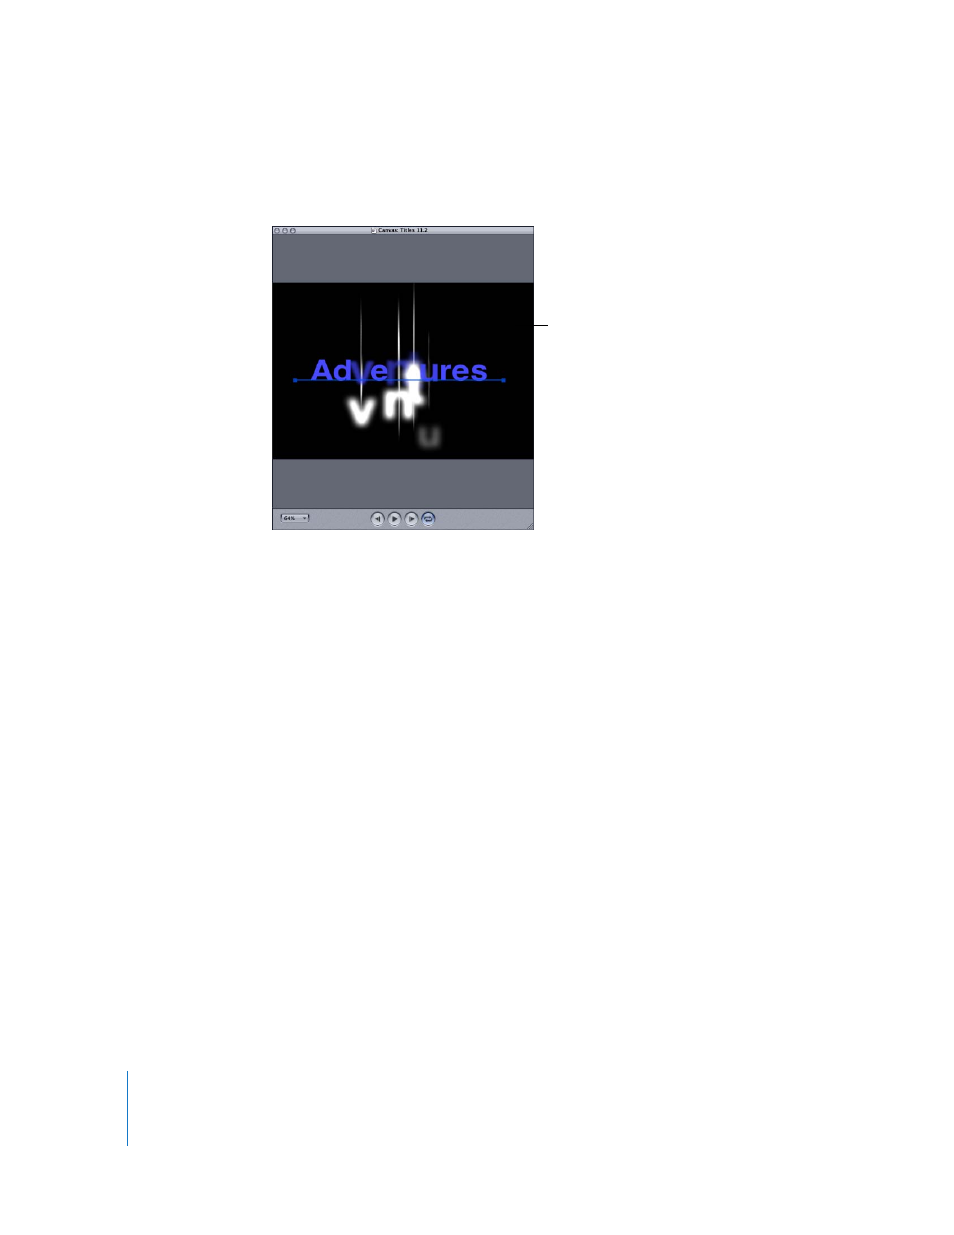
The essential parameters used to create the Needle Drop effect are as follows:
 Glyph settings: At the beginning keyframe, the glyphs on the track are small,
transparent, and blurred. At the ending keyframe, the characters are normal. The
middle keyframe simply makes the letters larger than normal.
 Glow settings: At the beginning keyframe, the glow is invisible, with a 0 percent
opacity, and has a vertical offset of –200 pixels. At the middle keyframe, the glow
opacity is set at 500 percent, with some Scale and Blur adjustments and no offset.
And at the ending keyframe, the glow is invisible again, and the vertical offset is
200 pixels.
 Shadow settings: The shadow is what creates the “needles.” The shadow color is set to
white, and the scale is set to 10 percent on the x axis, making the shadows very thin.
The warp settings accentuate the narrow tips of the needles. And the shadow blur is
set to 2 percent, which is essential for this effect. At the ending keyframe, the
shadow goes to 0 percent opacity.
 Timing settings: The Random parameter in the Timing tab is used to make this effect
apply to each glyph in a random order.
The Needle Drop effect
applied to text on a black
Canvas background