Apple LiveType 2 User Manual
Page 105
Chapter 7
Working With Effects and Keyframe Animation
105
7
The next step is to position the word at the point of its first “bounce.” You’re adding x
and y offset parameters to the effect.
a
With the keyframe selected, select one of the letters you want to move. A bounding
box appears around it.
b
Drag the letter to a new position in the Canvas. The entire word, or all the letters that
the effect applies to in this case, moves with the selected letter. Notice that the
motion path appears.
c
If you like, change the size, color, or any other attribute of the text for this keyframe.
8
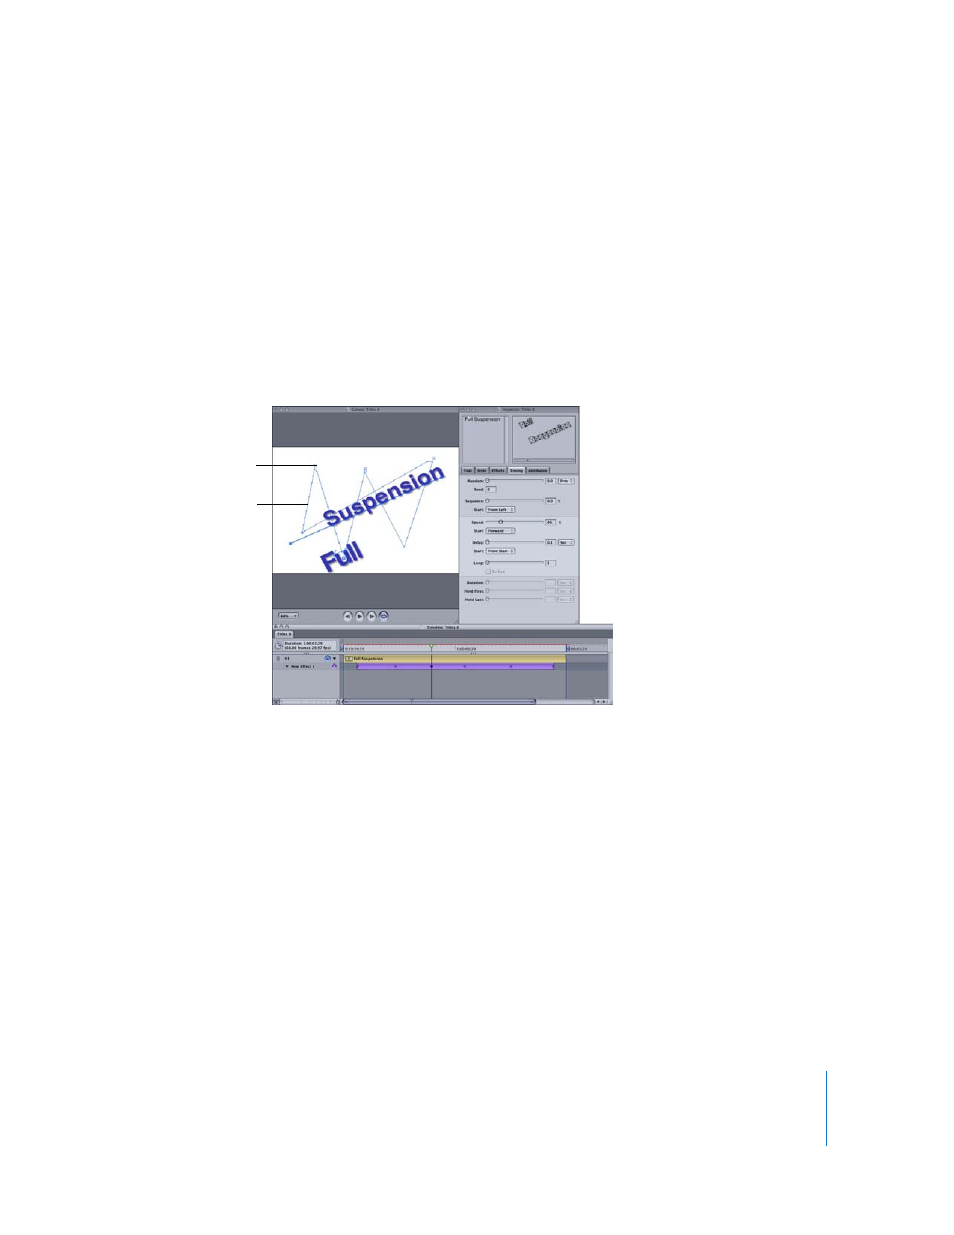
Create a second keyframe, and drag the text to another location. Now the motion path
is a triangle. Create a few more “bounces” for the word.
Motion paths can also be curves. The process is similar to creating curved tracks as
described in Chapter 4, “
9
Add curves to your motion path by doing the following:
a
With the effect selected in the Timeline, click a keyframe, or move the playhead over
a keyframe.
b
Select one glyph in the “bouncing” word.
c
Hold down the Control key and drag the pivot point of the glyph, which is over the
keyframe point in the motion path.
Keyframe point
Motion path of
the “u” glyph