Automatically creating embroidery patterns – Brother PE-DESIGN Ver.6 User Manual
Page 37
Basic Operation
29
Automatically Creating Embroidery Patterns
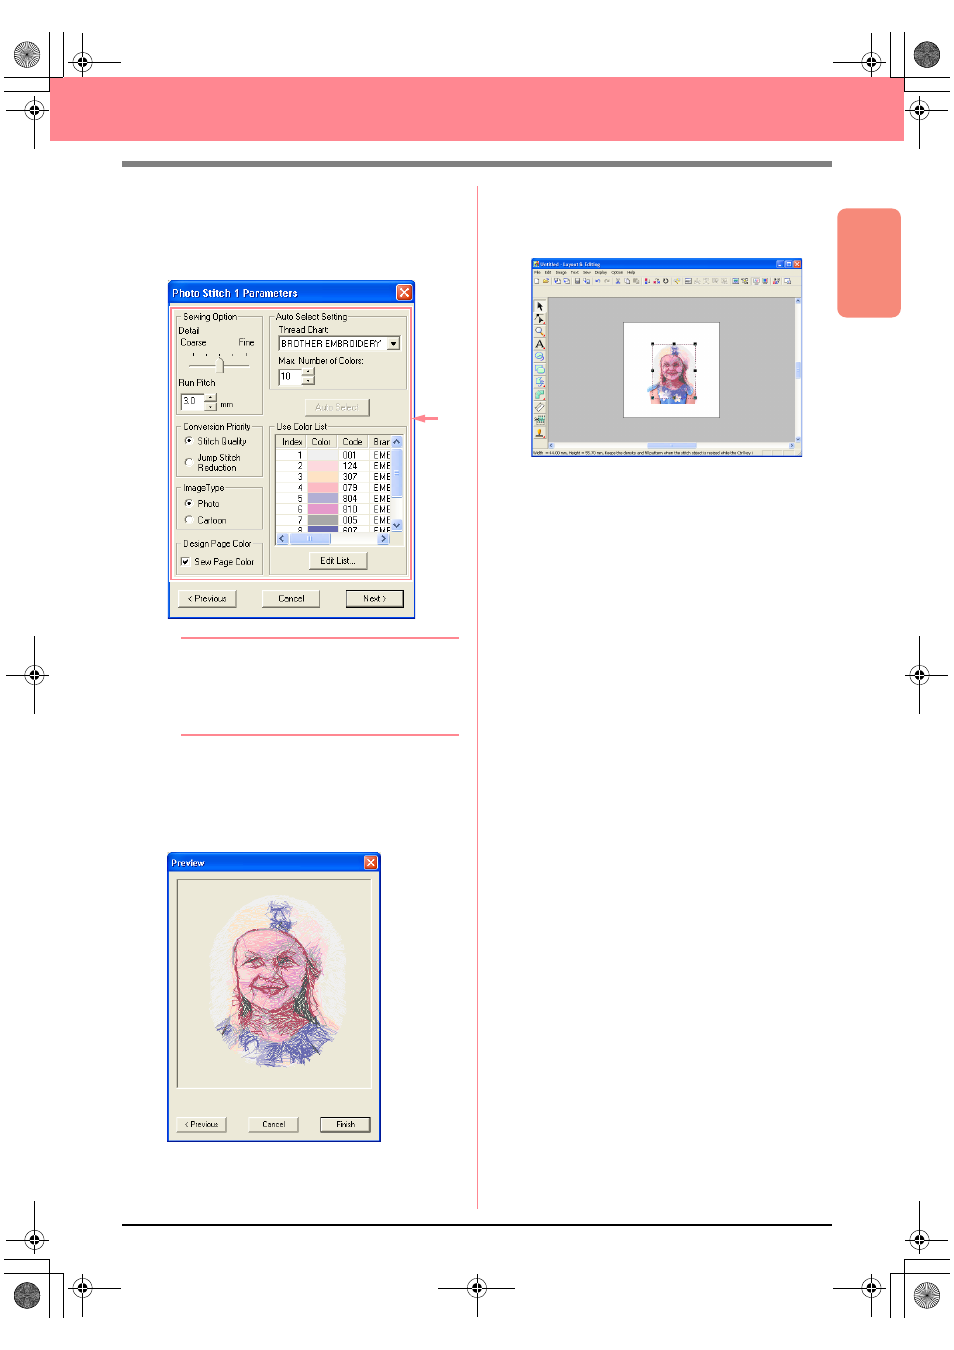
6.
If the shape and position of the mask are as
desired, click Next.
→ The Photo Stitch 1 Parameters dialog
box appears.
b
Memo:
Various settings are available for converting
the image to an embroidery pattern. (For
more details on the various settings, refer to
page 116.)
7.
Click Next.
→ The image is converted to an embroidery
pattern, which is displayed in the Preview
dialog box.
8.
Click Finish.
→ The embroidery pattern is displayed in the
Design Page.
c
For details on previewing the embroidery
pattern, refer to Step 5, “Displaying a
preview of the embroidery pattern”, on
page 22.
c
For details on saving the embroidery
pattern as a file, refer to Step 6, “Saving
the embroidery pattern”, on page 23.
c
For details on transferring the embroidery
pattern to an original card, refer to Step 7,
“Transferring the pattern to an original
card”, on page 24.
PeDesignV6Eng.book Page 29 Thursday, July 8, 2004 11:59 AM